|
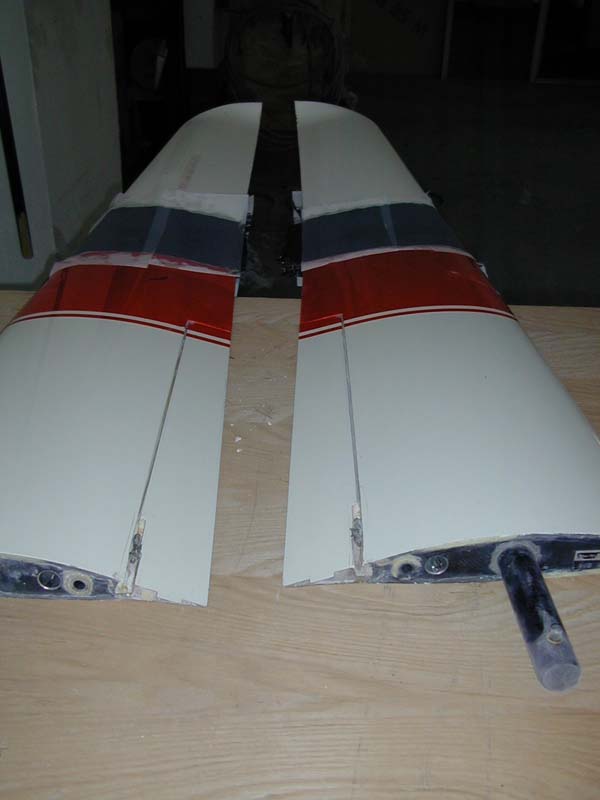
Monty Sullivan of M&H Soaring is adding a meter of span to my tips (the 24.5m tips) and he sent this photo today of the progress so far - they look great! Can't wait to see how much better it handles with 25.5 meters of wing... you can contact Monty at http://www.mandhsoaring.com for repairs, winglets and tip additions.
|
 |
|
| 8 March - a good close-up of the new tips installed - the right wing tip is just short of the door opening on the glider shop - this wing is now 25.5 meters or 83 feet long. Tail is up in the level position in preparation for weighing. Main wheel is on the scale. You can just see 525's nose in the "hangar". | 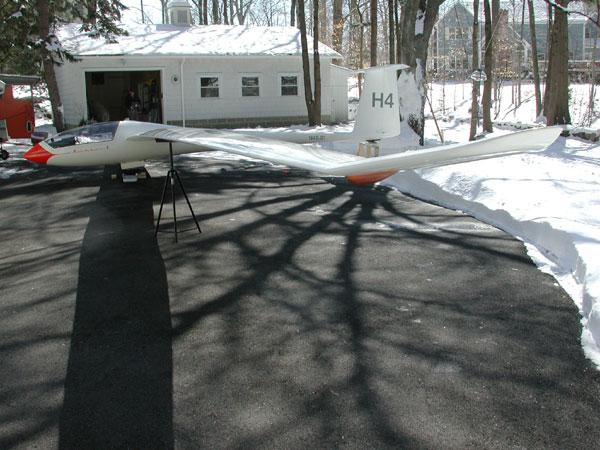 |
|
| I hold the flap with one hand and connect the L'Hotelier fitting with the other hand. A Dave P. photo. | 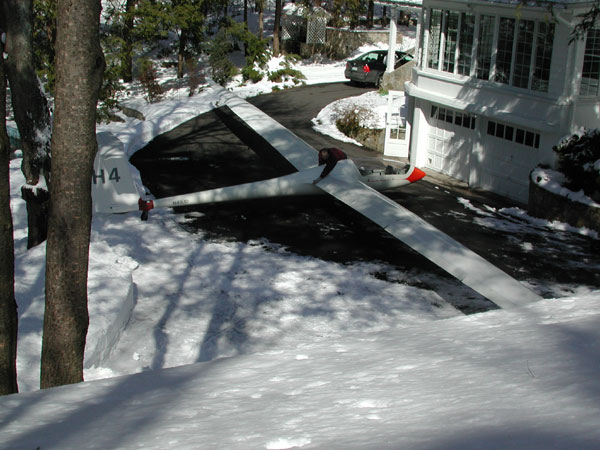 |
|
| Dave zeros the scale under the tailwheel during the weighing process. Checking the aileron travel reveals the left wing is OK, but I now need to remove the mass balance from the outboard aileron on the right wing to obtain full travel to the right. I already removed the balance weights from the left wing aileron, it's fine - full left aileron travel right to the stops in the cockpit. That confirms the Schempp-Hirth Technical Note cannot be accomplished without losing aileron travel. Not a good idea in a Nimbus 3! | 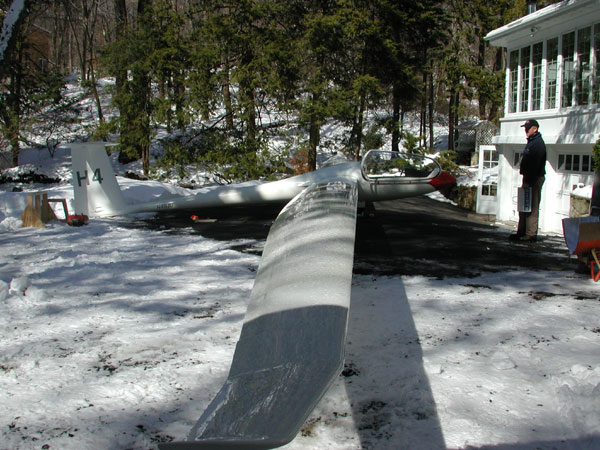 |
|
| Dave Piotrowski photos - only HE would climb on a snow-covered roof! | 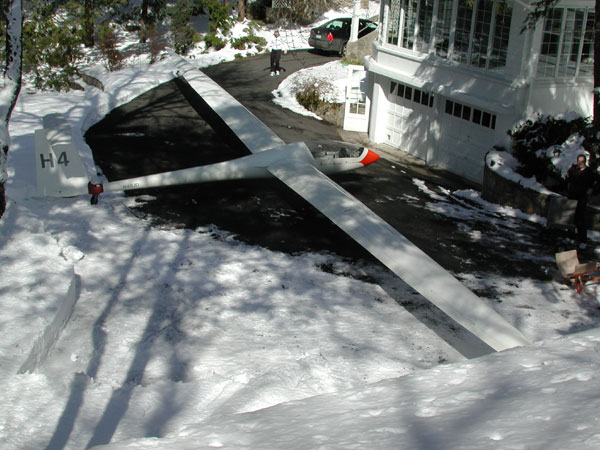 |
|
| installing the tip. You can see the snow Dave had to blow out of the way to provide rigging room. | 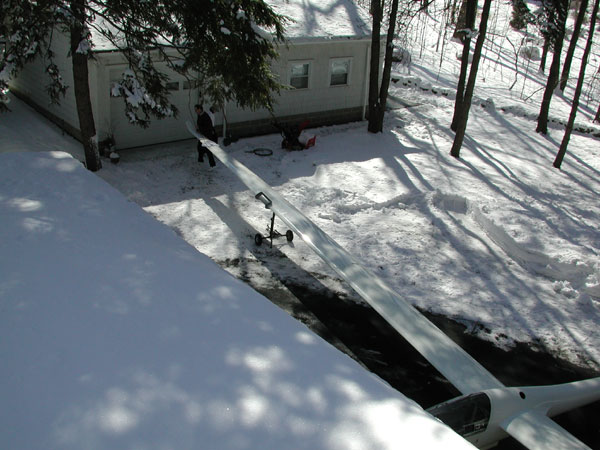 |
|
| Rebecca suggested we rig the glider in this position, Dave and I were trying to make it fit a different way - it would not have fit without a lot more snow removal. Nice to have friends with acreage when you own a Nimbus. | 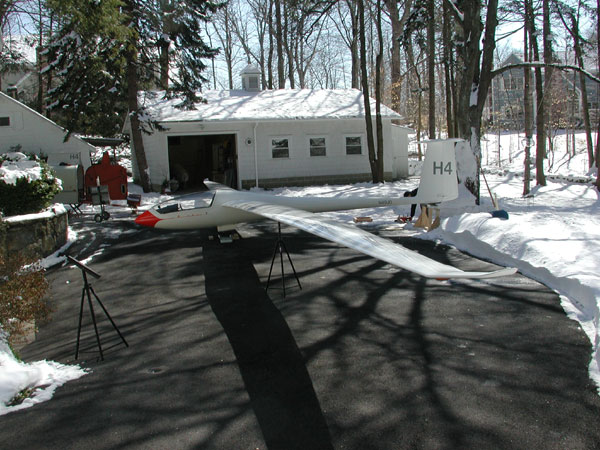 |
|
| the Nimbus span is wider the cement pond. The right wing extends to the garage door, the tip is in shadow. |  |
|
|
25.5 meter tip modification
|
||
| Monty of M&H attached the extensions to my existing 24.5m tips and Heinz and Liz refinished them with Simtec to match my wings. | 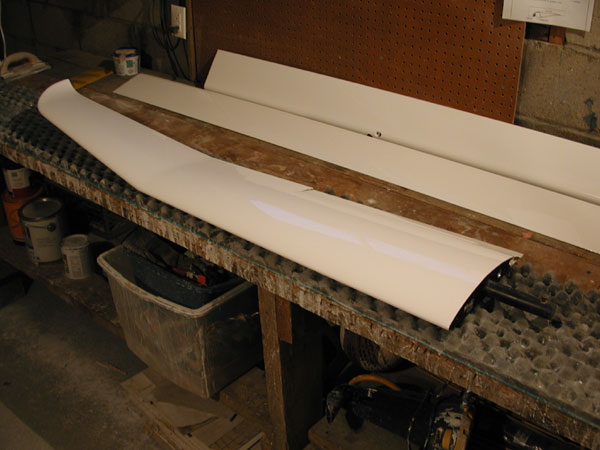 |
|
| 1 March 2003, I went to M&H and picked up my finished tips today - they're beautiful! M&H did a great job and they're a perfect fit. The ailerons await sanding and polishing. |  |
|
| With the tip installed, the wing barely fits in the basement. | 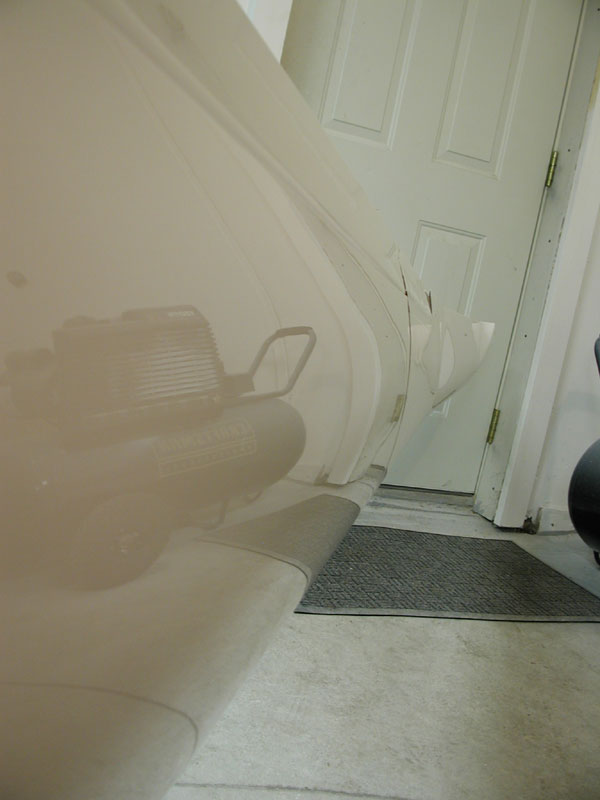 |
|
| With the outer aileron temporarily in place, I check the fit of the extended tip - very nice. I've only finished the upper surface of the ailerons, still have to sand and spray the lower surfaces. | 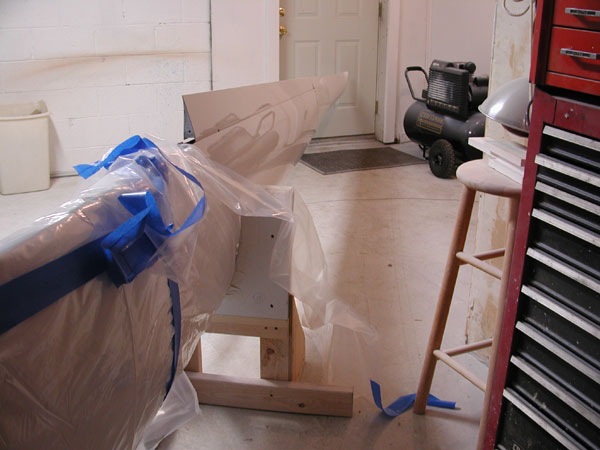 |
|
| This is the lower surface of the tip - that's the new tip skid in the left side of the photo below - they installed 22mm Mylar for the spoileron seals, and they work great. You can see the lower surface of the aileron still needs finishing. |  |
|
| Upper surface looking inboard. | 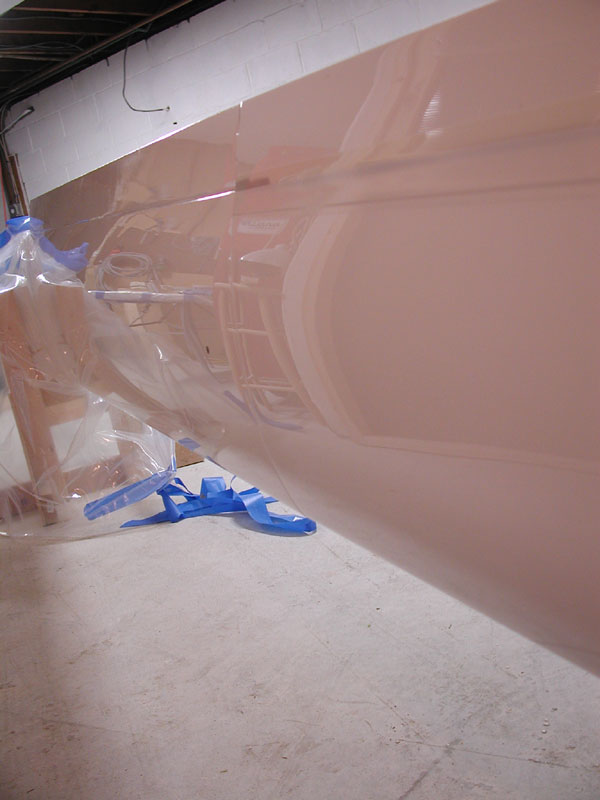 |
|
| This is the outboard end of the outboard aileron where it was scraped away by years of cement runways. I had to restore the shape with some epoxy prior to spraying with gel-coat. | 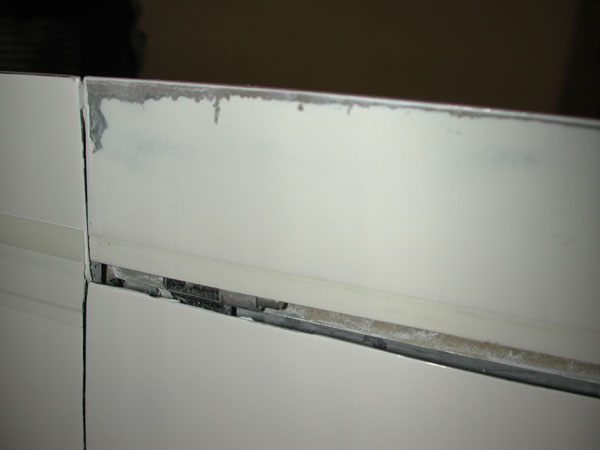 |
|
| This is the limit of the up-travel on the outboard aileron after installing the balance weights. I think Schempp-Hirth goofed on this mod - the balance weights installed per the T.N. severely restrict the up-travel and now I'll have to remove them - no big deal to remove, but a lot of wasted effort! | 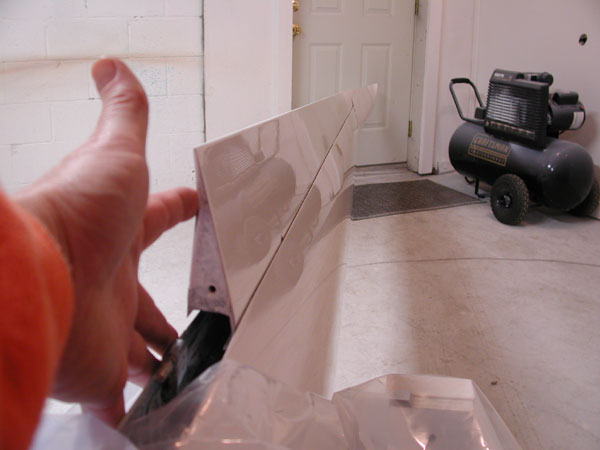 |
|
| March 2 with the mass balance removed, you can see how much up-travel is restored. What was Schempp-Hirth thinking when they designed this mod? I gather most folks just install the tips and ignore the rest of the T.N. | ||
| Another shot of the upper surface showing the nice Mylar seal installation and the excellent fair of the faying surfaces at the tip joint. Nice work M&H! | 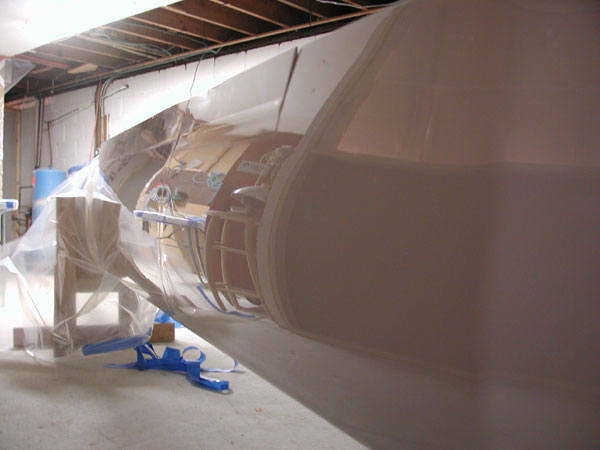 |
|
| After rigging the Nimbus at Dave and Rebecca's house, I took the glider home, pulled the right wing into the basement and removed the aileron mass balance form the outermost outboard aileron. That restored the proper travel to the right wing ailerons. Then I installed Mylar gap seals on the upper wing surface to finish the right wing. I need only install the upper gap seals on the LH wing to complete the wings. Next step was to put the right wing back into the trailer and put the fuselage into the basement for some routine maintenance and the annual condition inspection. | ||
 |
||
 |
||