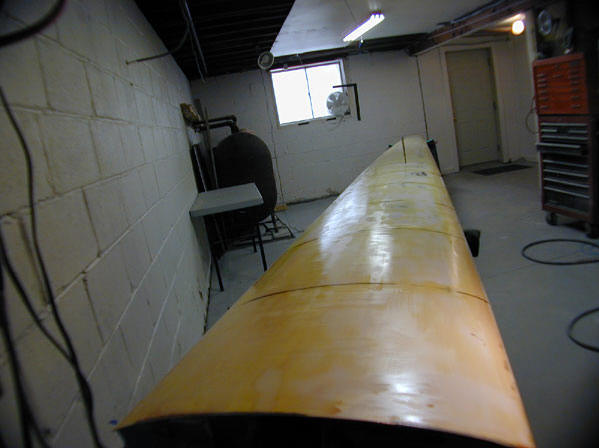
October 2002 - Upper left wing refinish |
|
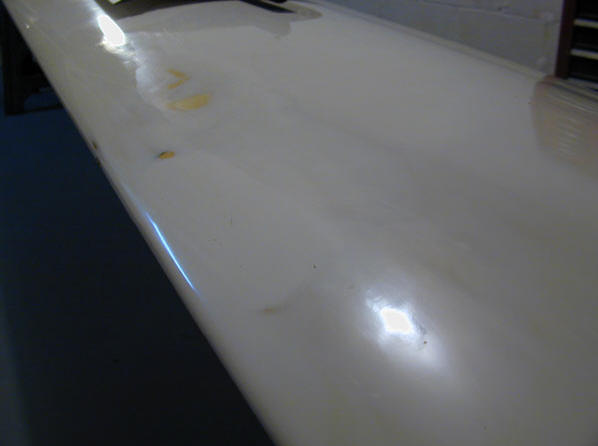
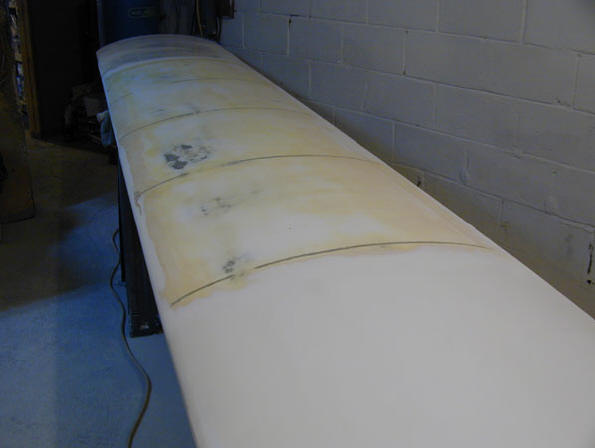
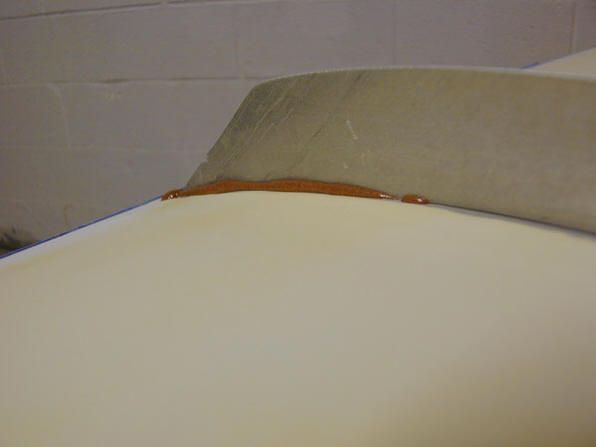
Here's one of the numerous problems. This is where the trailer saddle sits and when it was humid and wet, the moisture that the saddle held against the polyurethane caused the polyurethane paint to bubble up, I had to sand it down to get the skin smooth and it removed some paint and gel-coat leaving the ugly mess, that, while smooth and still a good profile, looks very ugly. |
 |
|
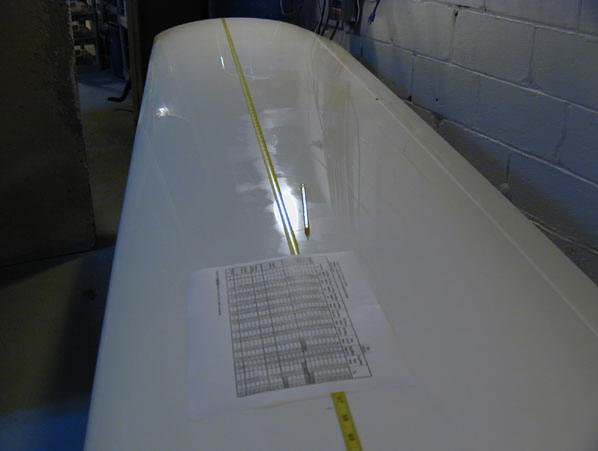
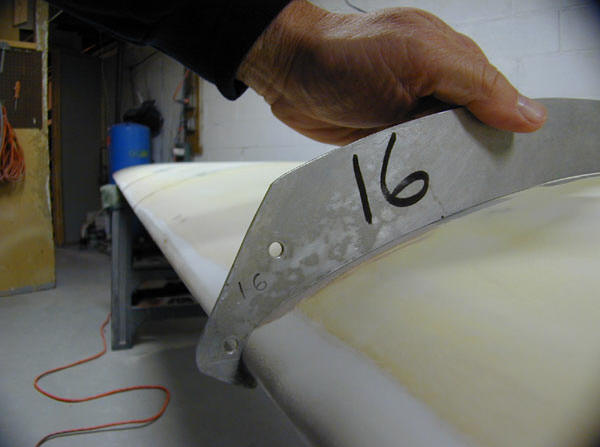
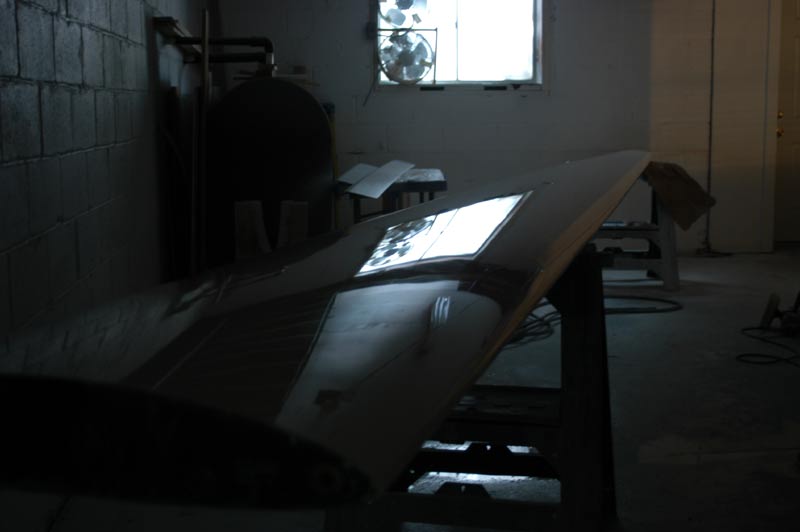
Dick Johnson sent me the wing stations and chord thickness to length ratios so I can layout the location of the templates exactly. I converted the metric wing stations to inches so I can use my handy-dandy decimal measuring tape. |
 |
|
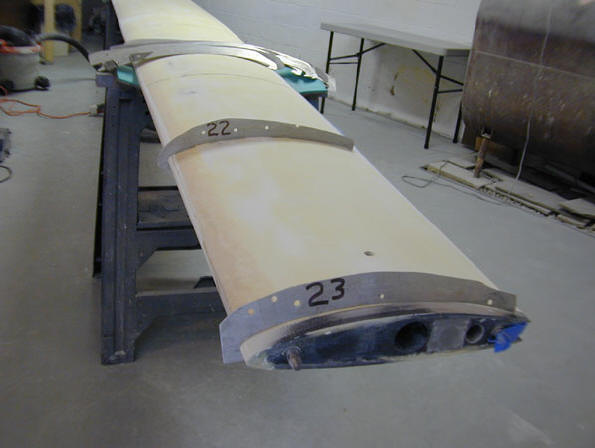
Here are the root templates in action. Pretty good fit prior to the re-finishing. |
 |
|
The ailerons and flaps (all eight of them!) have never been re-finished to my knowledge and this will be a daunting task. You can barely make out the cracking in the gel-coat. They will each have to be sanded down to the skin and re-finished. I will also have to modify the mass balance of the ailerons to comply with the Schempp-Hirth Technical Note for converting the aircraft to 25.5 meter span. |
 |
|
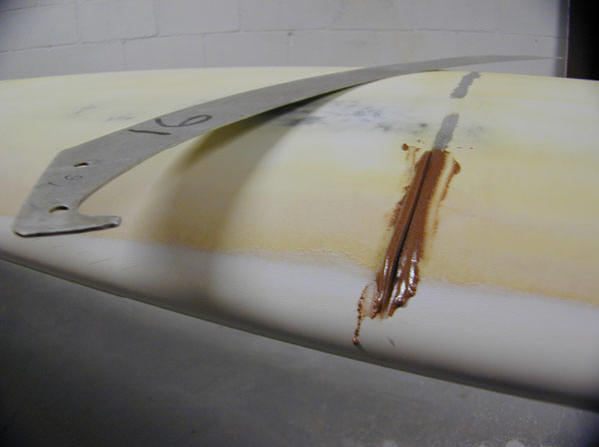
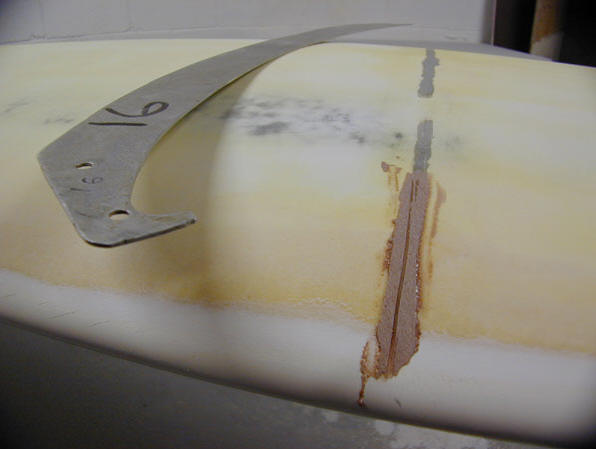
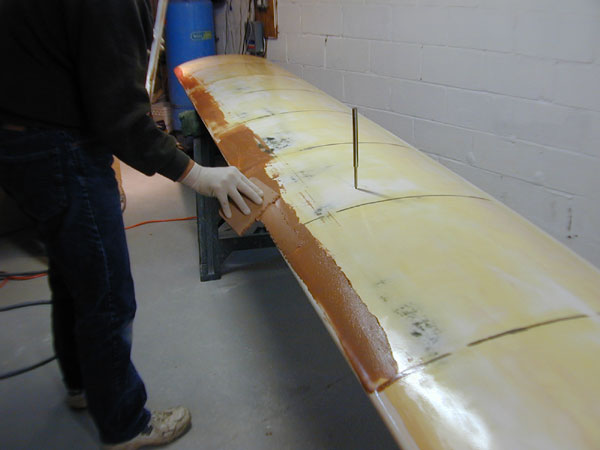
the outer wing panel to tip joint suffered polyurethane paint failure and had to be sanded halfway through the 2002 soaring season. The gel-coat and paint in this area was very thin. |
 |
|
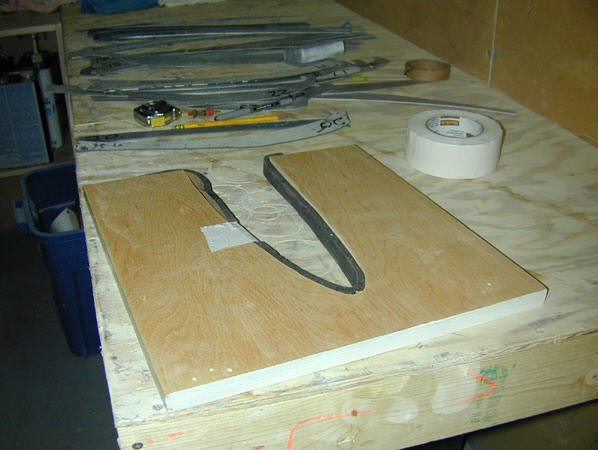
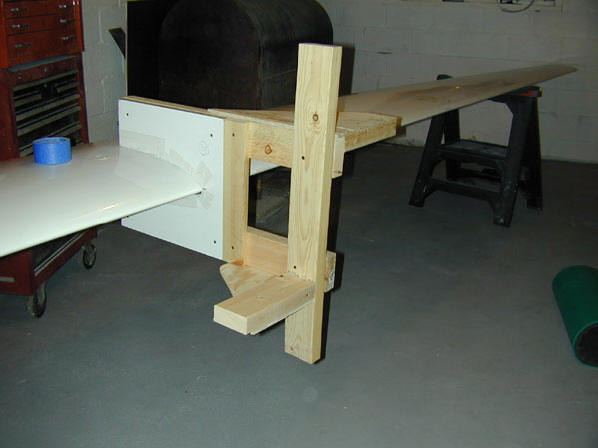
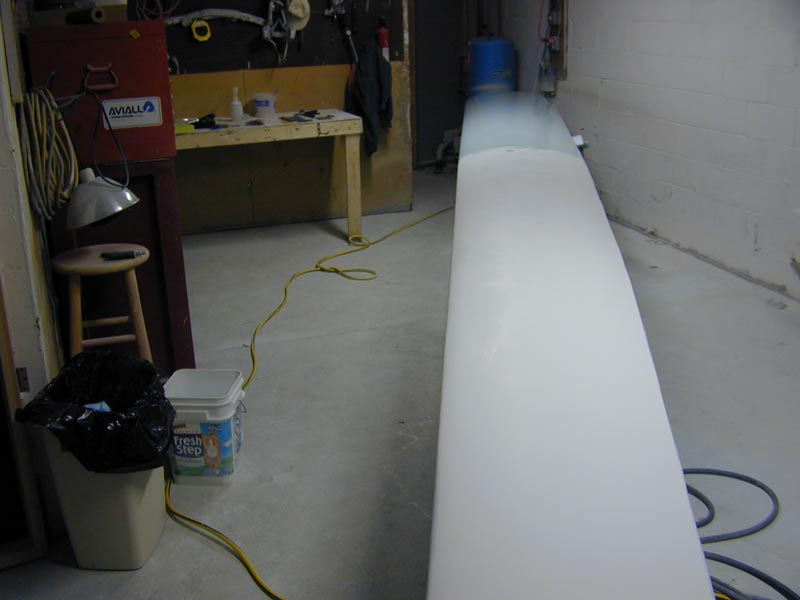
I picked up the wing profile off one of the templates to make a wing stand. I need to support the wing vertically while I go through the process of removing the ailerons. That's the stack of wing templates in the background. |
 |
|
November 14 2002 - after cutting out the wing profile, I line the wood former with some foam and cover it with duct tape to protect the wing. |
 |
|
Here's one wing stand (out of two to be made) finished and test fit against the station location it will support. |
 |
|
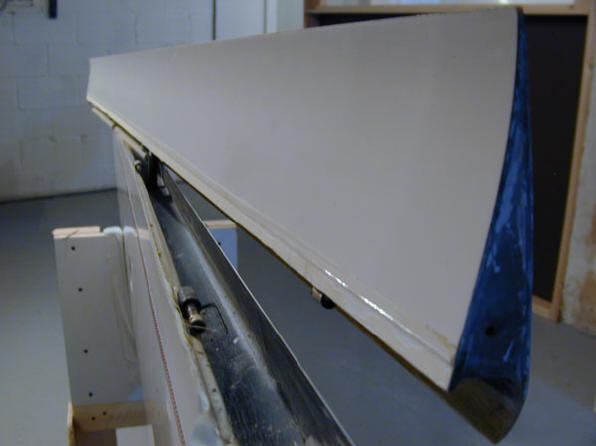
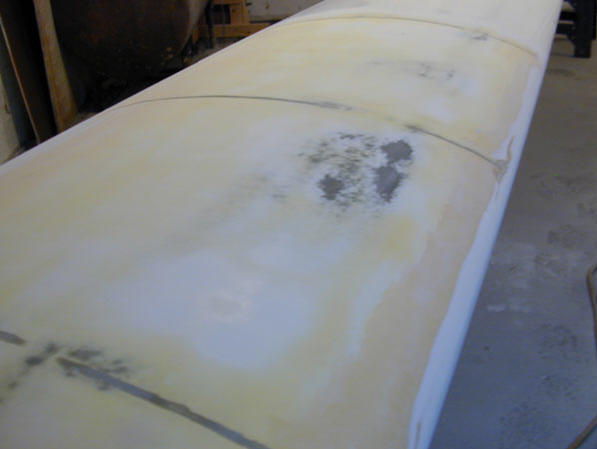
16 Nov - Supports completed and wing upright for aileron removal. You can see the dimple tape that I'll have to re-install, so now is the time to record the exact location of the tape so I can be sure to get it right back where it was. Also you can see the old gap seal Mylar and access hole for the mid-span aileron rod-end connecting hardware. The blotch on the aileron is where some gel-coat flaked off (better photo below). |
 |
|
close-up of the old gap Mylar and fabric aileron seal and you can also see where the old gel-coat bubbled up under the trailer support - caused by the water trapped in the felt of the trailer support and held against the wing gel-coat. |
|
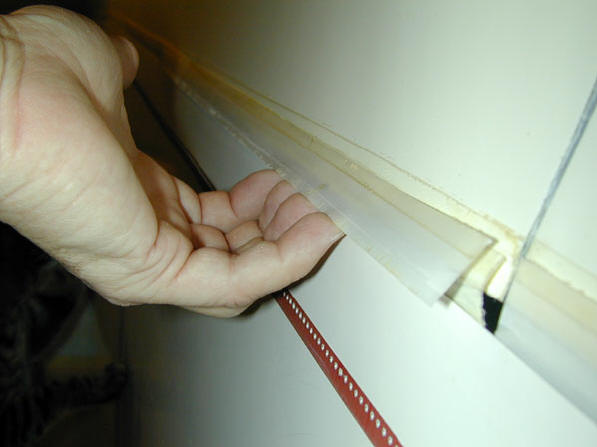
Mylar peels right off the mid-span aileron. Under the Mylar is the fabric gap tape. |
 |
|
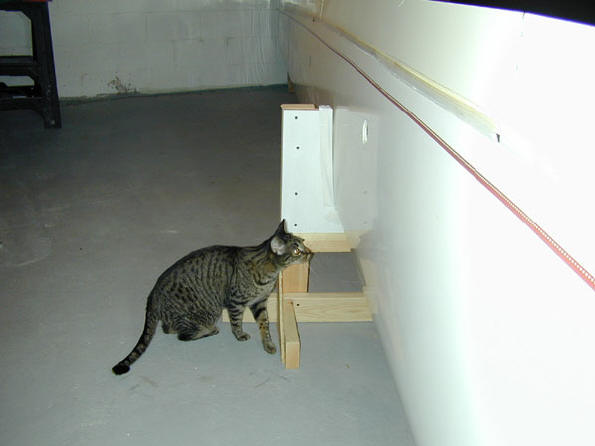
Tabby Cat inspects the hole - he believes it is a good place to hide a mouse. |
 |
|
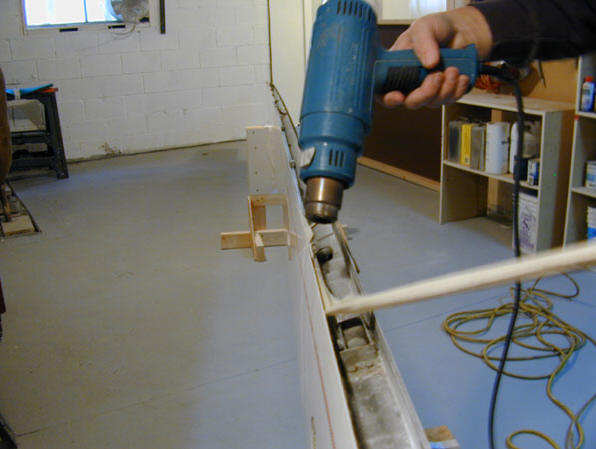
removing the mid-span aileron. The inboard aileron must be removed first because the ailerons must slide inboard on their hinge pins to allow them to be free. If you look closely at the hinge pin attached to the wing above, you can see the retaining collar I put back on the pin to show how the aileron is held in place. There is a small roll pin that goes through the hole in the collar and a hole in the hinge pin that keeps the collar in place when the aileron is installed. Next I must remove the control rod end bolt in the middle of the aileron and off it comes. |
 |
|
With all of the ailerons removed, I use a just a little heat to help free the gap seal tape. This is a fabric tape glued to the inside of the lower wing skin and doubled back to the lower surface of the aileron. Tom Knauff has this tape and he sent me 25 meters of it. He also stocks the dimple turbulator tape and I received 25 meters of that as well. |
 |
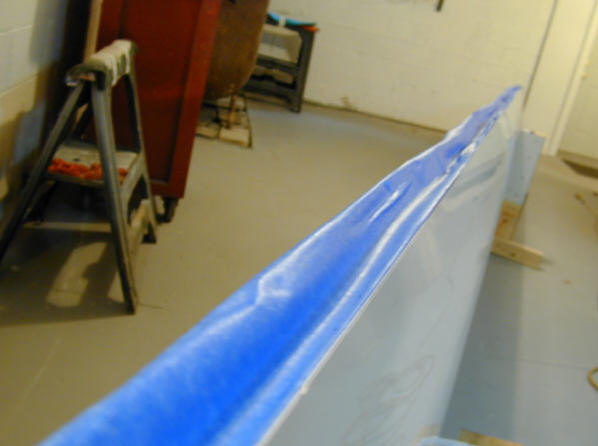
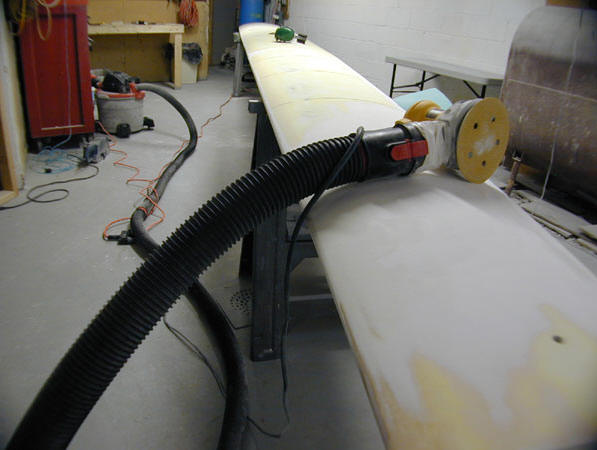
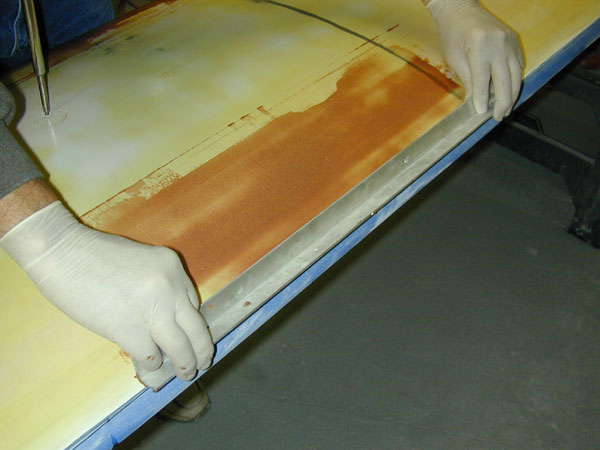
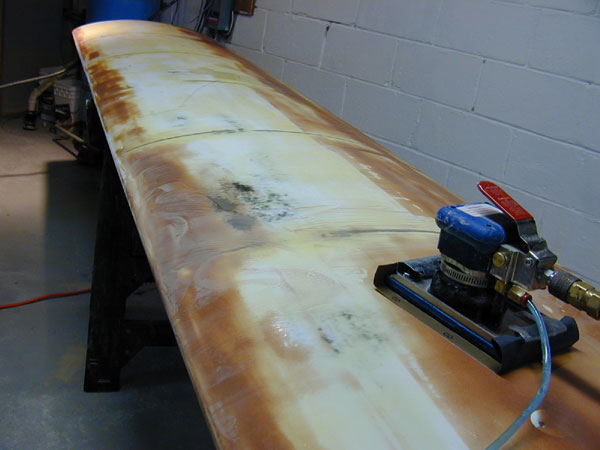
| Prior to sanding, I taped up the trailing edge cavity to help minimize the mess that will be created during the sanding, spraying, sanding and polishing activities to some. |
 |
|
Sunday 17 November - I start with some 80 grit on my favorite electric DA sander and I am able to quickly reveal the original Dick Johnson template locations (stations 14 and 15 are shown). The dark lines are the epoxy bead that Dick built up under the templates when he first profiled the wings. The round plug inboard of station 15 is the ballast fill hole. Sitting next to the templates is a RadioShack 30x microscope - an excellent tool for observing the surface condition. |
 |
|
Here's template 15 in place over the old epoxy line showing a perfect fit. There is almost no gel-coat cracking on the upper surface, so I'm going to have an easy time of it - just have to remove the top layer of gel-coat - no need to go all the way down to the wing skin surface and re-do Dick's profiling. The profile templates will be very handy for making sure I get the wing profile back to perfect after spraying on the new gel-coat and sanding it smooth. |
 |
|
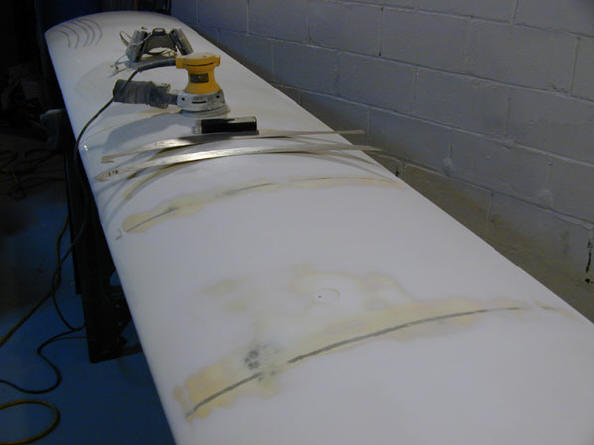
it took about 3 hours of sanding to do these four stations. It's actually much smoother than it looks. Checking with the templates, the wing conforms pretty well, but I can see that most of the filler Dick added to get the correct profile was in the nose section of the wing chord. You can see the yellow areas at the front of the wing - that's the epoxy filler Dick used to build up the wing profile there. In the area of the main wing spar (center of the upper surface) there is very little filler and I've sanded through some of the original gelcoat - that's black area where the carbon-fiber skin is showing through. The black parts are the thinnest amount of filler. Then moving aft on the upper surface, you can see the yellow filler get thicker again to develop the proper "hump" at about 70% of chord that typifies this airfoil. |
 |
|
Here's a close-up of the sanded area showing the thin parts (dark areas) and the build-up on top of the nose section of the wing to fill in the low spots. I didn't sand the leading edge contour very much with the 80 grit - there's very little cracking or flaking of the leading edge, so I'm just going to sand it carefully by hand and shoot over it. I think this will be the best way to keep the leading edge straight and maintain the correct nose contour. The white spot inboard of the black spot is the original Schempp-Hirth gel-coat. |
 |
|
There are three layers on this wing; (1) the original gel-coat, (2) the epoxy filler added by Dick Johnson to develop the correct wing profile and (3) the gel-coat sprayed on top of the filler. At some point in it's life, the wing was touched up using polyurethane white paint in areas right on the top center of the wing (where the filler and gel-coat is thinnest) and this is the polyurethane paint that bubbled up in the humid environment of the Northeast. My plan is to remove and replace the top layer of gel-coat (and polyurethane paint) and either leave the existing filler or replace it as necessary to maintain the proper profile. |
 |
|
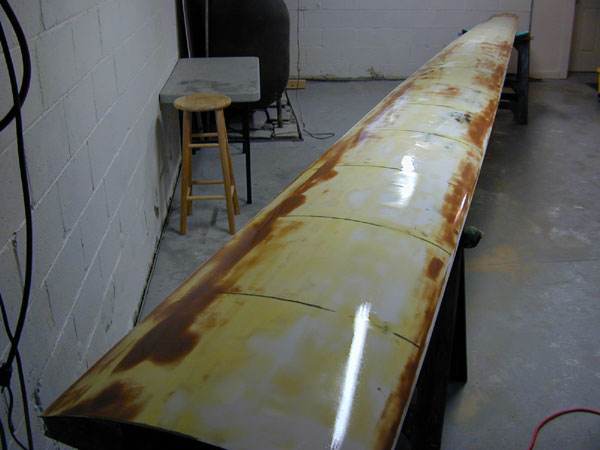
23 November - The big white spot on the leading edge is where I had to do some repair last season when the gelcoat bubbled up - this is the same location as in the first photo at the top of the page. The white patch is good Simtec and it is doing a nice job of filling in the low spot - but it is not providing the correct wing airfoil profile as you will see below. |
 |
|
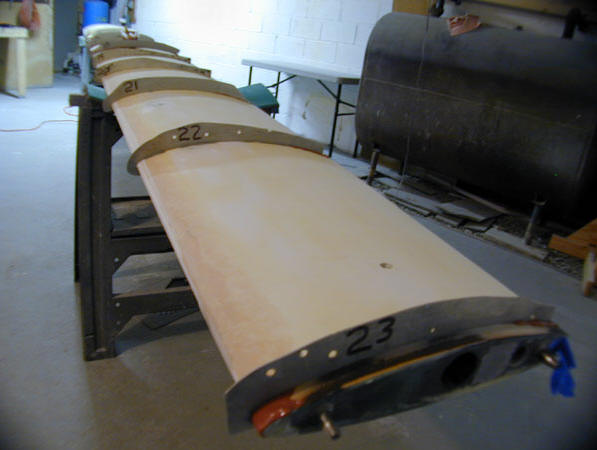
after about 10 hours of sanding, the top surface of the wing is now gel-coat free - what you see in this photo is templates 23 and 22 in place showing an excellent fit. Even though the yellow epoxy looks blotchy and uneven, it's amazing how smooth the surface is and how well it fits the contour of the templates - except for some spots that I will show below. You can see the gray epoxy filler around the nose of the leading edge at the tip rib - there is quite a bit of filler added to the leading edge of this wing to get the profile correct. |
 |
|
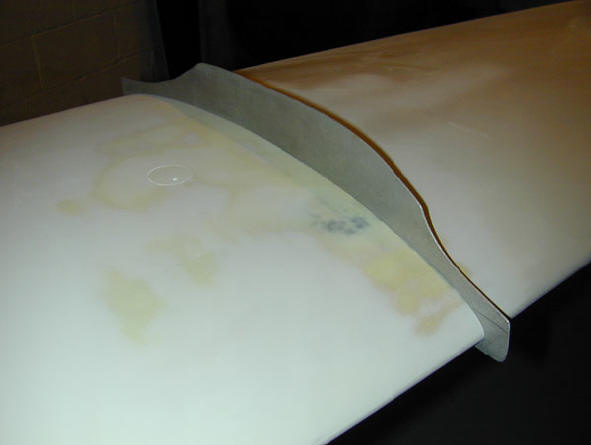
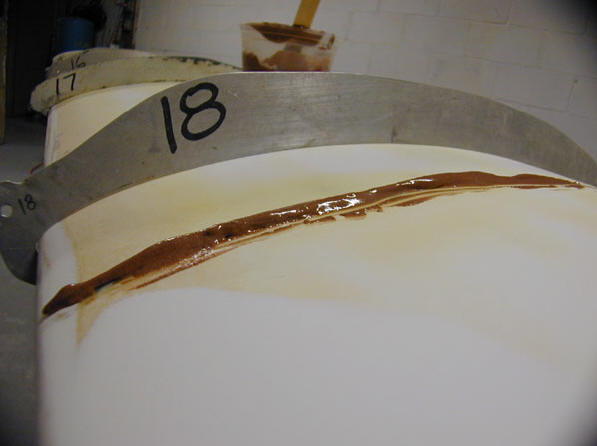
At wing station 18, you can see how the wing profile does not follow the template profile. This is the area discussed above where I had to sand down to the wing surface to repair the bubbled up paint. This gives an idea of how much filler material is on the leading edges. I never got down through the original layer of gel-coat and into the carbon-fiber wing skin! |
|
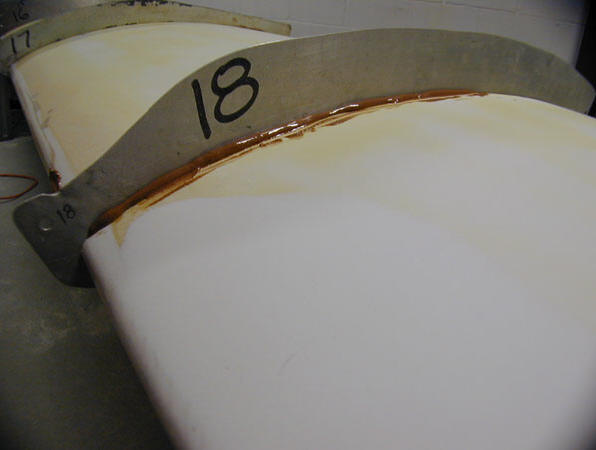
Station 18 template at it's station location showing how well it fits the contour in this area. |
|
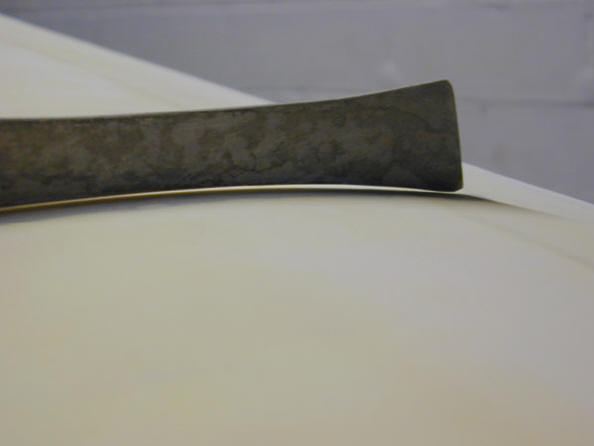
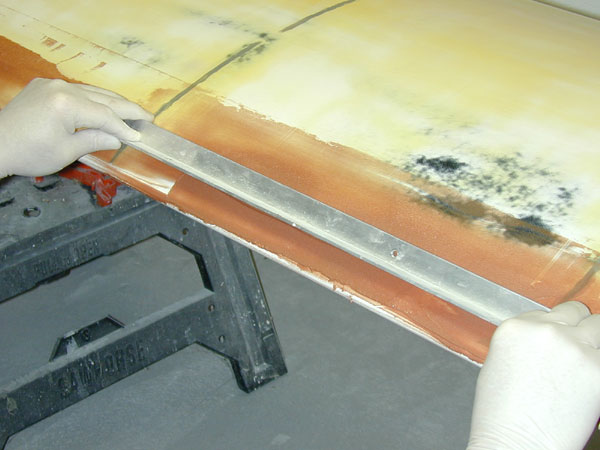
Here's a close-up of station 14 showing the typical gap at the aft end of the wing upper surface, that gap is about .015" to .040". |
 |
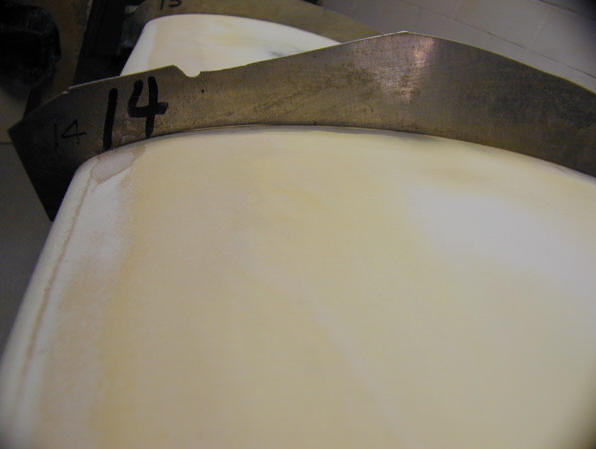
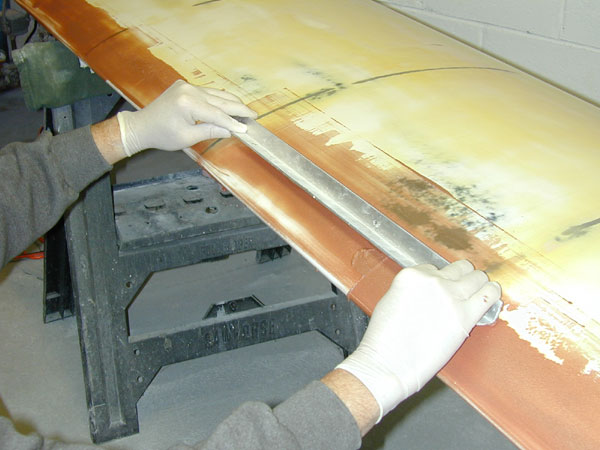
| forward end of station 14 showing a nice fit and a bit of patching at the upper nose surface (brown epoxy filler just underneath the number 14). You can clearly see the yellowish epoxy filler - going forward at the leading edge nose you can see the sanded layer of gel-coat and forward of that a brown line of filler under the gel-coat. To the right of the picture, you can see where the yellow epoxy filler fades into the original white gel-coat underneath the filler. |
 |
|
Station 10 showing the typical gap with a brown epoxy filler patch in the foreground. |
 |
|
I mixed some very light sanding filler with West System epoxy in preparation for setting the templates. |
|
First (above photo) I lay a small bead of epoxy in the area where the templates shows the wing surface is low. |
 |
|
I set the template into the bead of epoxy. The epoxy will fill the space between the template and the wing surface. Once the epoxy has hardened, I'll knock the template forward and free it from the bead of epoxy. That will leave a small bead of hardened epoxy with a small trench in the middle of the bead. I'll sand the bead down to the level of the trench and the high point remaining will be the correct wing profile for that station. Once I get all of the stations to the correct profile, I'll use a straightedge to screed filler between the stations to return the wing to the correct profile. Difficult to describe, but easier to understand if you see a picture, so I'll continue to update this process with photos as I go along. |
 |
|
The root rib needed filler on the leading edge and at the typical location at the rear of the wing upper surface. |
|
The now-famous station 18 gets a long bead of filler to insure a good profile in this area. |
 |
|
Station 18 template set into the bead of epoxy. |
 |
|
all templates set into beads of epoxy and all cats locked out of the re-finishing parlor! |
 |
|
26 November, the epoxy is hardened - I tap the template forward with a hammer and break it free from the epoxy bead. It leaves this trench in the epoxy on the leading edge. |
 |
|
I start sanding the bead of epoxy down to the level of the trench. |
 |
|
almost sanded completely flat and even with the bottom of the trench. Photo below - sanding to the level of the trench is complete and that template station is now the correct airfoil profile. |
 |
|
I check the fit of the template - it's perfect all along the wing upper surface. Next step is to sand all the beads down to the level of the trench and screed epoxy filler between the template locations to fill all low spots on the wing upper surface. |
 |
|
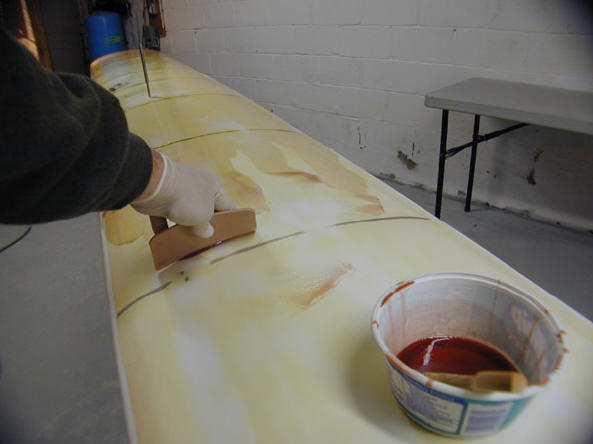
Below - Thanksgiving Day 2002 - I start the filling process by applying a layer of epoxy over the entire wing surface with a squeegee. This will provide a very thin layer of epoxy to seal the various gel-coat, filler and epoxy layers that exist and also provide a nice base for the thickened epoxy filler to adhere to. |
 |
|
the wing is completely coated and still wet. |
 |
|
Next I lay on some epoxy thickened to the consistency of cookie dough (so that it doesn't run) with the squeegee. The ballast hole cover tool is coated with wax and sitting in the tool hole to keep the epoxy out of the hole. The thin layer of epoxy is still wet, but getting tacky. Be careful not to apply epoxy over the thin layer if the thin layer has hardened because after it has hardened, it will develop an amine blush that must be sanded off to provide proper adhesion for the next coat. If you apply a second layer before it loses its tack, it's not a problem. |
 |
|
After the epoxy is laid on, I use my aluminum angle to screed the epoxy between the wing stations to fill in all of the low spots between the stations. |
 |
|
I find that I have to screed it a few times in each location to get all of the low spots filled in. |
 |
|
I'm screeding the trailing edge area. |
 |
|
you can see I drug something through the filler when I did this section, I just have to go over it again. You can start to see the low spot running along the wing upper surface at about 70% of chord - getting filled in by this screeding process. |
 |
|
Leading edge done, time to mix up another batch and do the trailing edge. |
 |
|
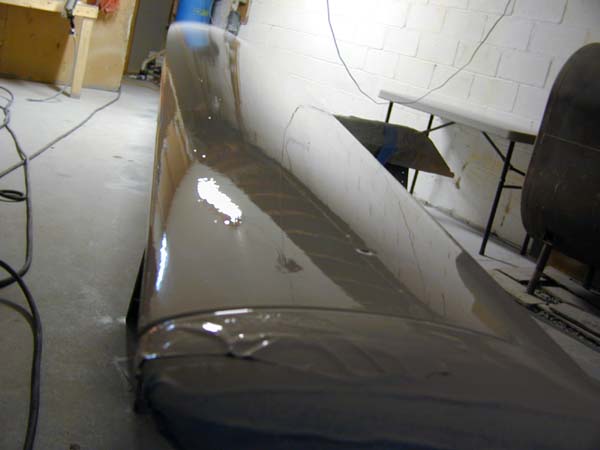
wing tip done. The drill bit is sitting in the tip button hole to keep the epoxy out. |
 |
|
the upper surface of the wing is now profiled to the correct airfoil outline. You can see the low spots aft the aft end of the chord and between the stations on the leading edge. The leading edge low spots were caused by me sanding the gel-coat off. The trailing edge low spots existed before, but perhaps not as low because I sanded that area pretty aggressively. |
 |
|
November 29, I'm using the water sander with a hard rubber pad to level the filled in areas. You can see the amount of filler remaining after sanding in the left of the photo after I sand it down level with the surrounding surface. |
 |
|
the entire upper wing surface is now sanded to the proper contour, wet-sanded with 220 grit. After sanding is competed, I wash down the surface thoroughly... and mop the floor. |
 |
Below - the abby Cat stops by to inspect. |
 |
|
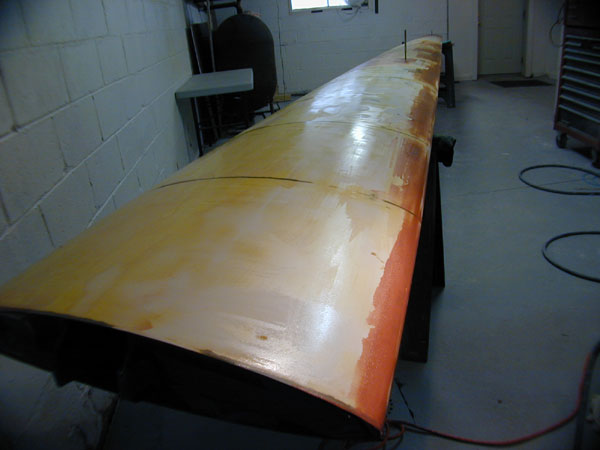
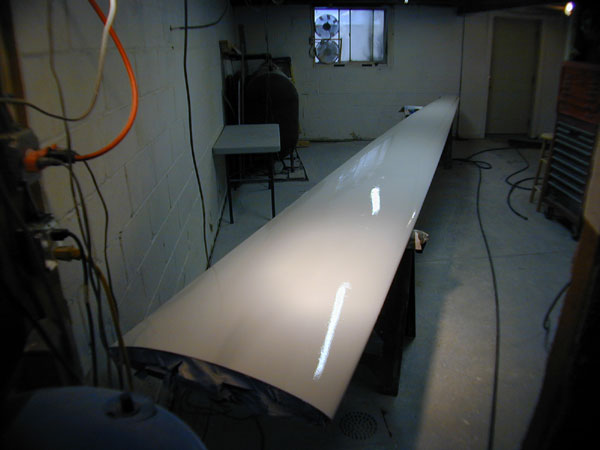
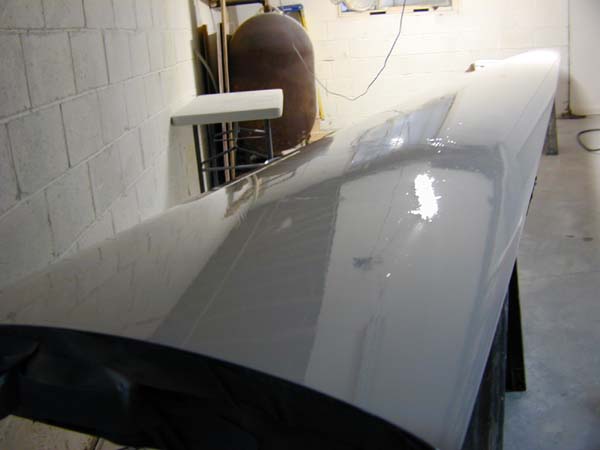
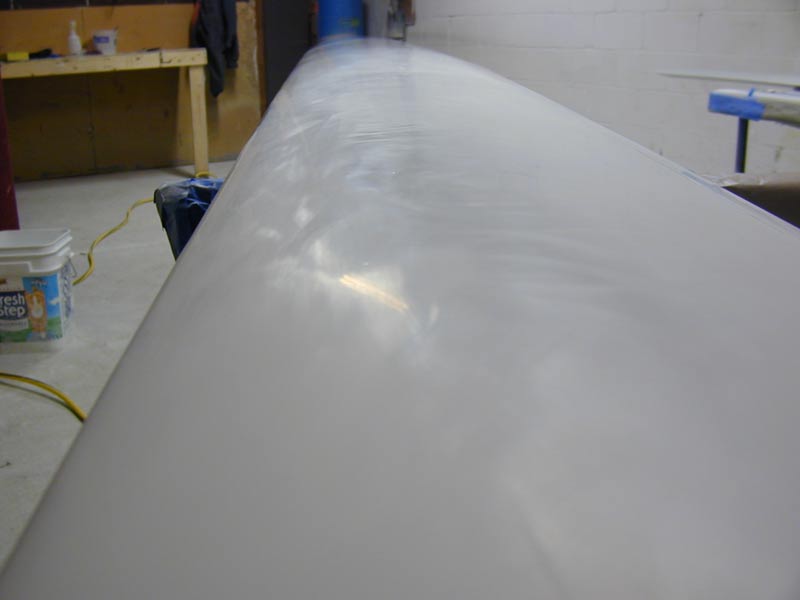
7 December and I've got a nice coat of Simtec sprayed onto the upper wing surface. A quart of Simtec was enough to do it all. You can see the dual fan system I've installed in the window as a result of getting in trouble for stinking up the basement while spraying the surfacer. I forgot to close the basement door and crack windows in strategic locations to allow good air flow. I think I needed the second fan anyhow to get a good strong flow of air while the polyester cures. I think the cats ratted me out to The Boss. |
 |
|
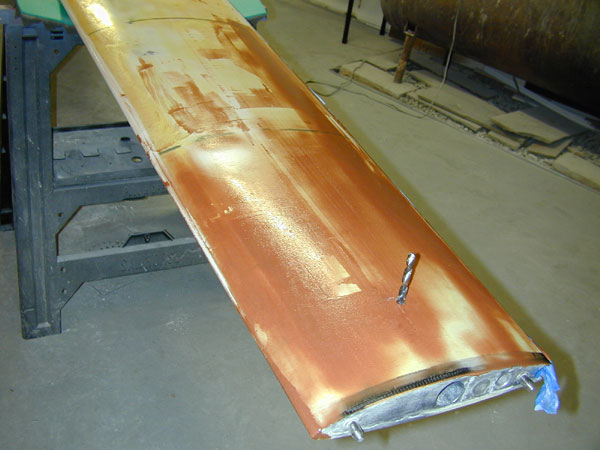
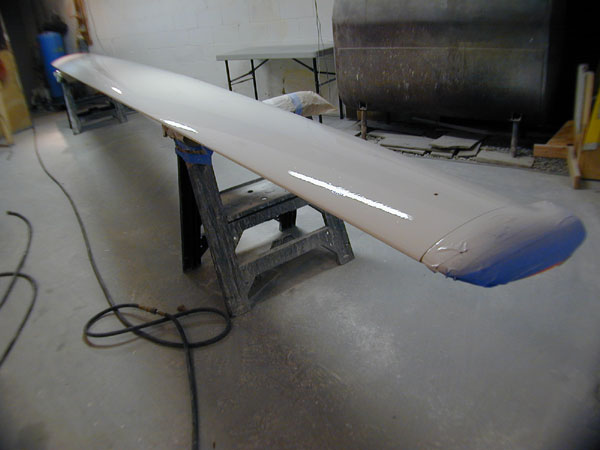
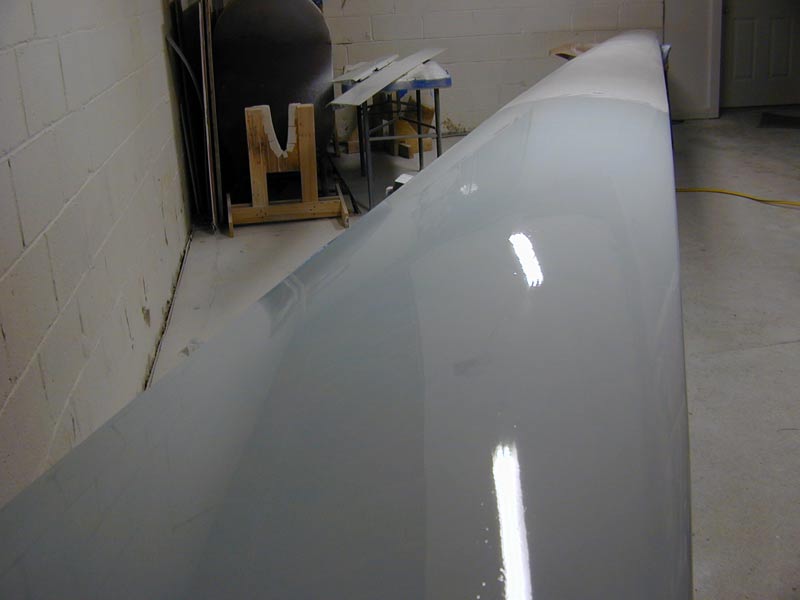
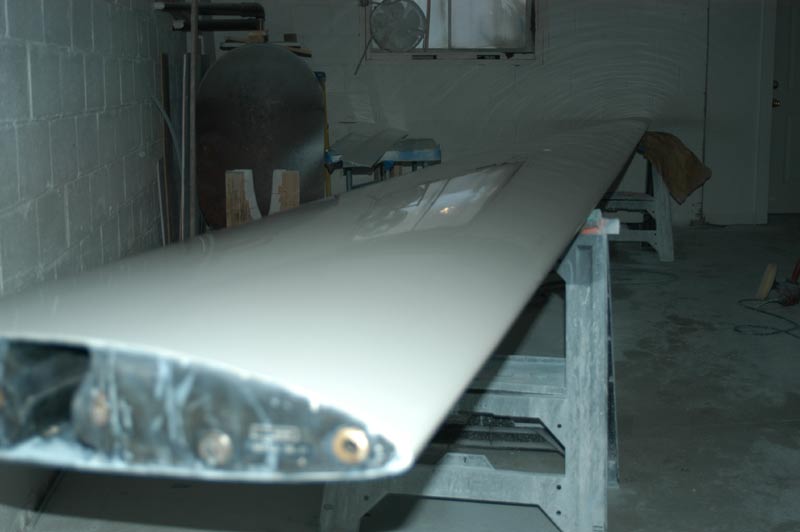
A view of the gel-coated wing from the tip end - next step, sanding it down flat and filling pinholes. |
 |
|
14 December - upper wing surface sanded with 320 on the water sander and ready for another coat. |
 |
|
you can see I just sanded it lightly to let the next coat adhere properly, not sanded flat yet. I also filled in some low spots and any big voids |
|
the second coat sprayed on. |
 |
 |
|
it's starting to look pretty good, but I have a good 8 hours of sanding after this coat sets up. I let it set up for at least 48 hours before I start sanding, that's to insure it's fully cured. The basement is running about 62°F, so it takes a bit longer to cure. |
 |
|
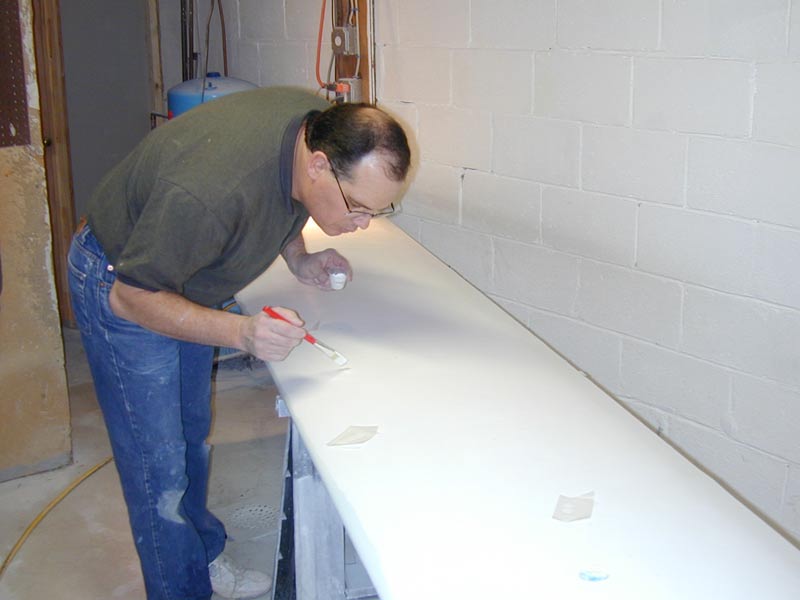
December 15 - Time to sand it all down flat. First I brush on a coat of diluted blue fountain pen ink to show the imperfections as I sand the gelcoat. |
|
I brush the dye on the wing and let it dry |
 |
|
The water sander is loaded with 320 grit wet-or-dry and you can see how quickly it sands through the gelcoat leaving a very smooth and flat surface. Surface imperfections show up as blue dots or areas of blue that indicate larger low areas. I just keep sanding until all the blue is gone, but not so much that I sand all the gelcoat off. |
 |
|
that's about 45 seconds worth of sanding with 320 grit. Below, I spent about 20 seconds sanding the area showing the light blue mottled areas. As I sand the area more, the blue spots disappear indicating the surface is flat. |
|
the water sander makes short work of the sanding, I sanded the entire surface in about 2 hours. |
 |
|
all the little blue spots that were pinholes and other low areas get cleaned up thoroughly with alcohol (to remove all remaining ink) and then I touch up those low spots with a dab of gelcoat. I do this because if I tried to sand the little blue spots all the way down flat, I would end up sanding all of the gelcoat off. So I fill in the little low areas, sand them down after it sets up and spray on one final coat of gelcoat. The ballast filler hole was low all around the opening. |
 |
|
16 December and the small bits of gelcoat are all sanded flat - now I have a very smooth, profiled wing surface with no pinholes anywhere. Perfectly smooth and flat. |
|
the entire wing is sanded with 280 grit by hand - this is a lot of work, but it must be done with the hand sander fitted with a thick piece of Lexan to make sure the gelcoat is sanded flat. The water sander has a relatively hard rubber pad, but even a hard rubber pad can leave very shallow waves and bumps as the rubber gives over the very hard gelcoat. Gelcoat is VERY hard and therefore very hard to sand. It will wear out good quality sandpaper very quickly, and don't even think about sanding freshly hardened gelcoat without water and good quality sandpaper. |
|
9PM on Monday night, December 16, after two hours of sanding, the wing is ready for the final coat of Simtec. It will spray on very smooth and flow nicely. After that, one last round of sanding starting with 280 and going up incrementally all the way to 1500 and then polishing. Then I can flip the wing over and do the other side. Only three more wing surfaces to go after this one's done; and six ailerons as well! |
|
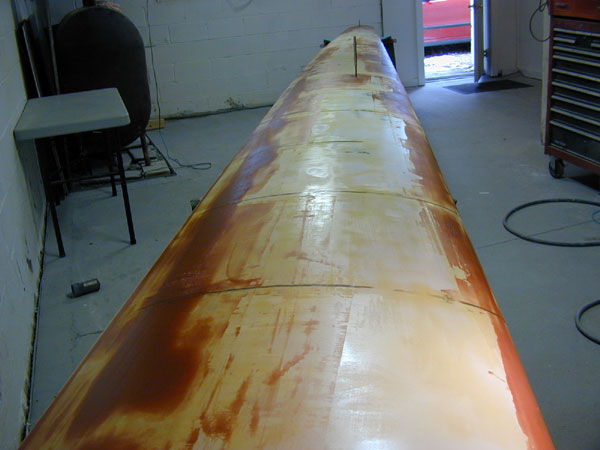
December 21, 2002 - Above and below: A third coat of Simtec. The first two have been essentially sanded down to the thickness of one coat of Simtec, so this coat is actually covering some very thin areas. About half the thickness of this third coat will be sanded away during the final sanding and polishing. If the surface is uneven at all, it may require a fourth coat. The fun never stops at the Fun Factory! |
 |
|
22 December and I'm sanding the third coat flat with 1200 grit wet sandpaper. I use the hand sander while the compressor tries to catch up with the water sander. I think I killed the compressor this evening - it doesn't really have enough output to run the sander continuously, so it's always pumping and it got pretty hot this evening and started to really draw some amps, so I stopped sanding and started polishing at the root end of the wing. I attached a hard Lexan block to the water sander to prevent waves in the finish. |
 |
|
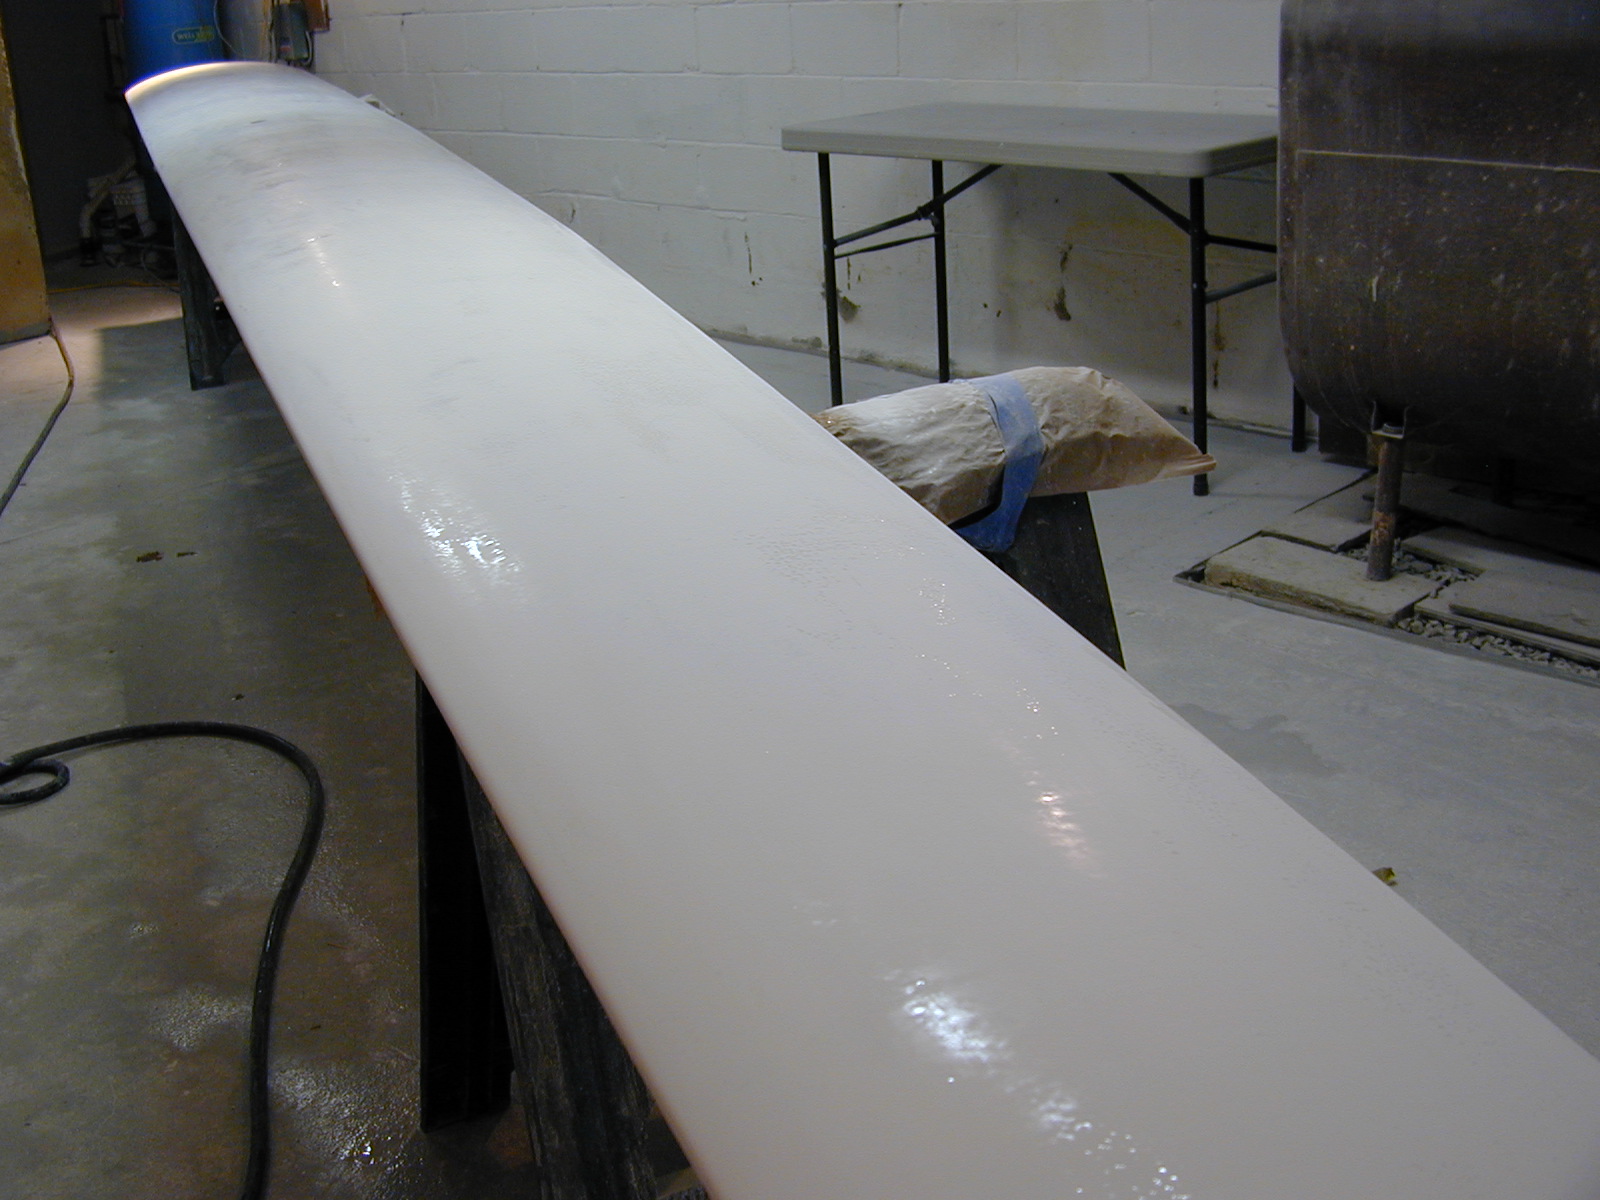
the result of the first polishing attempt. It came out better than I thought it would, but some additional hand-sanding with 1500 grit will be required to get all of the sanding scratches out. The good news is that it's very flat - no waves at all. The gel-coat ending up being very thin - just as it should be. I have to be careful with any further sanding -even 1200 or 1500 grit can go too far. I've not touched the leading edges, I'm making up a curved hand sander to finish off the leading edge using 1200 grit. I have a few tiny dimples I need to fill and then a final polish and this side is done. I'll be flipping it over in a few days, probably on Christmas. Maybe Santa will bring me a new air compressor for Christmas! |
 |
|
Christmas Day 2002 - I sanded the entire wing by hand using a rubber sanding block and 1500 grit wet sandpaper and started the final polishing. It's coming out looking pretty good. Tomorrow, I hope to finish the top surface and flip it over and do the bottom surface. |