|
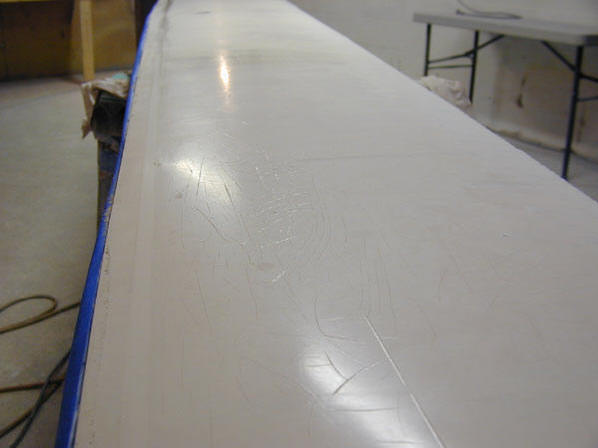
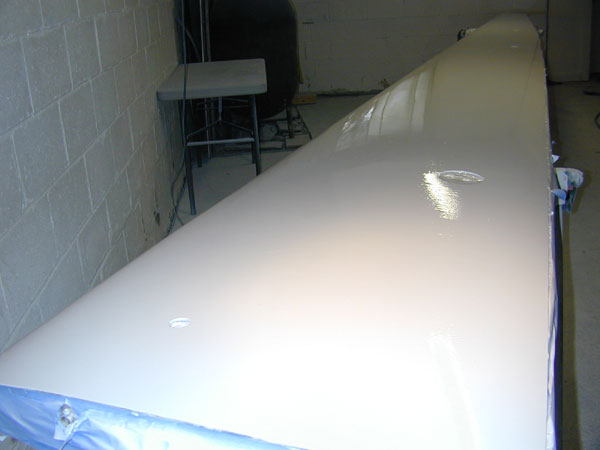
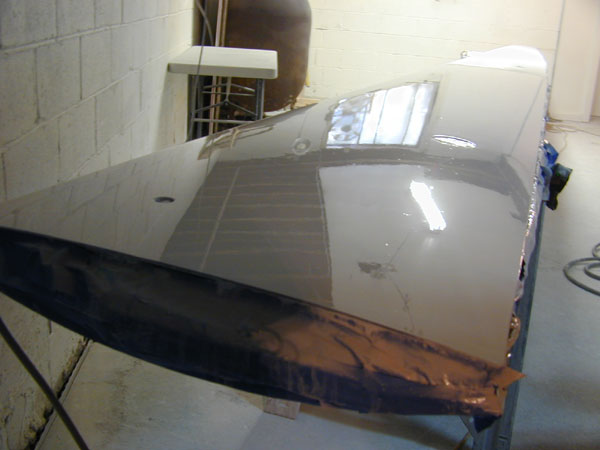
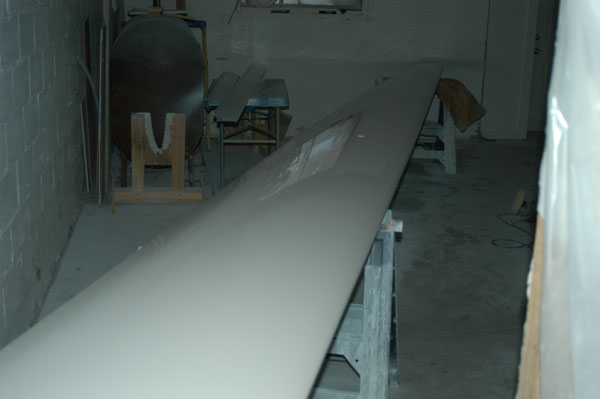
28 December, 2002 - flipped the wing over and here's the problem: old, discolored and cracked gel-coat. It will all have to be sanded off, then I'll repeat the profiling process I used on the upper wing surface.
|
 |
|
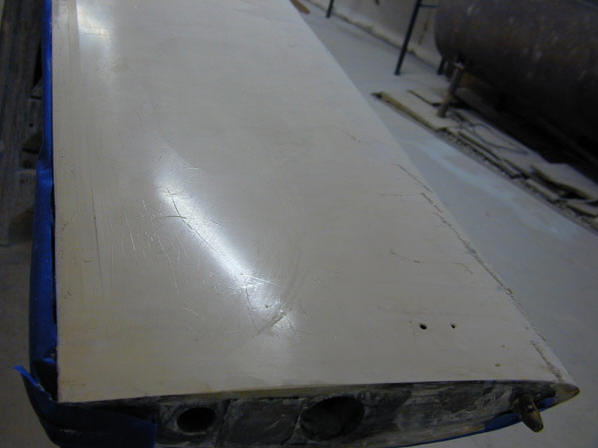
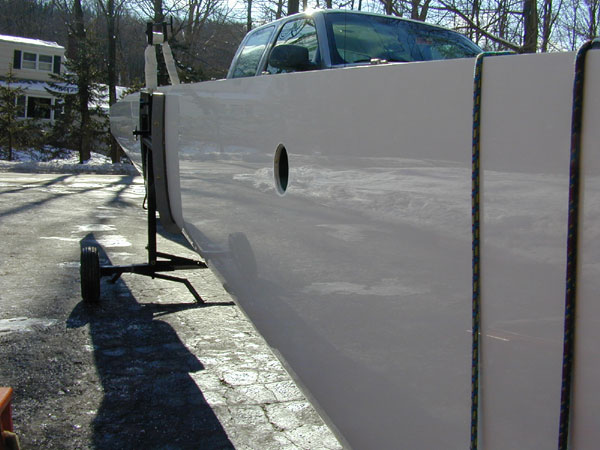
A view of the outer tip showing the yellowing, cracking and general untidiness of the lower surface. The two small holes are vents for the water ballast tanks.
|
 |
|
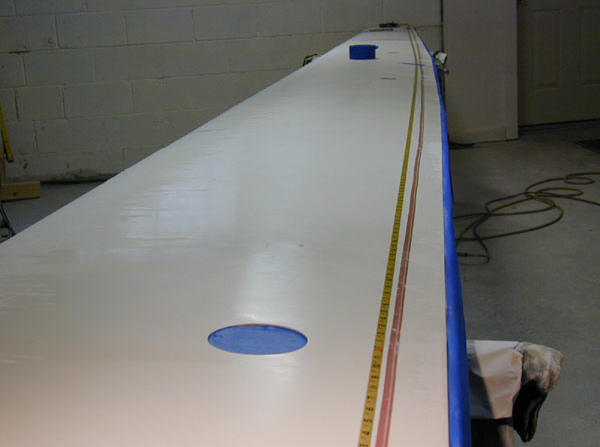
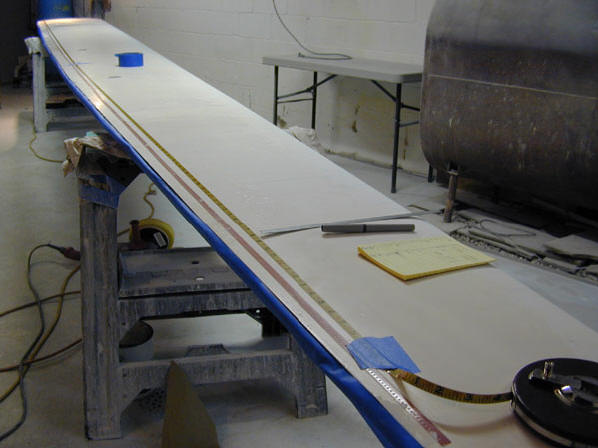
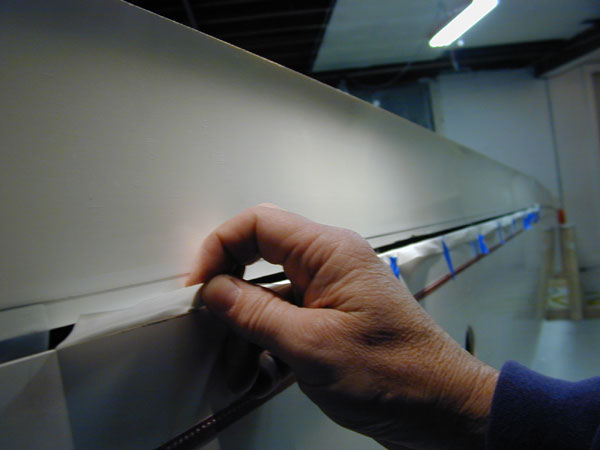
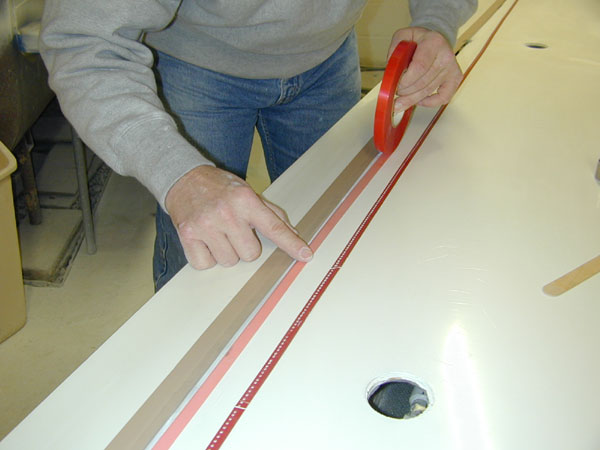
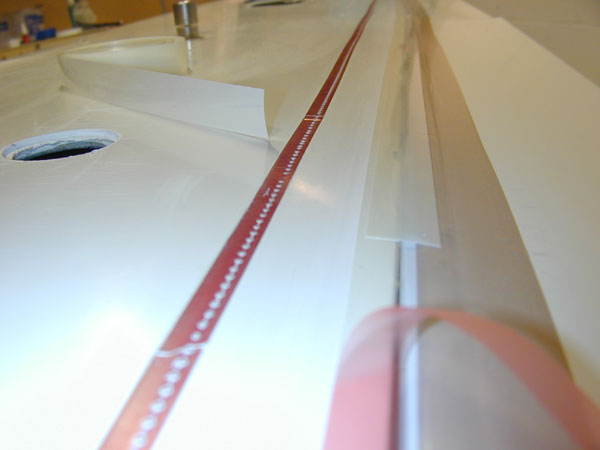
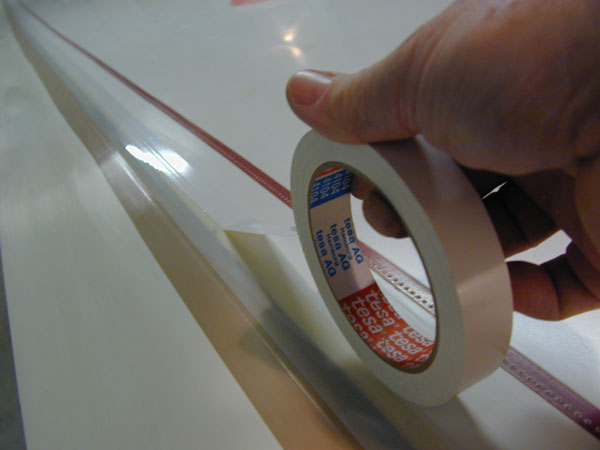
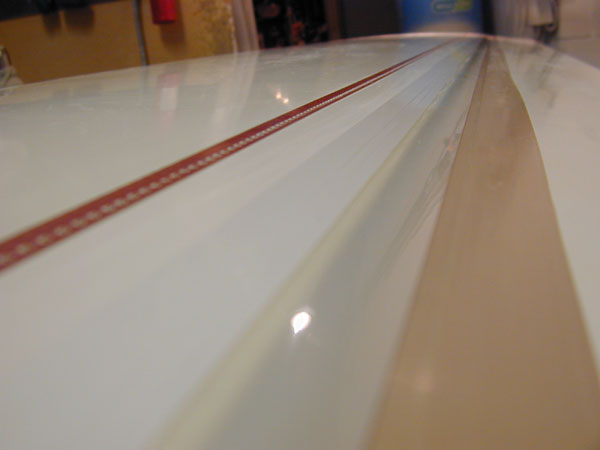
First step is to mask off the wing control rod access holes and document the precise location of the turbulator tape. I'm using a 50 foot tape to identify the station locations and measuring the distance of the turbulator from the trailing edge to insure I get it back on in the same chordwise location.
|
 |
|
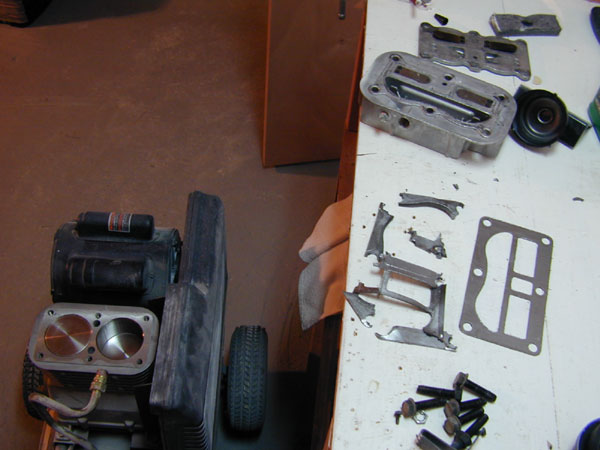
I disassembled the air compressor today to determine what its problem was and I discovered a blown head gasket. Otherwise, the pump is in excellent condition. I suspect under-torqued head bolts as they were too easily removed in my opinion. I ordered a new head gasket and it should be back in service within the week.
|
 |
|
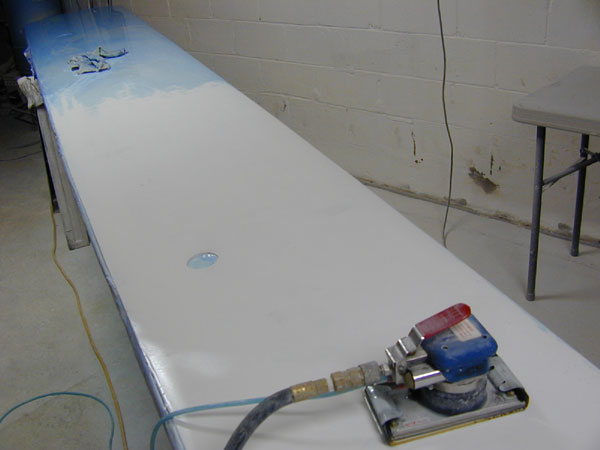
Above - 29 December, checking the lower surface with the templates and sanding the gelcoat off.
|
 |
|
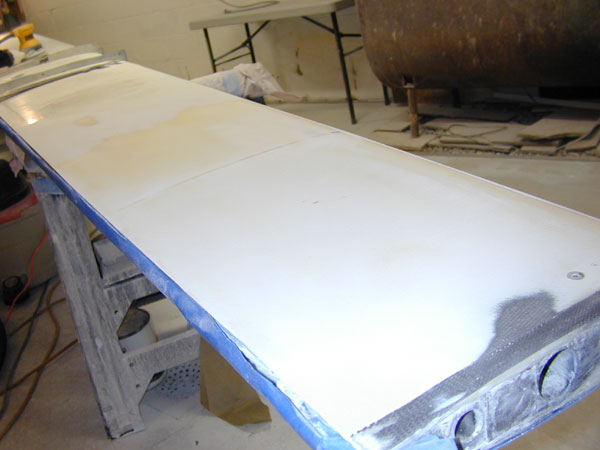
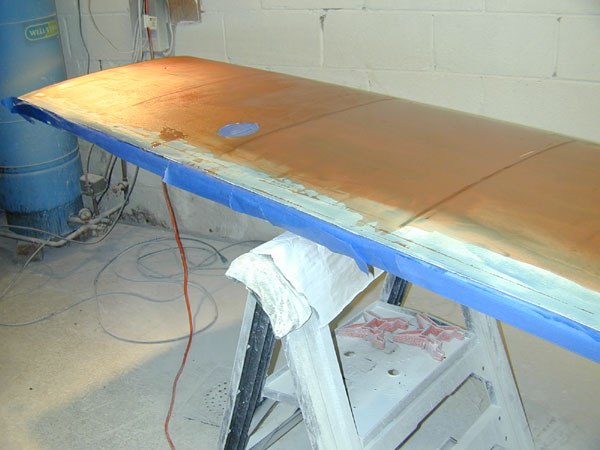
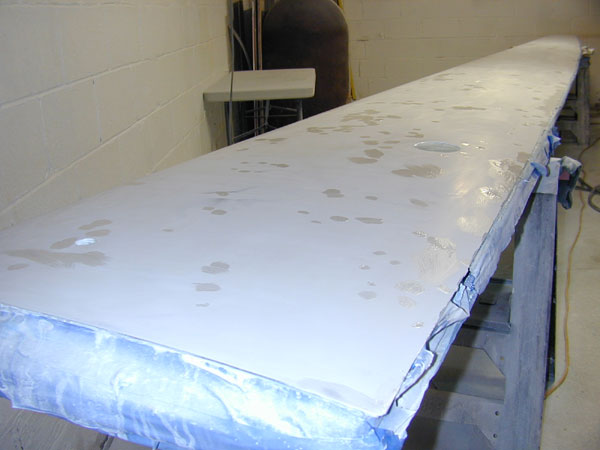
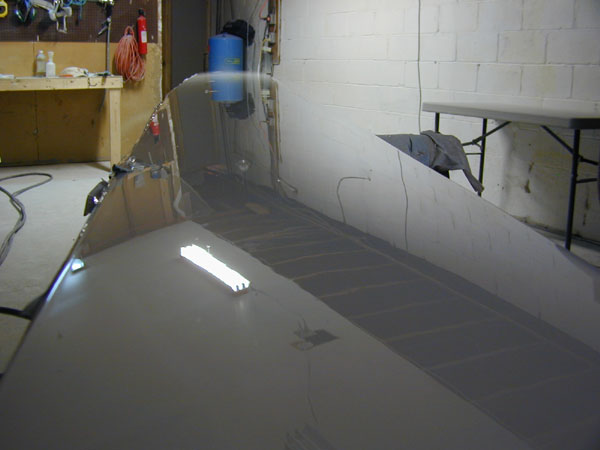
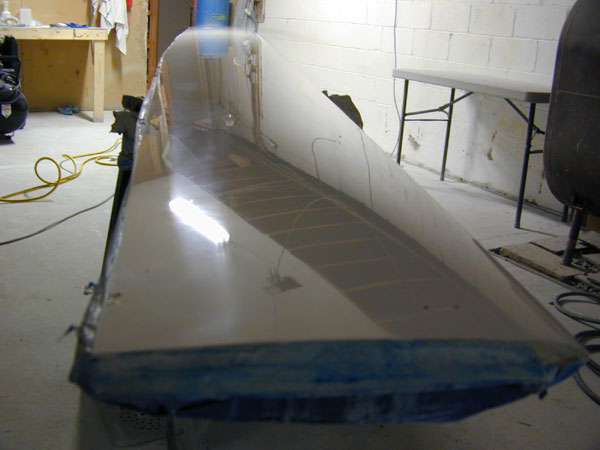
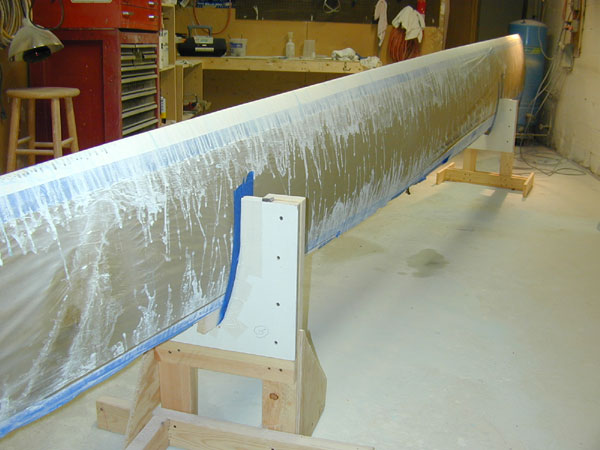
On the right side of the photo you can see where I sanded through the original gel-coat, down to the carbon-fiber skin. Moving inboard on the wing, only the original gel-coat remains after I've sanded the top layer of gel-coat and the epoxy layer. The yellow area is the epoxy filler used to build up the profile. I'm sanding most of it away because it has aged and gone waxy. The cracks in the gel-coat allowed sunlight in to break down the epoxy - so where the epoxy is thick, I'm taking it down until it starts to sand like real epoxy sands - very hard.
|
 |
|
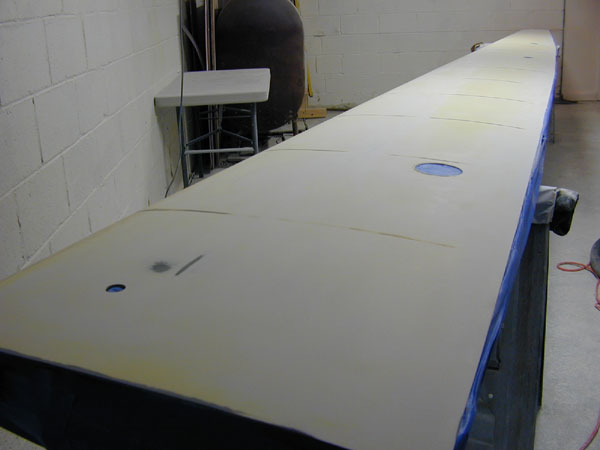
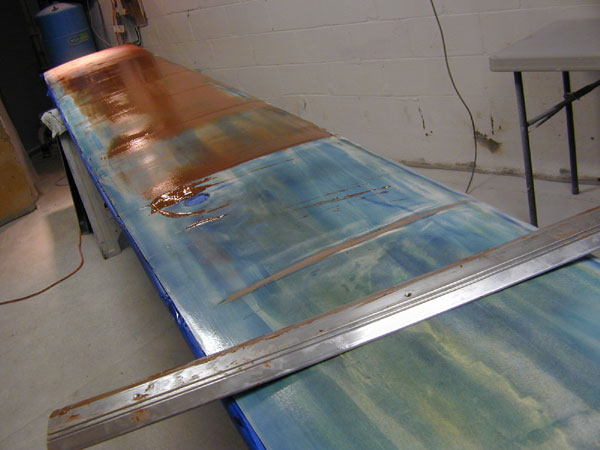
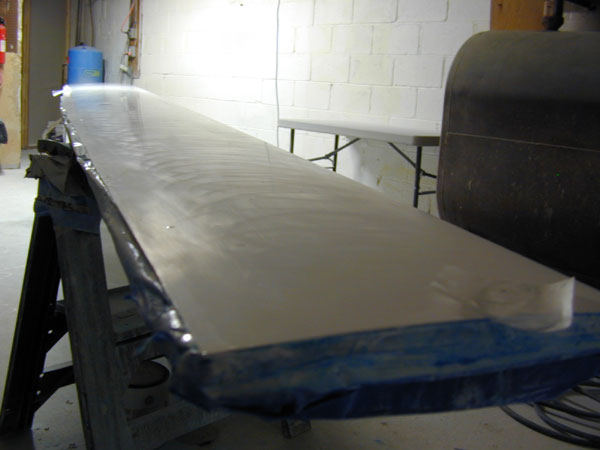
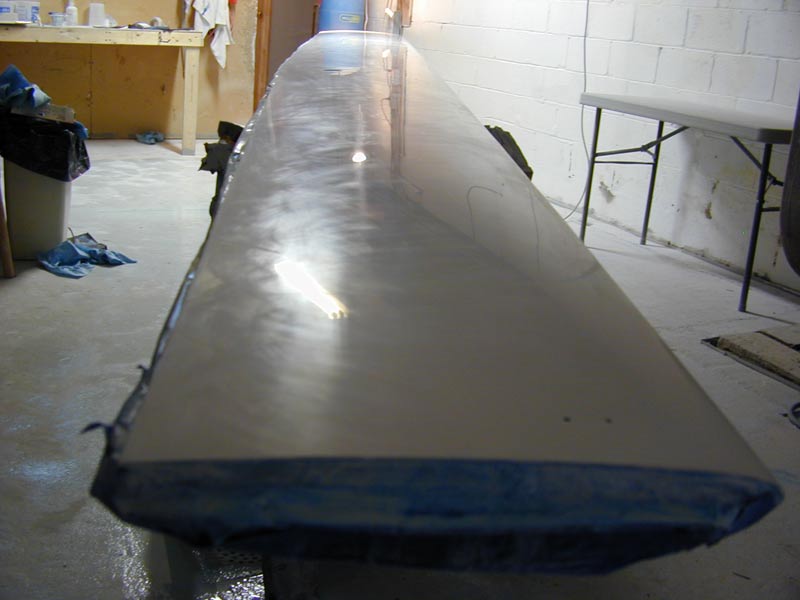
The entire wing is sanded in about 6 hours, you can see the original station lines that Dick Johnson created during the profiling process. Again, some areas are very thin because they needed only a small amount of filler, just outboard of the ballast dump hole, the original gel-coat is thin. Next, I'll squeegee on a thin coat of new epoxy and then check the wing profile prior to spraying on the new gel-coat.
|
 |
|
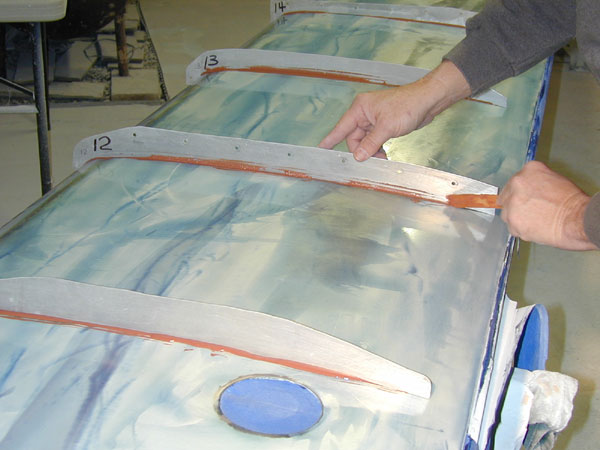
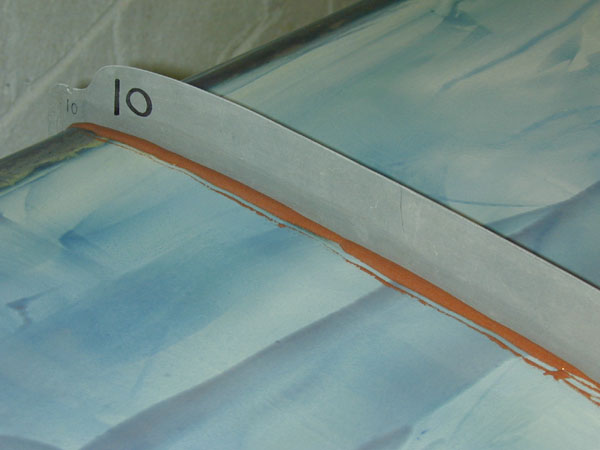
New Years Eve 2002 - I set the lower surface profile templates into a bead of epoxy that I laid down at each station location.
|
 |
|
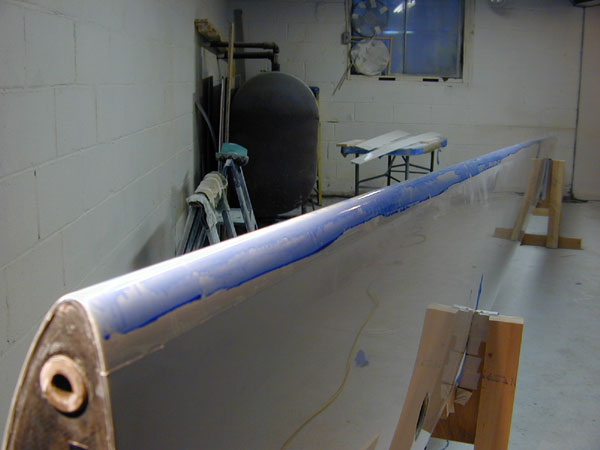
Close-up of the templates. The blue streaks are from the light coat of epoxy I squeegeed onto the wing lower surface. I dyed it blue so I can see when I sand through it in order to restore the epoxy coating prior to gel-coating the wing.
|
 |
|
New Years Day 2003 - the templates are free from the epoxy and the resulting trenches are sanded down and the epoxy filler is screeded on to fill in the low areas between the stations.
|
 |
|
The wing lower surface needed a lot of filler to bring the surface back to fair, primarily because I sanded most of the old epoxy off.
|
 |
|
I've found a new screed - that's an aluminum door sill that I found to be perfectly straight and large enough to handle with both hands. Makes it a much easier process. I clean the straight edge periodically with white distilled vinegar - dissolves epoxy and is the best clean-up solvent I've ever used.
|
 |
|
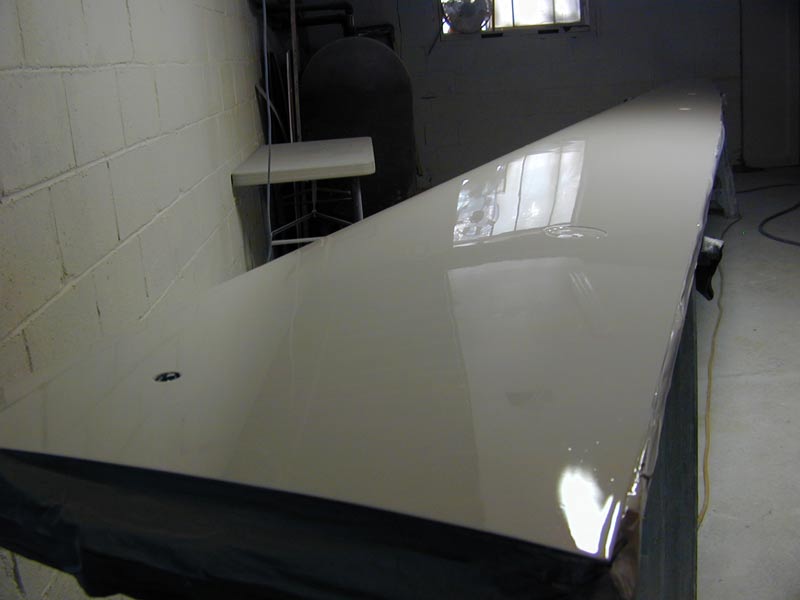
The wing lower surface gets its first layer of gel-coat - I sprayed one quart of Simtec on, three thick coats. It lays on with the typical orange peel that the first coat develops. It will flow out a bit over the next few hours, then I'll dye it blue and sand it down. I figure 2 more coats with sanding between and after and I'll be done with the lower surface
|
 |
|
4 January and I reassemble the compressor with new head gaskets. I need it to spray on the first coat of Simtec.
|
 |
|
11 January. I was out of town all this past week and got nothing done until today. Sanded down the lower surface and filled the pinholes.
|
 |
|
Above and below - the new compressor is working well. The old compressor will be operational again after I do some additional work on the lower end of the pump. Tomorrow morning I will sand the touched-up areas down and spray on another coat - the second coat for this lower surface.
|
 |
|
12 January - The pinholes are all sanded flat and another coat sprayed on. This is as far as I got before the gel-coat catalyzed in the gun. I learned another lesson today. I decided to warm up the gel-coat before spraying it so that it would flow nicely. So I put the can of Simtec into a bucket of hot water and it worked great - the problem was that I added .3 of an ounce too much gel-coat (because the can is usually at ambient temperature - 60°, not normally a problem). The warm gel-coat and too much catalyst combined to create a pot-life of about 15 minutes. So, when I stopped to take the photo below of the half-completed spray job, the gel-coat cooked in the gun, set up and I had to completely disassemble the gun and clean it all out. Not very clever, but it did produce a nice finish. Nothing like throwing away $30 worth of hardened gel-coat!
|
 |
|
After cleaning the gun, the second coat on the lower surface is finished. Warming up the gel-coat prior to spraying really allows it to flow very nicely. I'll sand it again, fill the pinholes and then one more coat should do it before final sanding and polishing. Then I'll stand it upright and align and profile the leading edge.
|
 |
|
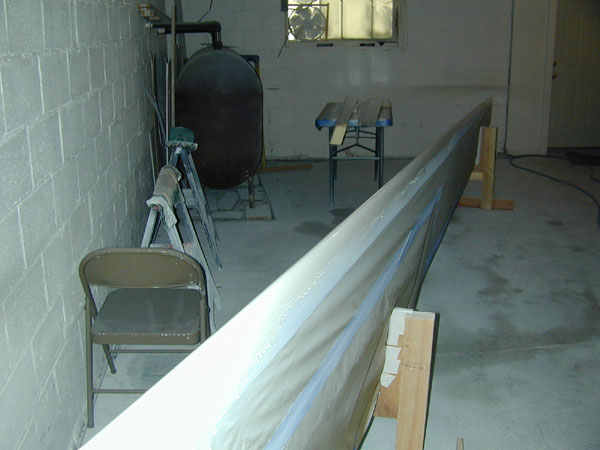
18 January and I've sprayed the last coat on the lower wing surface. Again, I warmed up the gel-coat in a bucket of hot water and it flowed on very nicely. Tomorrow I'll sand it down, hopefully for the last time.
|
 |
|
19 January and I've sanded down the last coat with 600. There are a few pinholes remaining, so I've filled those with gel-coat.
|
 |
|
21 January - I've sanded the wings down with 600 again, then 1000 and finally 1500. Ready for polishing tomorrow.
|
 |
|
22 January and I spent an hour polishing the lower wing surface tonight. I'm using 3M Fine Gel-Coat polish, a Milwaukee polisher and a Milwaukee foam compounding pad.
|
 |
|
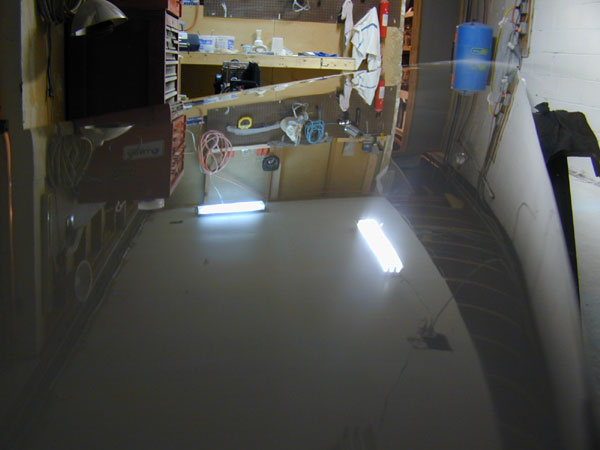
It polished up very nicely, but I can still see sanding scratches in the neon light, so I'll do some final sanding tomorrow evening with 1500 grit and polish it for a final time. It really came out flat - no waves, bumps or pinholes - like a mirror!
|
 |
|
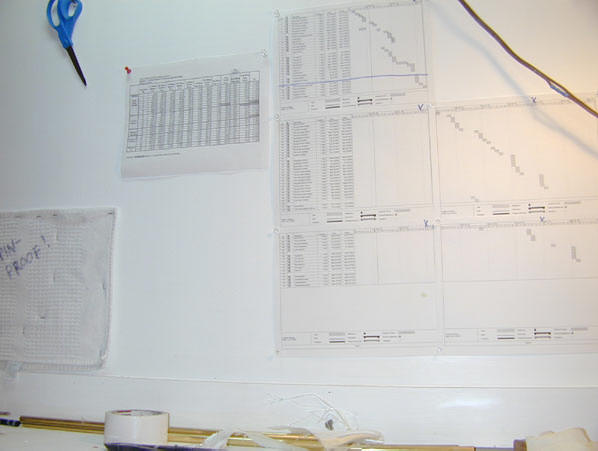
It's getting lighter out in the evenings and it's making me think I need to get moving on these wings - I still have the right wing to do. So, I made up this timeline and pinned it to the wall (photo below) to remind me that I need to stay on track. Currently the timeline says that I'll be done with both wings, tips extensions and aileron mass balance and re-finishing by March 17.
|
 |
|
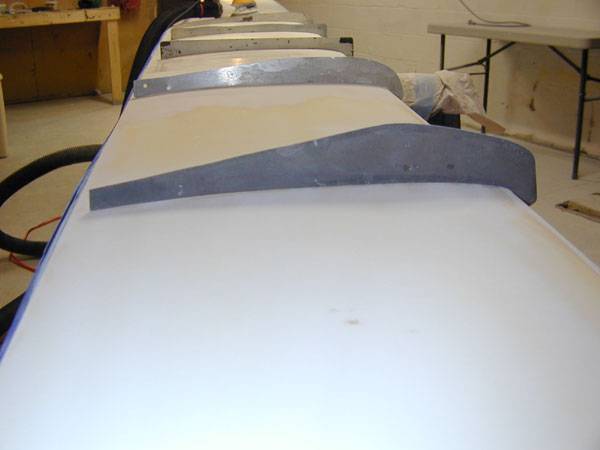
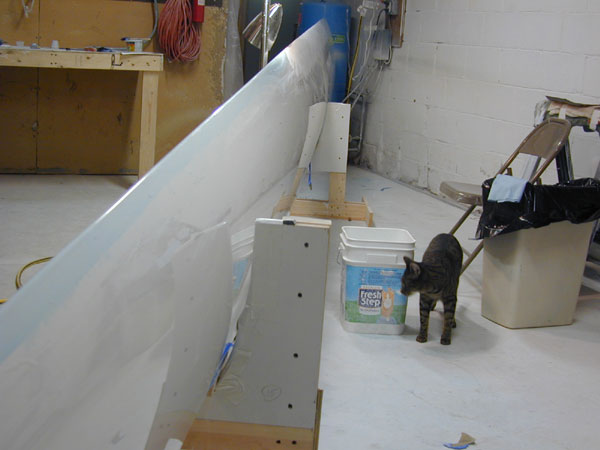
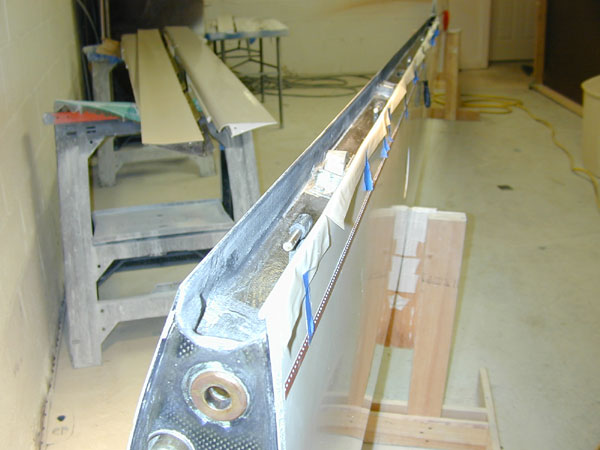
Saturday 25 January - I stand the wing on its trailing edge in order to line up and profile the leading edge. The upper surface was completely masked while I worked on the lower surface. You can see why it is necessary to protect the finished upper surface from the overspray and sanding residue.
|
 |
|
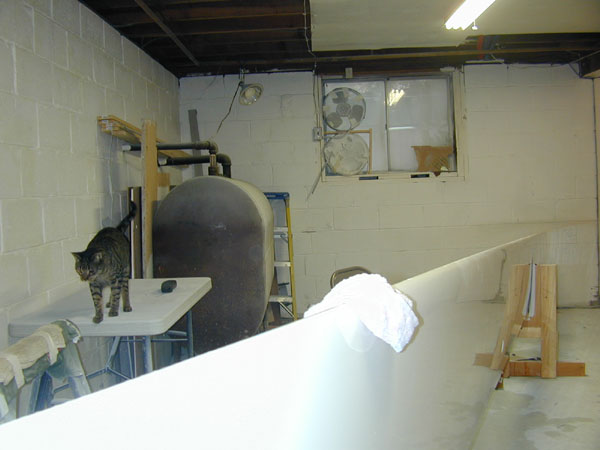
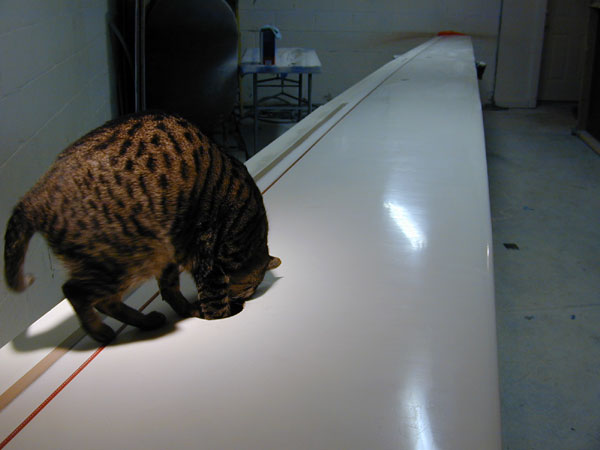
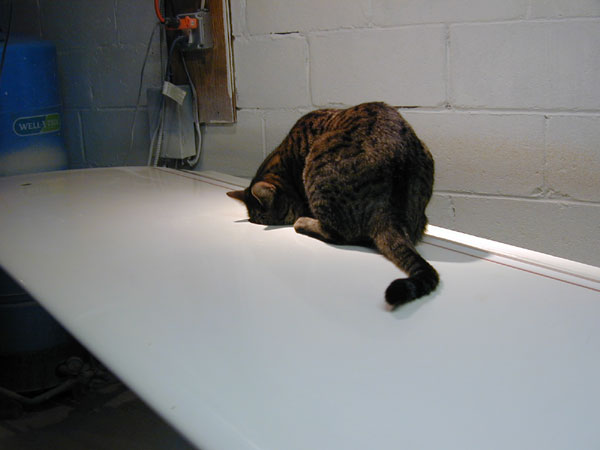
All masking tape removed, wing cleaned up and I've started to sand down the leading edge runs and sags. The Tabby Cat supervises.
|
 |
|
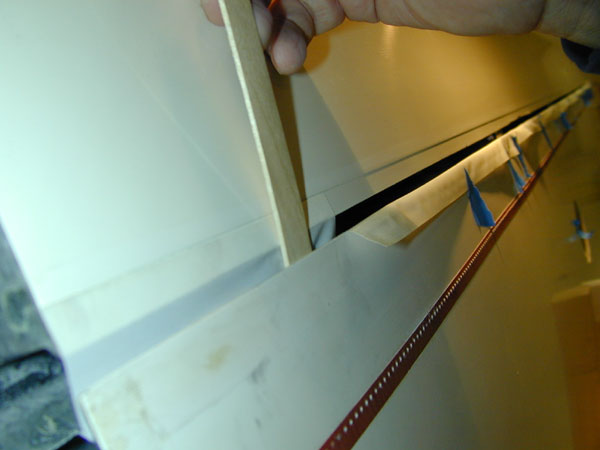
The wing profile templates are used to insure the leading edge is perfectly straight and that it has the correct profile (roundness) in the critical nose area.
|
 |
|
After sanding the leading edge to the correct profile, it's time to spray on what will hopefully be the last coat of Simtec, just on the nose section of the wing. I'll sand this finish coat starting with 600, then finish with 1000, 1200 and 1500. You can see the ailerons on the table in the background - they are getting their first coat of gel-coat.
|
 |
|
31 January - I spent the past week out of town on business again, so I took today off and sanded down the leading edge to the proper profile. First a coat of blue dye...
|
 |
|
Tabby Cat stops by to check on progress and lend moral support during this 8 hour process of sanding the leading edge to the perfect contour, starting with 600, then going up to1500, all by hand using the hard Lexan block.
|
 |
|
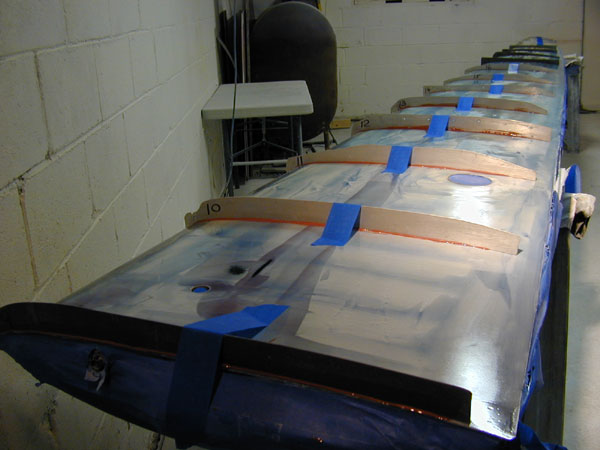
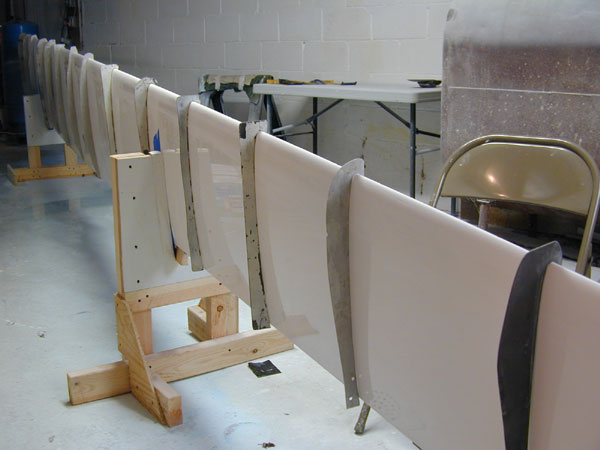
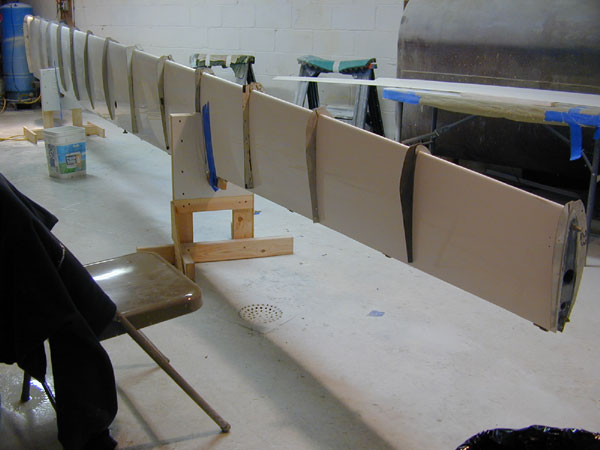
8 hours after starting, I position all of the profiling templates on the wing to check the surface for correct profile and I'm pleased that they fit perfectly at every station. The method documented by Dick Johnson works very well!
|
 |
|
You can see how nicely the templates fit on the wing surfaces and around the nose - they're a perfect fit.
|
 |
|
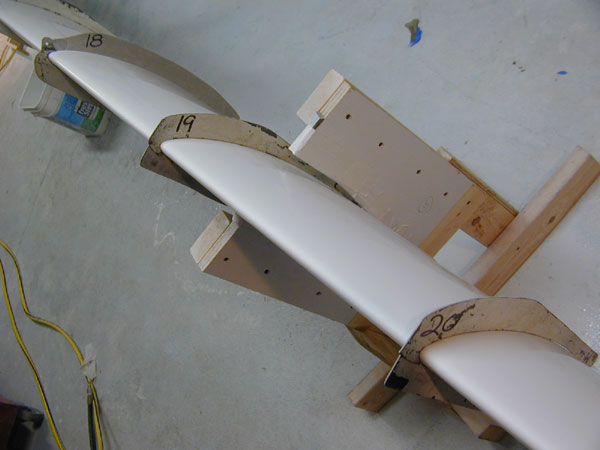
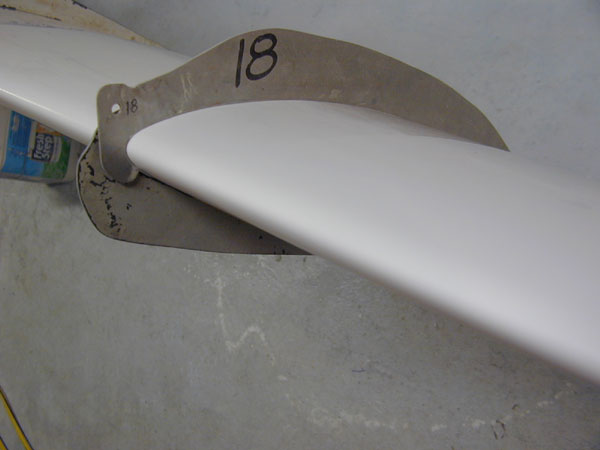
A close-up of template 18 - compare this photo with the one at the bottom - the profile looks great and I'm very happy that all of this work is actually paying off with a nice new finish on a perfectly faired wing.
|
 |
|
9 February - after a week of sanding, polishing, sanding again to get all the scratches out that are revealed by the polishing, then polishing again and again and sanding again with 1500 until my arms drop off and then polishing the lower surface again today for 3 hours after sanding it for two hours and it's time to put the left wing in the box and get the right wing out.
|
 |
|
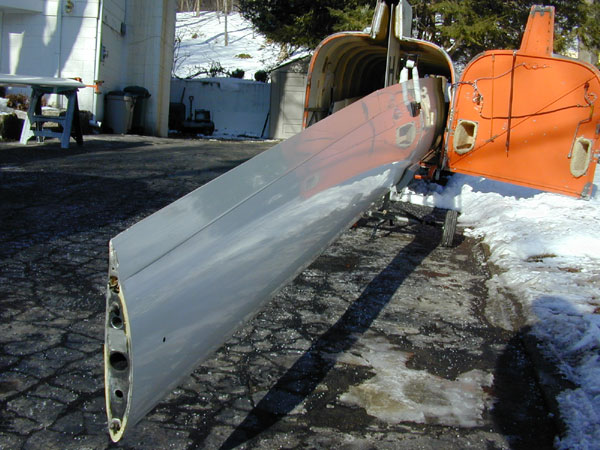
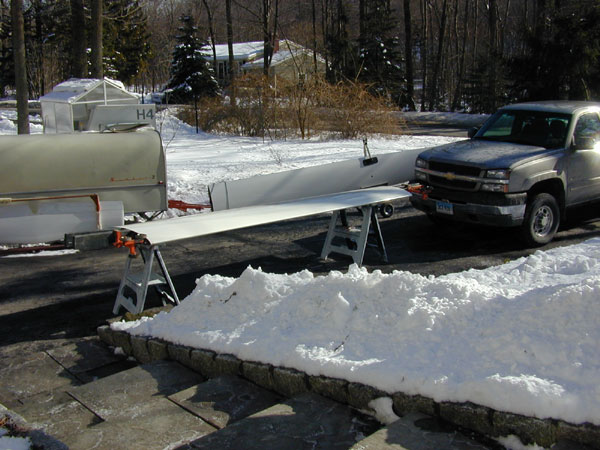
The right wing comes out of the trailer. This is a bit of a process because the inboard wing panels must be removed from the trailer in order to move the inboard panels in and out - because the trailer rigging wheels share a track in the floor of the trailer - can't move one inboard panel in or out with the outboard panel in.
|
 |
|
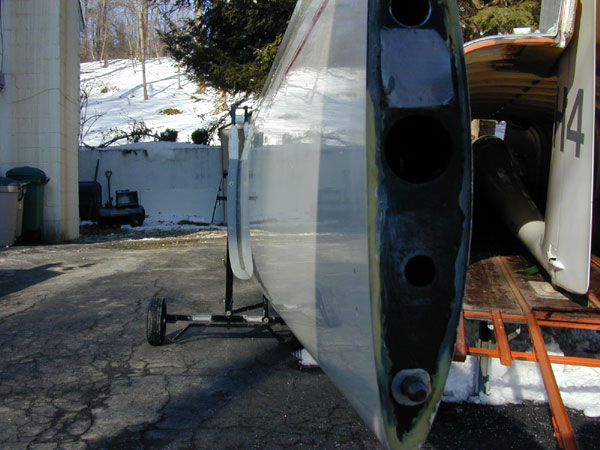
The right wing is in much better shape than the left - I'll decide how much I'm going to do to this wing after I get all of the ailerons sanded, re-finished and mass balance added. If it gets too close to flying season, I may skip this wing this year and go flying; not that I'll miss sanding and polishing very much!
|
 |
|
The inboard wing panels sitting out of the way while I move the outboards in and out - the inboards are in excellent condition. The lower surface is a bit faded - but they'll be fine until after I finish the outboards and the fuselage.
|
 |
 |
|
 |
|
 |
|
 |
|
 |
|
 |
|
 |
|
 |
|
 |
|
 |
|