Repairing Gelcoat damage |
For the latest, click here |
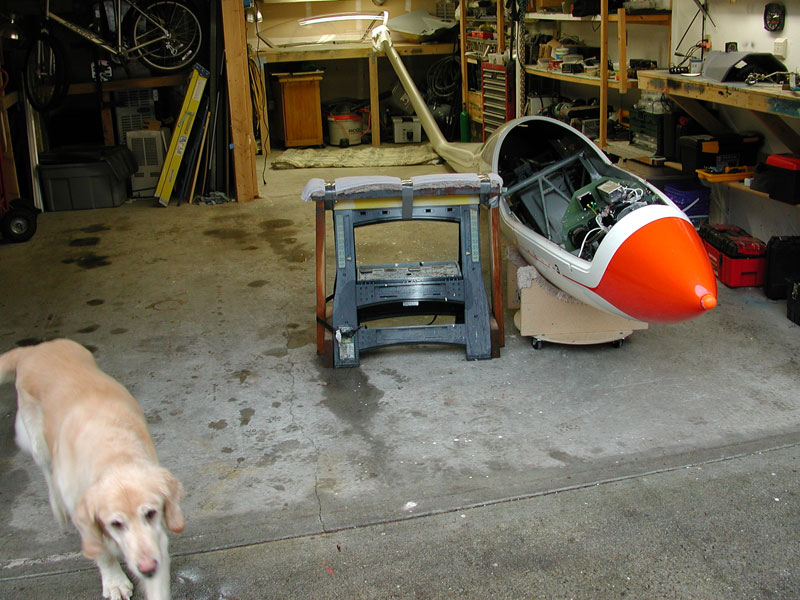
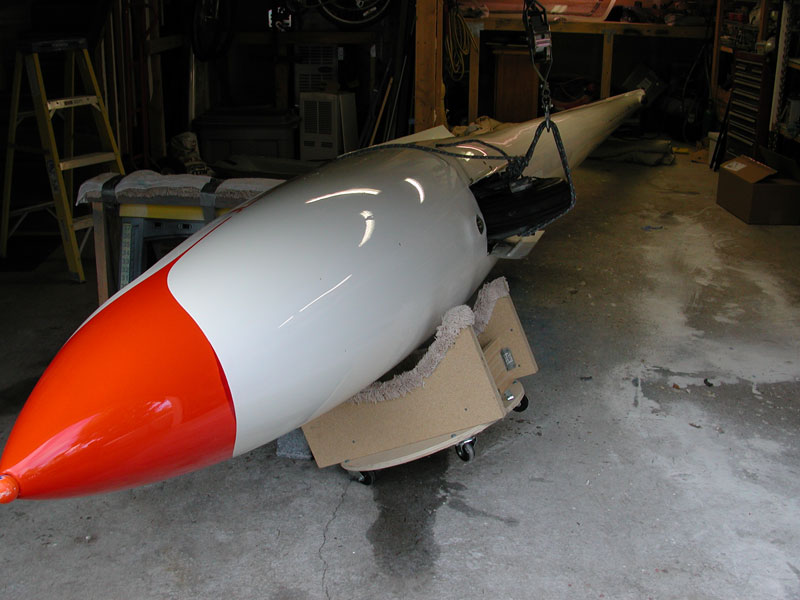
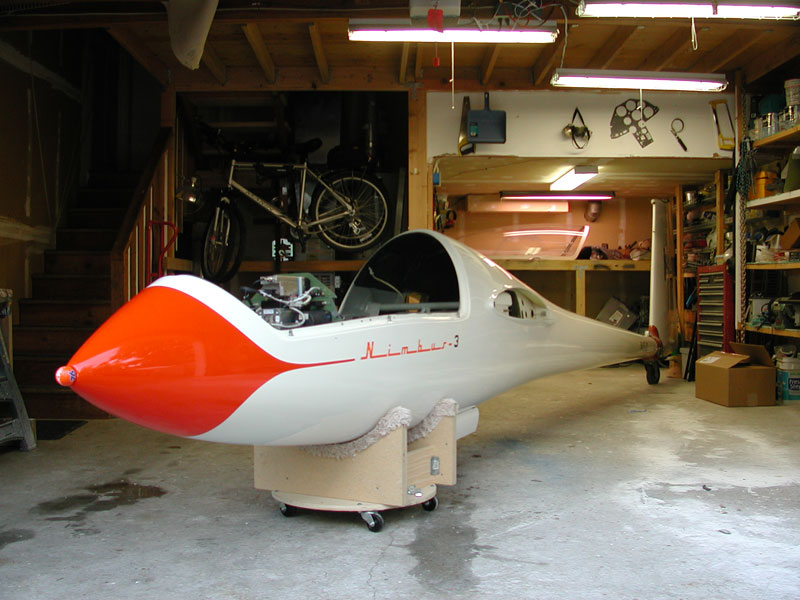
December 31, 2005 - I get ready to flip the Nimbus fuselage so I can refinish the lower half. Gelcoat is flaking off and it needs attention, so now is the time. As always, Sam is here to help. |
 |
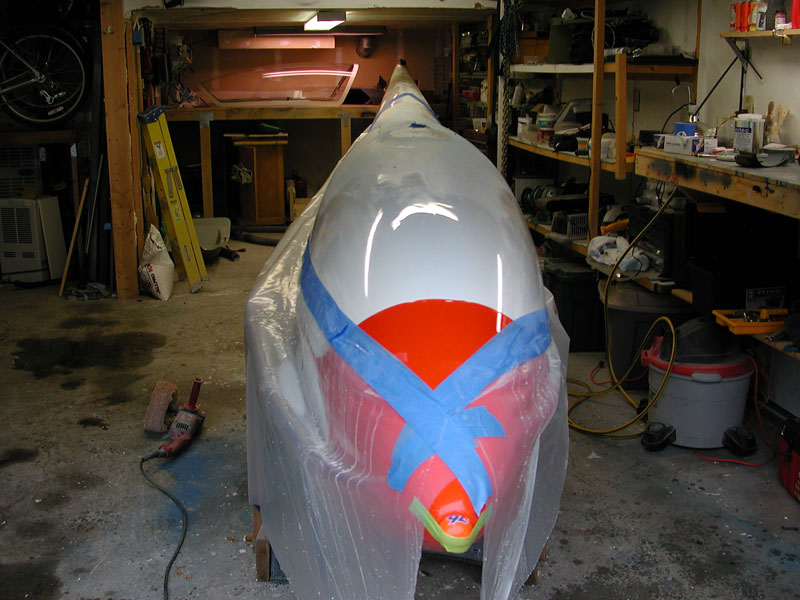
Below - neighbor Lee helps with the flipping Nimbus. That CG hook comes in handy, but I was lucky to remember to keep forward force on the hook, since it is an aft release hook. That would be unfortunate! |
 |
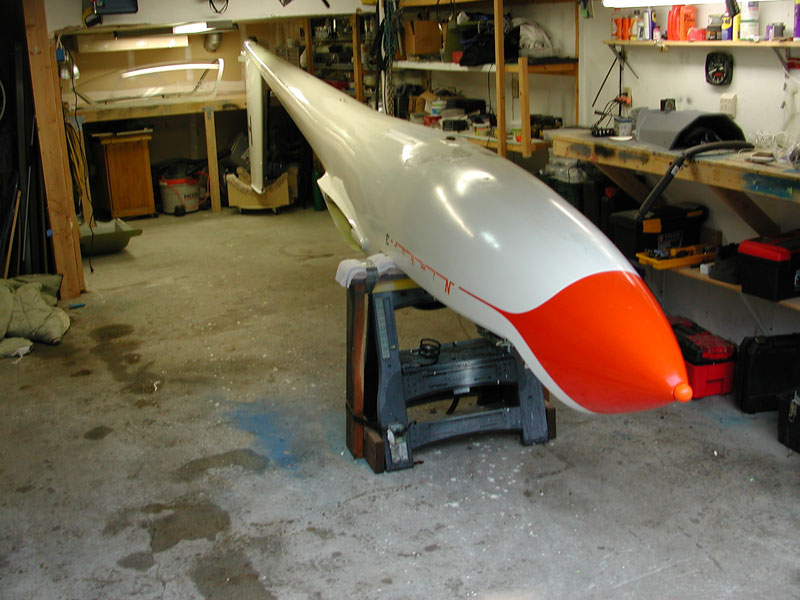
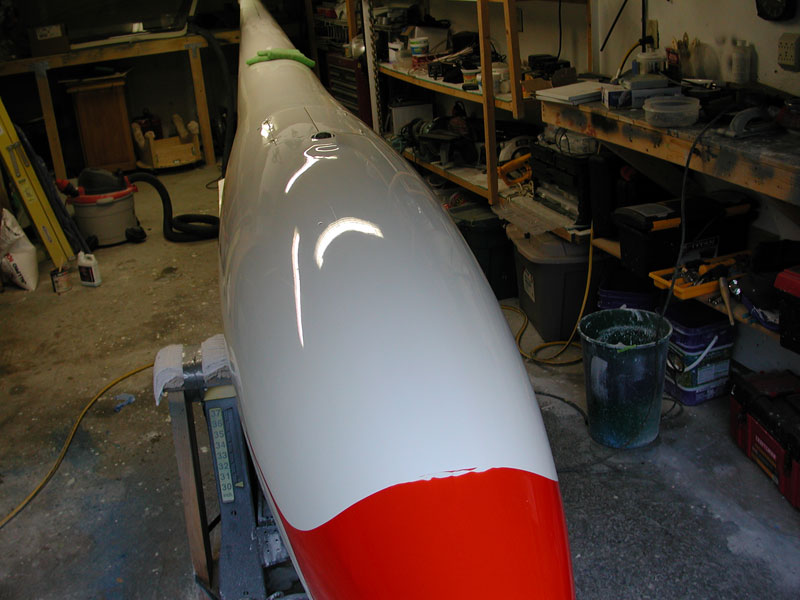
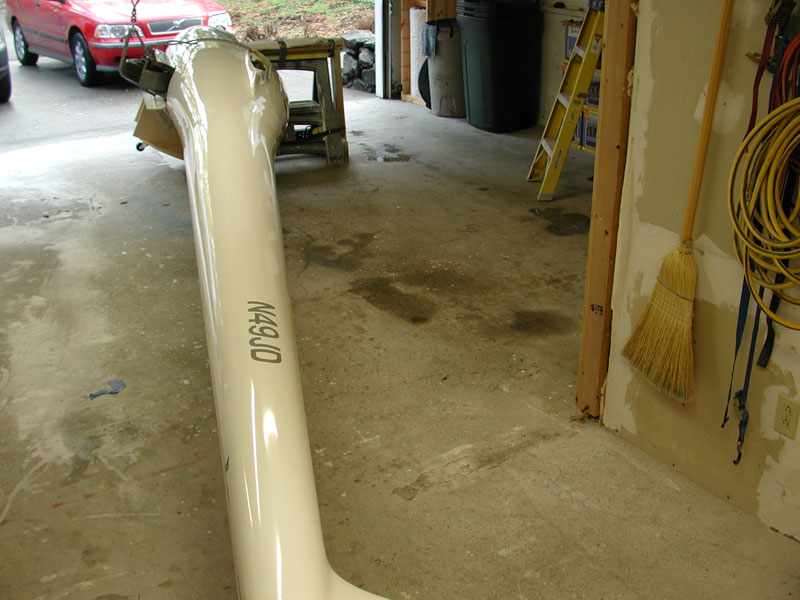
Flipped. |
 |
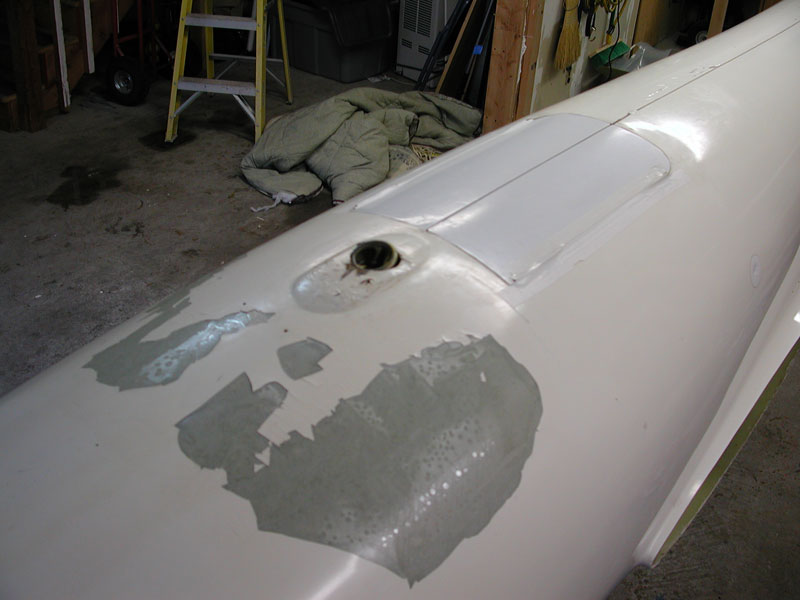
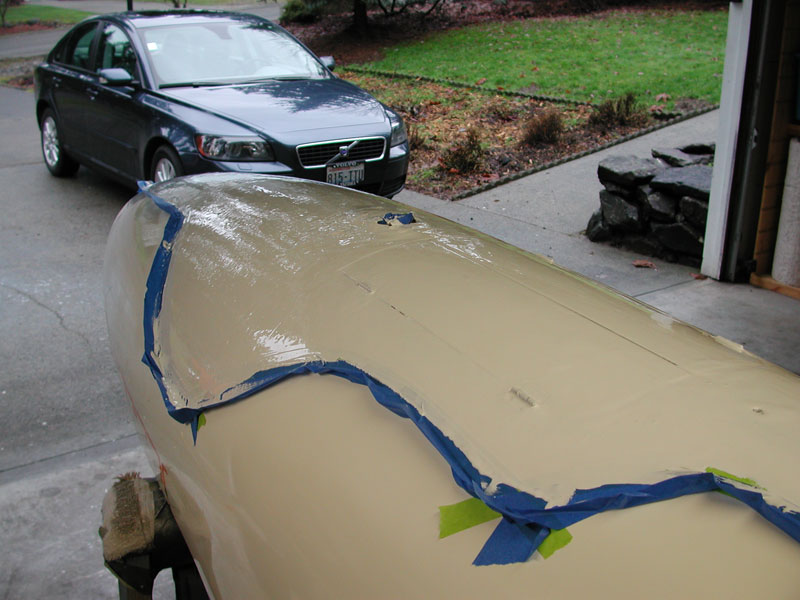
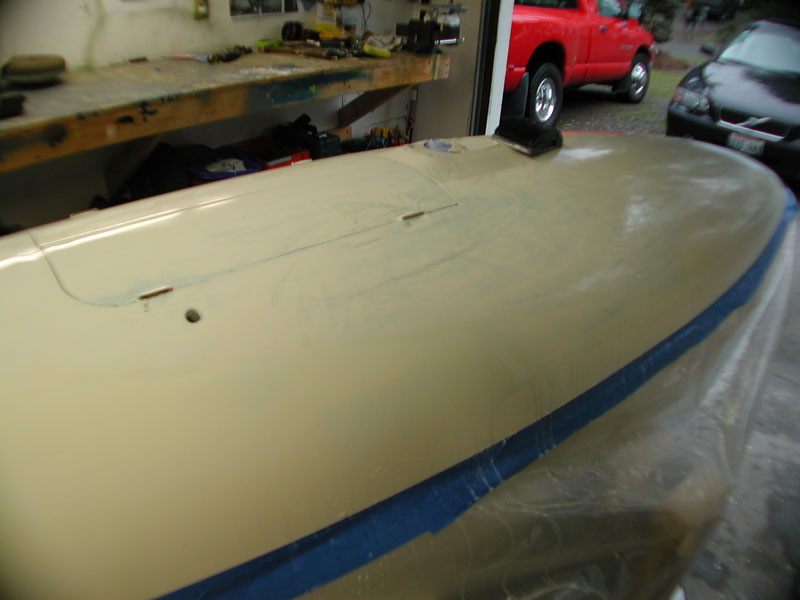
Here's the bulk of the problem, gelcoat flaking off as a result of sitting in a wet cradle. Gear doors repaired last year after crunching them on the loading ramp of the trailer, gelcoat bubbling up around the hook cutout, it all needs to come off. |
 |
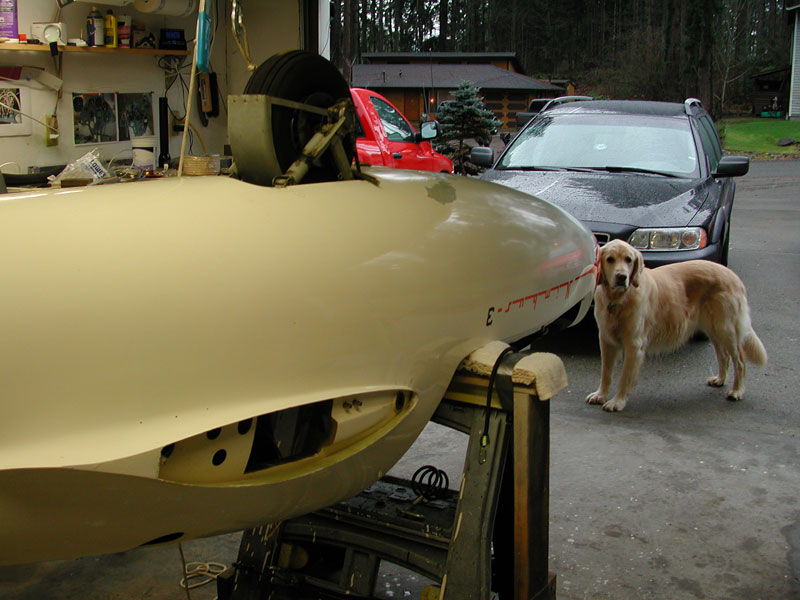
To raise the gear, I needed the come-along, seems those gear springs are there to help counter the effects of gravity. Inverting the glider and gravity is no longer working for me, so I need help getting the gear extended. |
 |
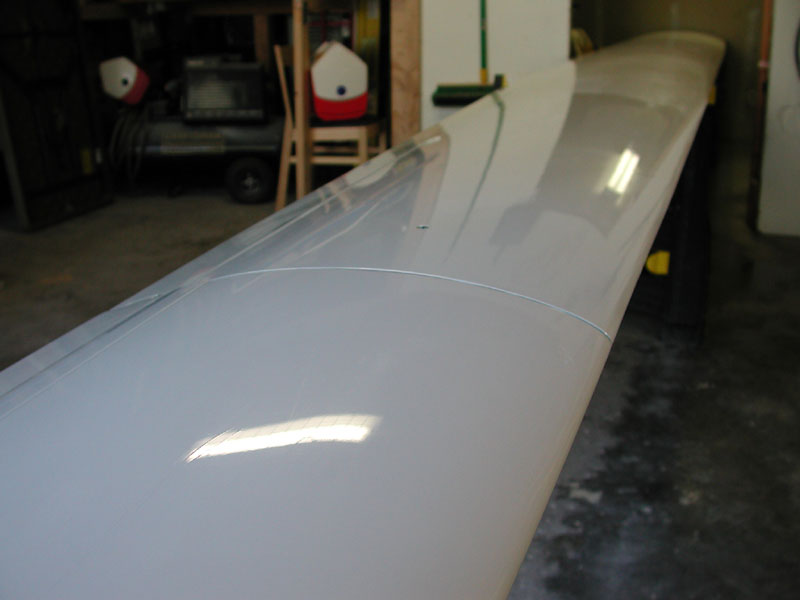
Below - January 2, 2006 - I've discovered that only the gelcoat in the area of the upper and lower fuselage half seams is cracked. This is the gelcoat that is added after the two fuselage halves are glued together during construction. So it appears that I can sand the old faded yellow gelcoat with some 240 and polish it. No need to worry about sanding through the gelcoat, it's very thick and very hard. I've spent a couple of days sanding the flaked off and cracked areas and believe me, this gelcoat is tough stuff! |
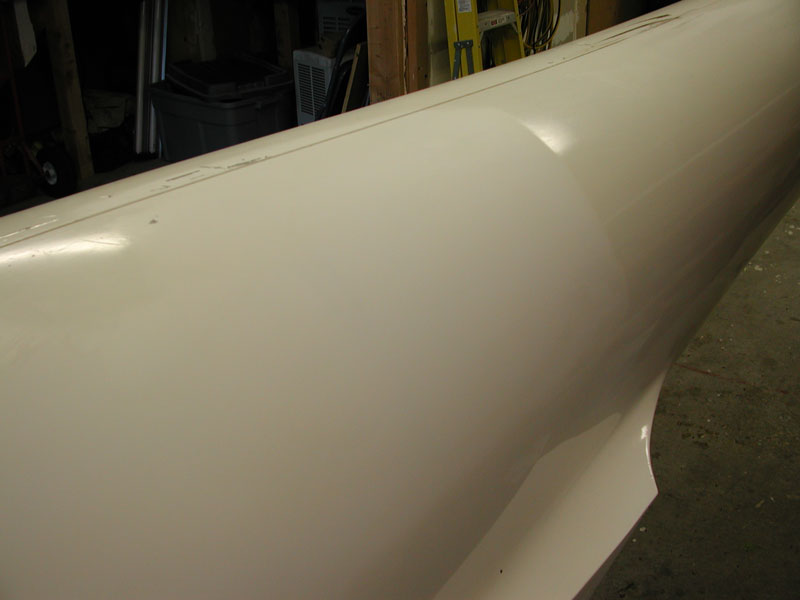 |
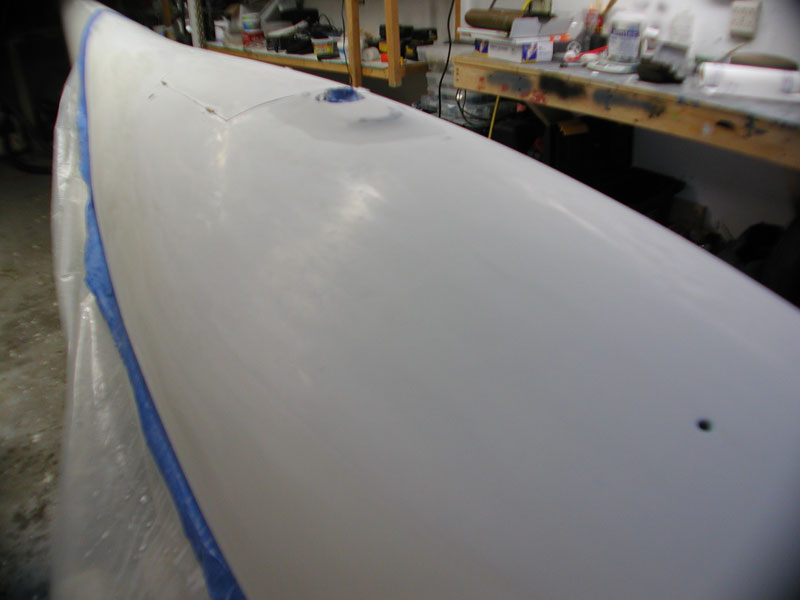
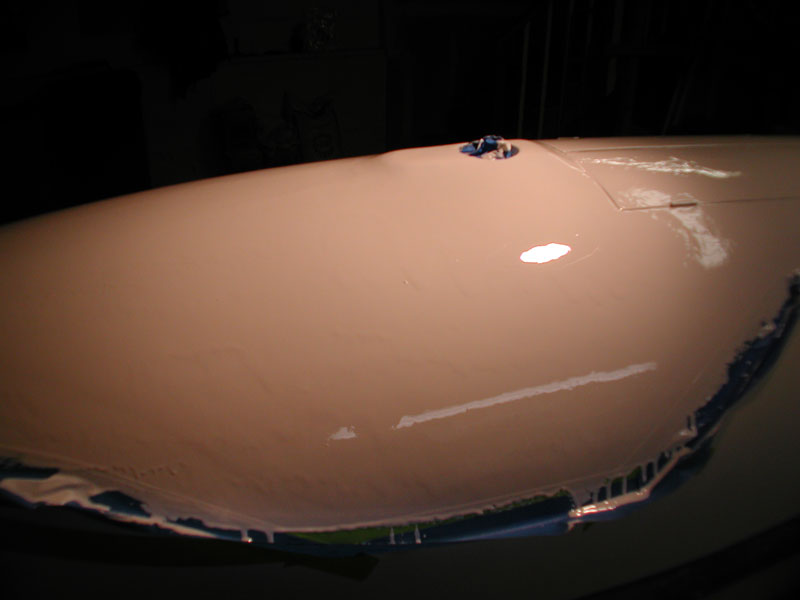
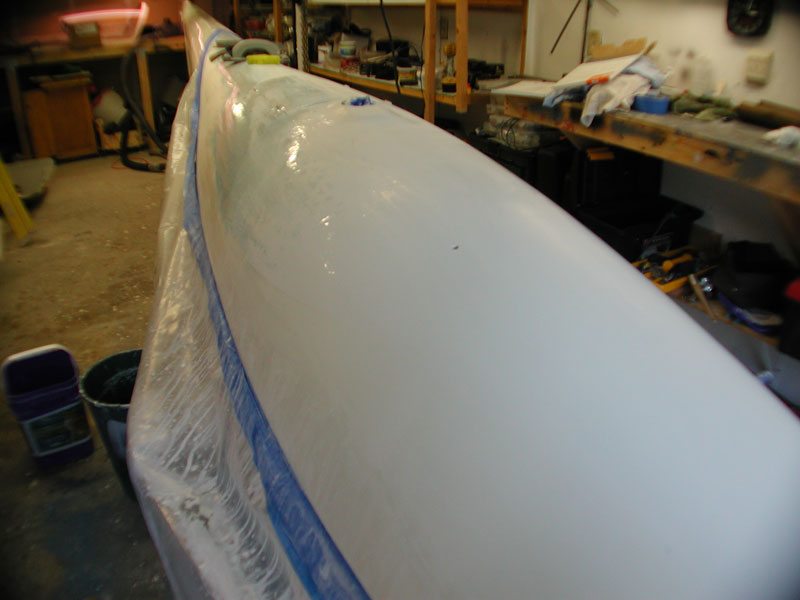
Below - sanded area after finish sanding through 1500 and polishing, it's hard to see in this photo, but the sanded area is much whiter and shinier than the old section. |
 |
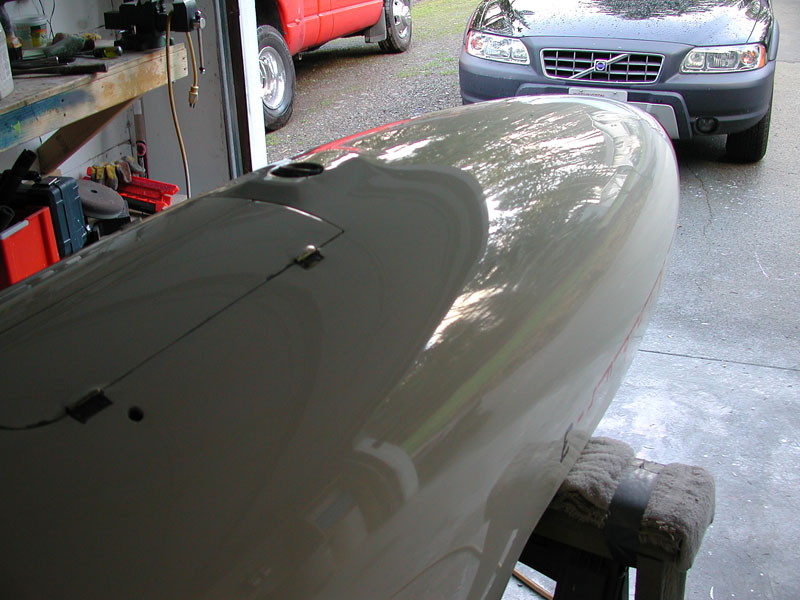
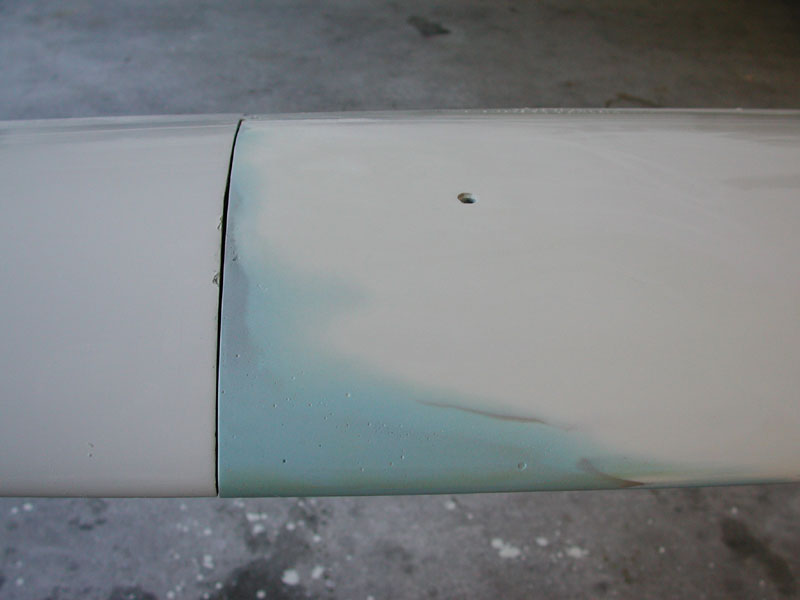
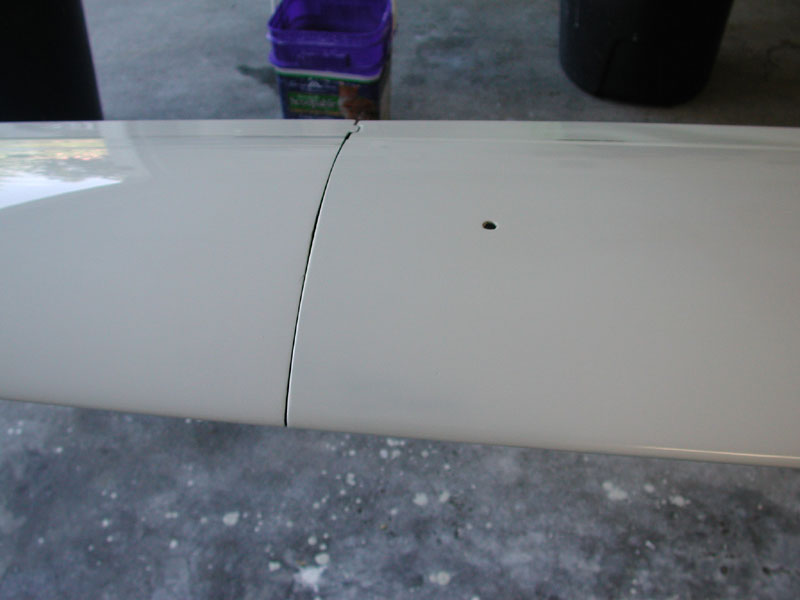
Below - close-up of the cracked gelcoat, it only extends to about 4 inches on either side of the center seam. |
 |
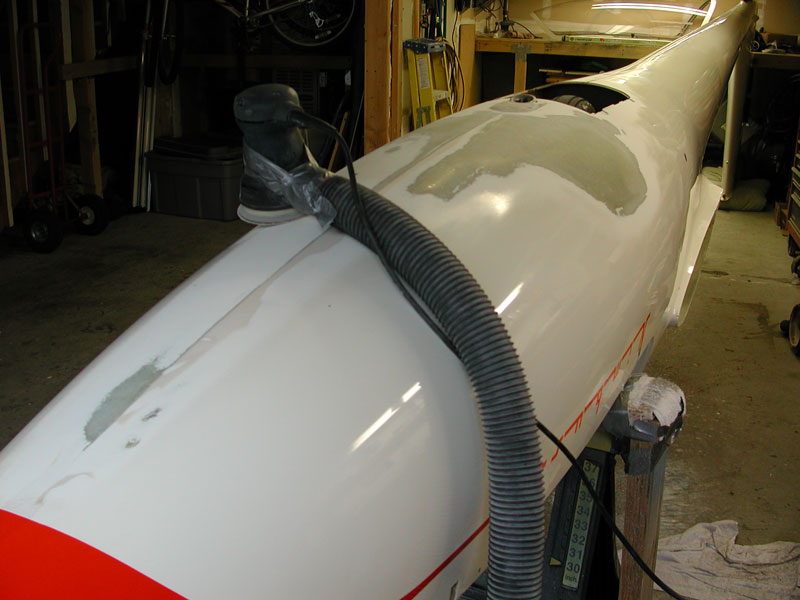
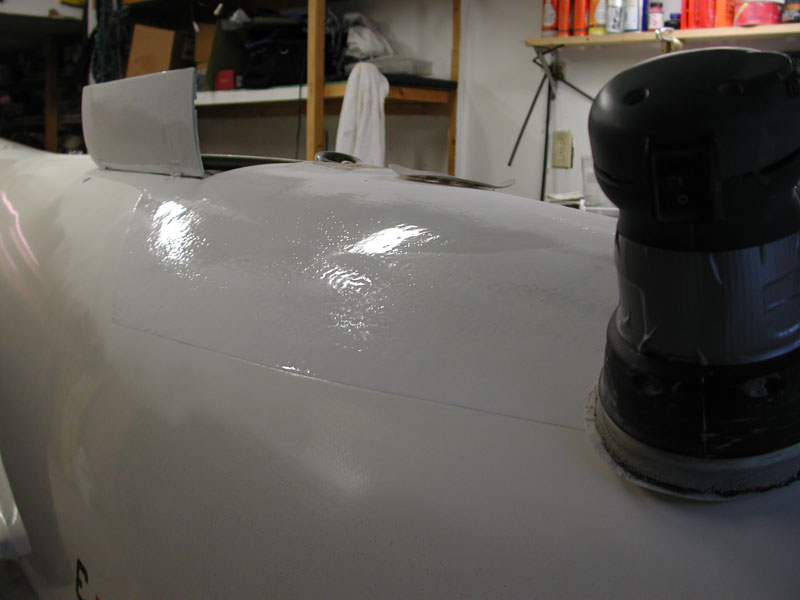
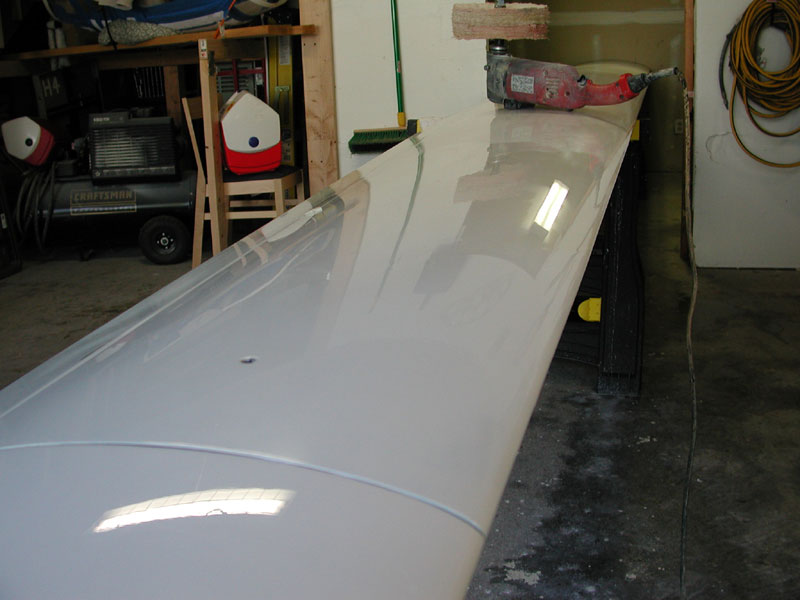
Below - the sander connected to the shop vac doing a fine job of dust control. Pretty noisy though. |
 |
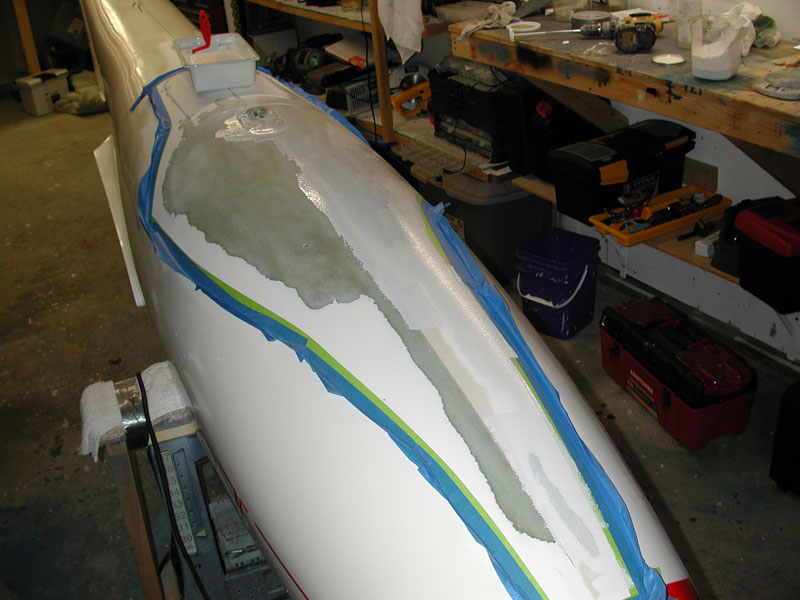
Below - I've sanded away all of the cracked gelcoat with 60 grit and do a fine sand with some 240 grit to feather the edges a bit and remove the 60 grit gouges. Next I make a masking tape dam and roll on some 2481. I'll end up using most of a quart this afternoon putting on about three coats. I warmed up the 2481 in hot water for 30 minutes prior to mixing, that worked perfectly. |
 |
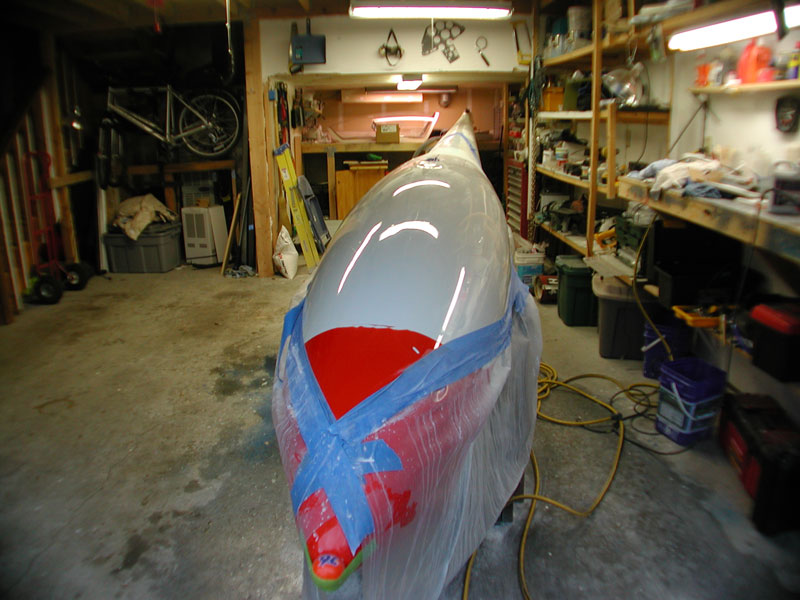
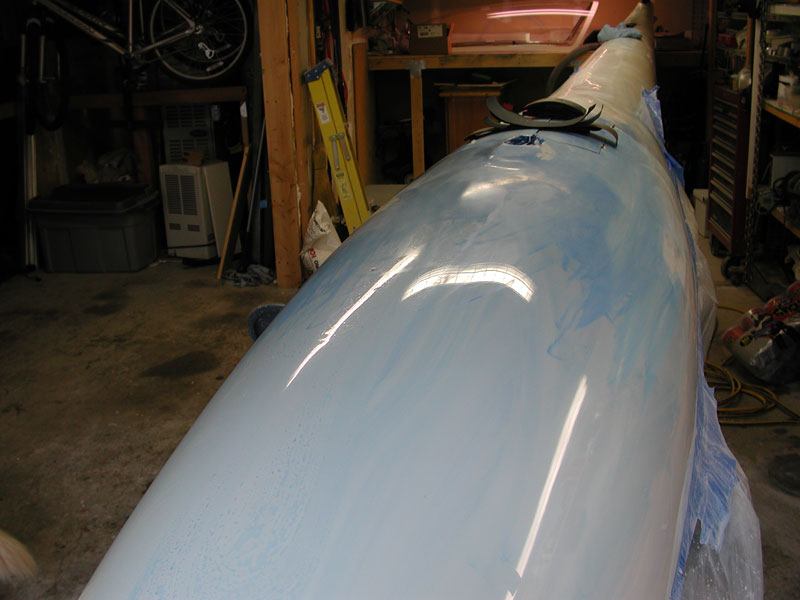
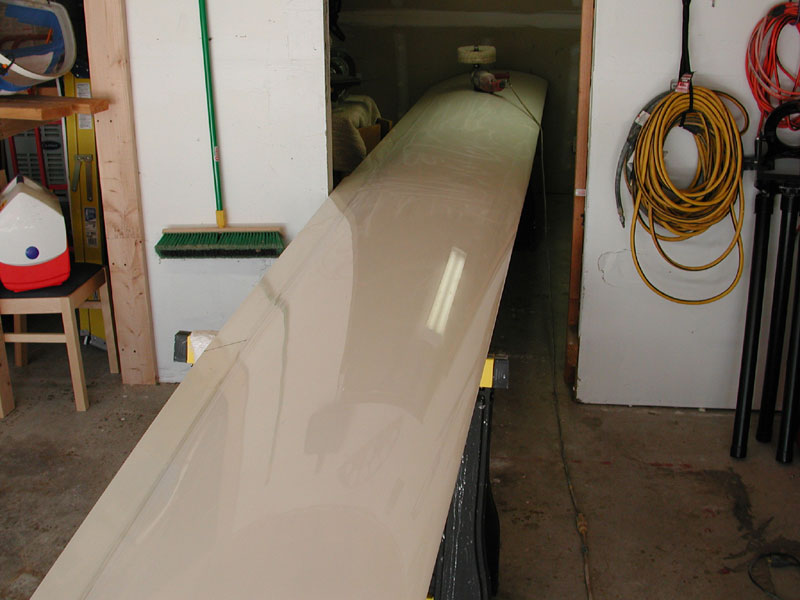
Below - three coats on, next, after it hardens for a couple of days, I'll dye it blue and sand it. I expect I'll do this three times before final sanding. |
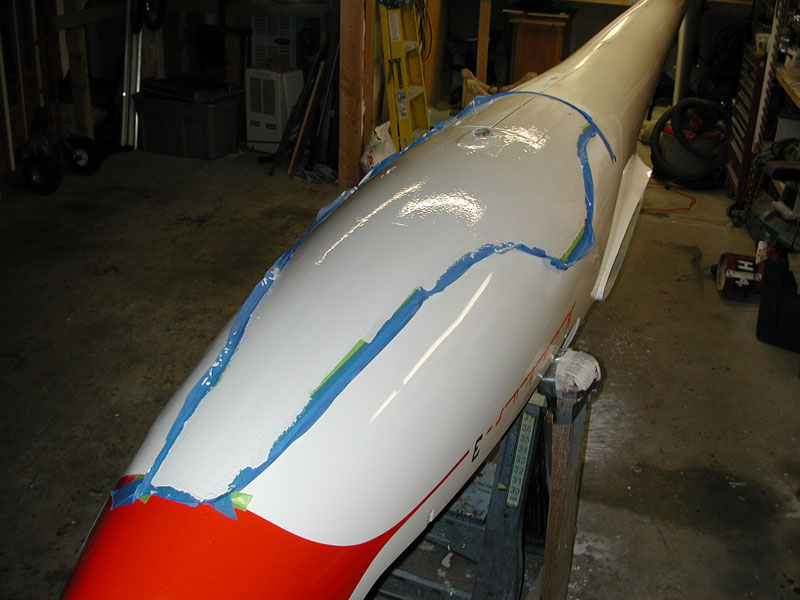 |
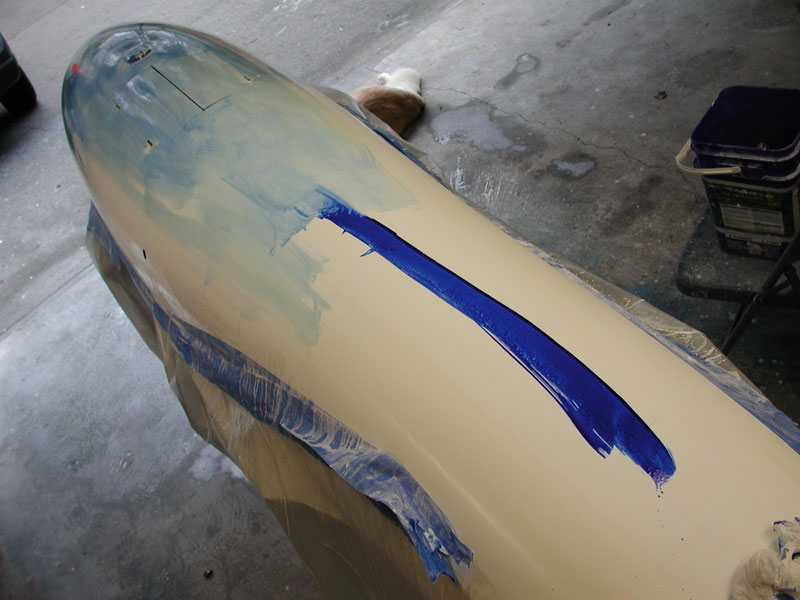
Below - July 6, 2006 and I'm sanding the first coat of Simtec 2481 with 240 grit to knock off the high spots and feather in the edges a bit. |
 |
I sanded the area around the towhook fairing and will coat the wood with thickened epoxy prior to gelcoating. |
 |
Below - I sand the area aft of the gear doors to get a coat on the cracked and flaked gelcoat in this area of the seam. I've only sanded away where the gelcoat was actually cracking. |
 |
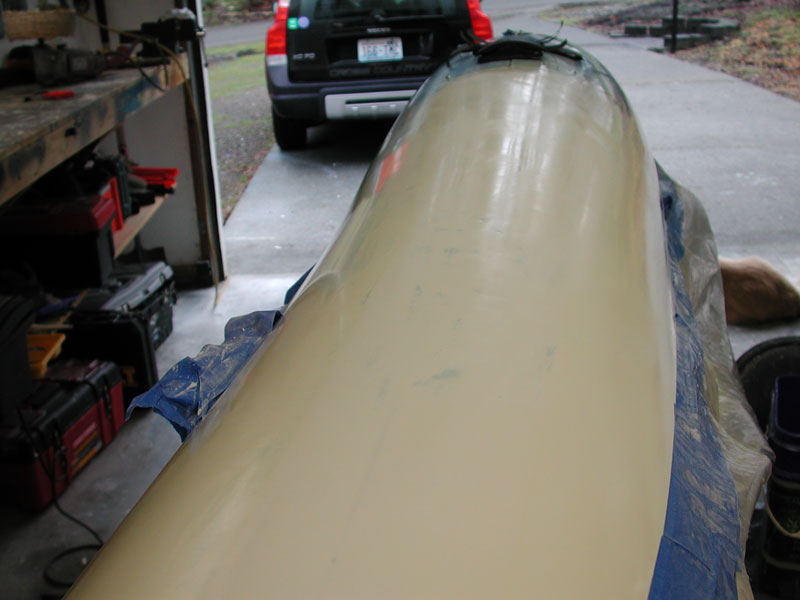
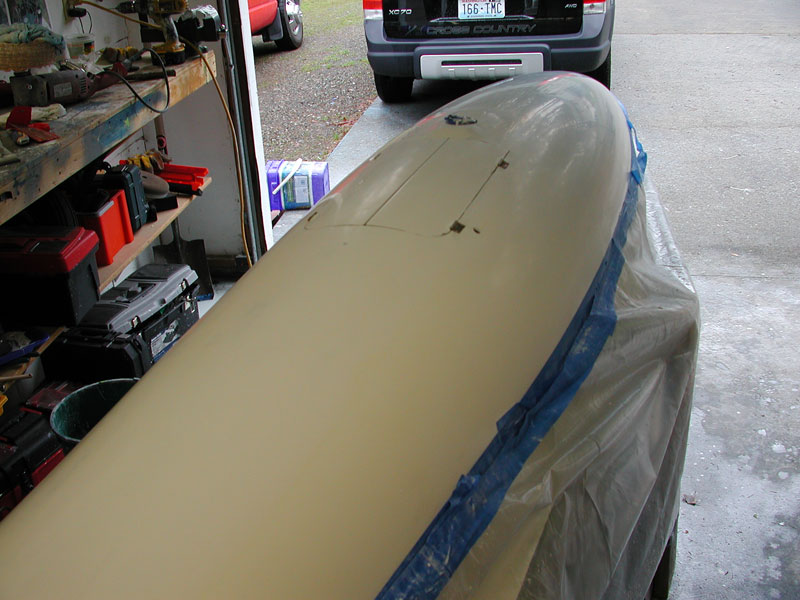
Below - the second coat. This coat will be sanded completely flat through 600 to determine if a third coat will be required - I do expect that a third coat will be require. I doubt I shall ever get off easy in this business. |
 |
Below - I masked the gear door seams from the inside and liberally applied gelcoat to allow me to sand them smooth and fair. |
 |
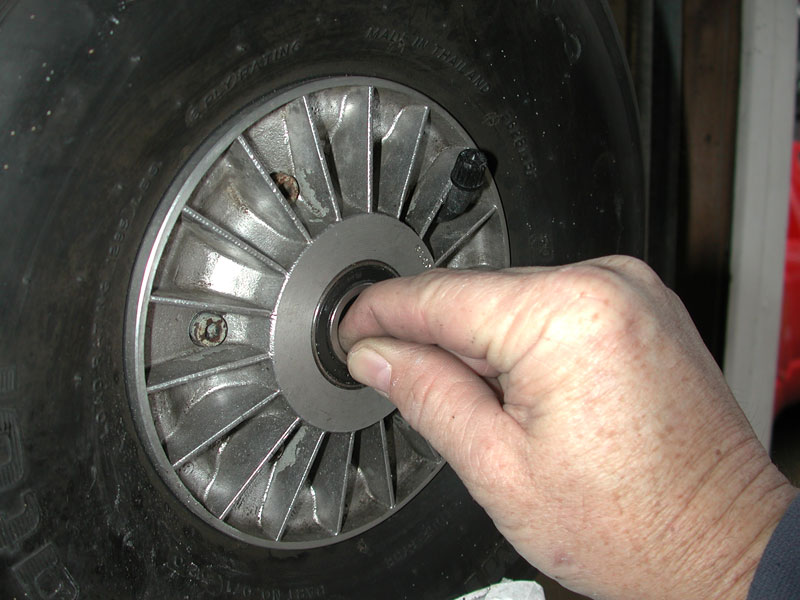
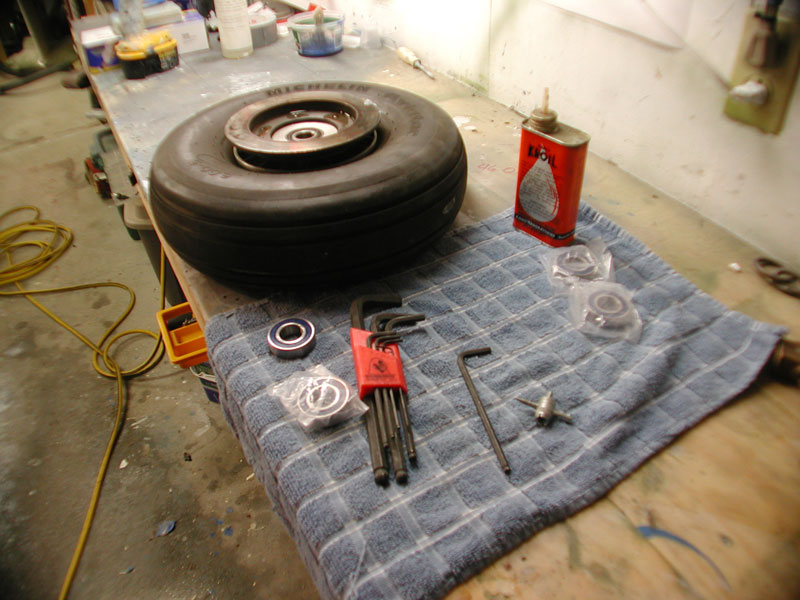
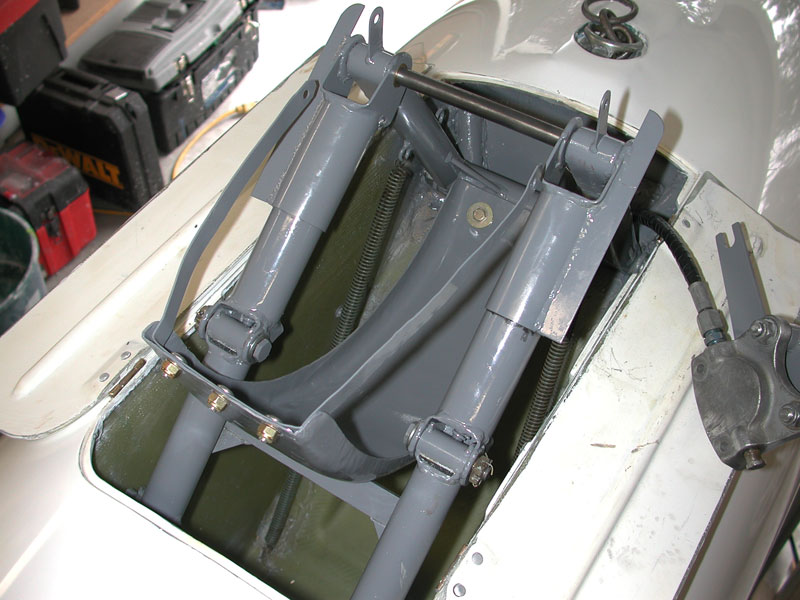
Below - January 7, 2005 - I have to wait for the gelcoat to fully harden, only about 48 hours in the 50° weather we're having. In the meantime, I decide to remove the wheel and get a good look at the gear retraction mechanism. I want to take a close look at the mechanism to make sure nothing is cracked, remove some minor rust spots, clean all the old grease and mud out of the wheel well and completely seal the wheel well. |
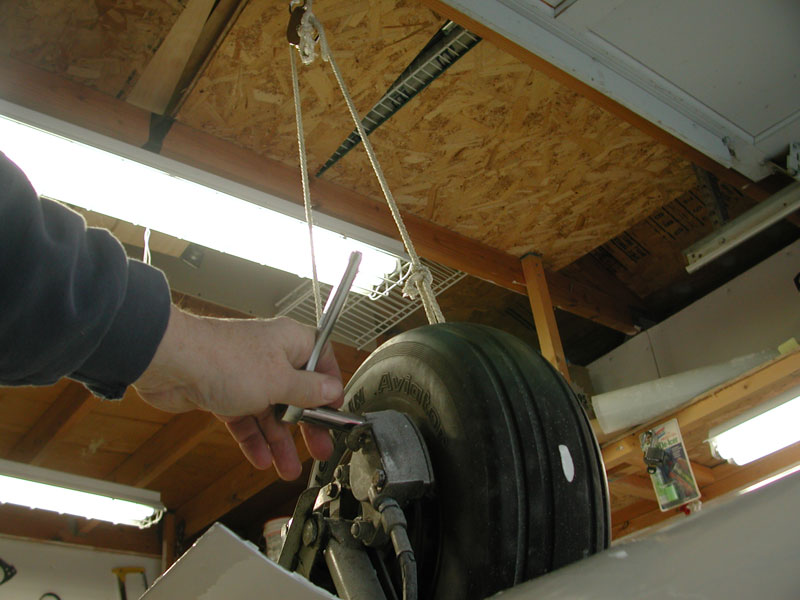 |
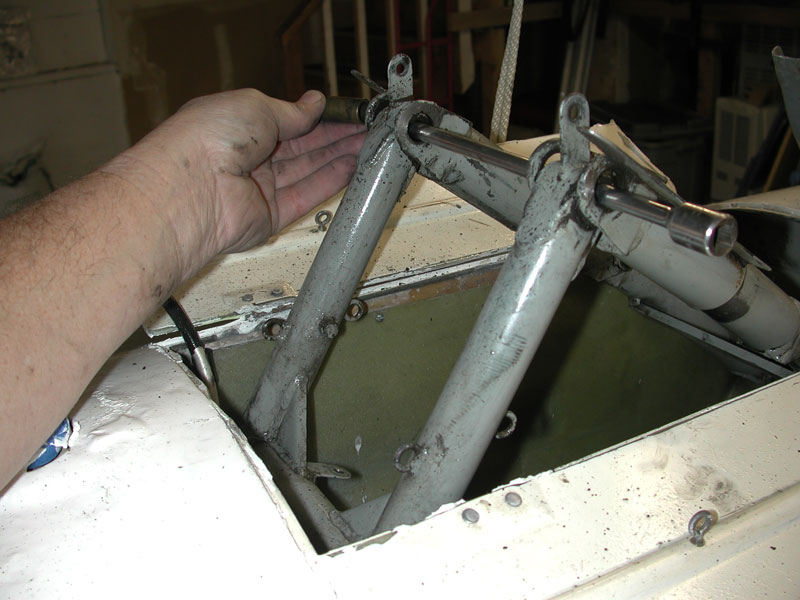
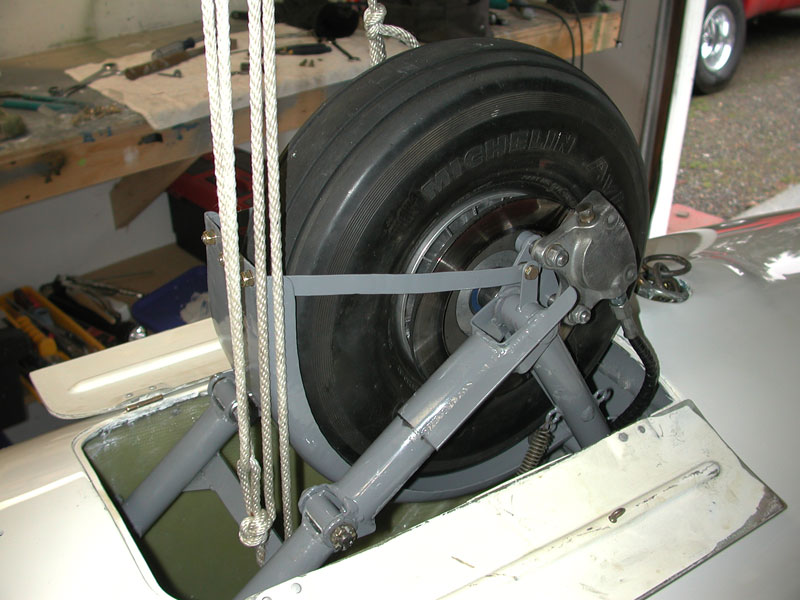
I tie the wheel up to make sure I don't bump it over center, the retraction springs are strong and it would be very easy to crush a finger or worse if it was to spring over center and slam back into the well. |
Below - the wheel bolt has some surface corrosion in the center, it's important to clean that rust before it gets worse. Rust pitting causes stress risers that could lead to corrosion cracking. |
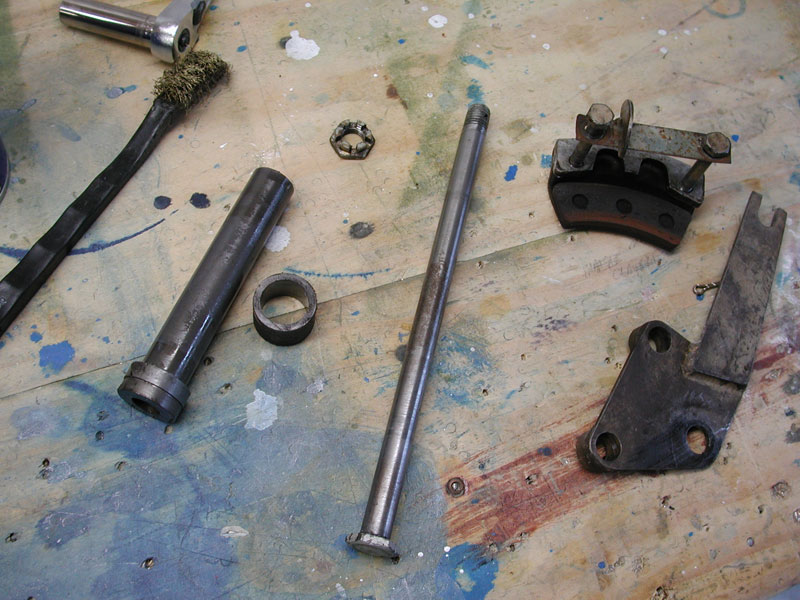 |
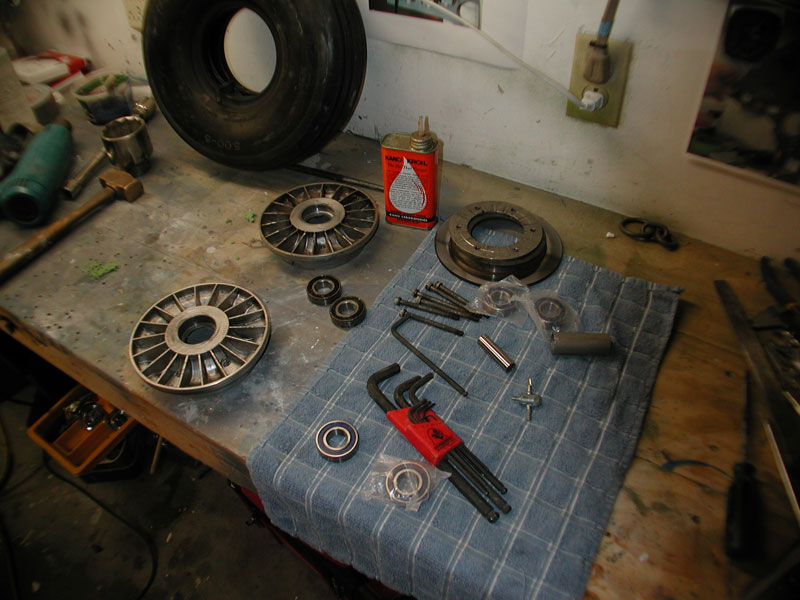
Below - With the wheel removed, I start to disassemble the retraction mechanism. |
 |
Below - the wheel bearings are both very rough, time for new ones. $2.95 each from the on-line bearing store. Seems these 6004RS bearings are the same part number as those used on snowmobile tracks, so they are sold in packs of ten for $20 -good deal! |
 |
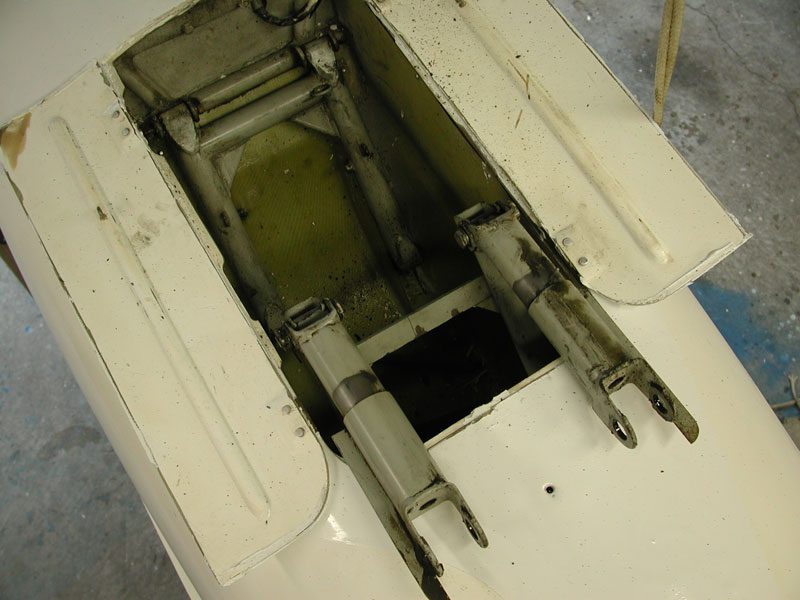
Below - I remove the bronze bushings. |
 |
Pretty dirty, but nothing is worn out, so that's good news. |
 |
Below - all cleaned up and next I'll seal the gaps inside the wheel well with some GE RTV. |
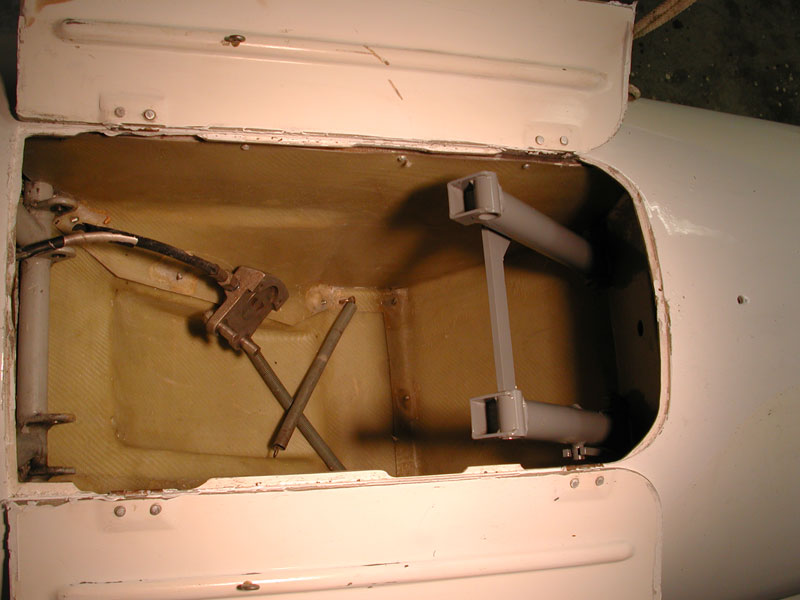 |
Below - all the bits get cleaned up with mineral spirits and I inspect each part with a strong flashlight and a magnifying glass to detect any small cracks. Everything looks fine. |
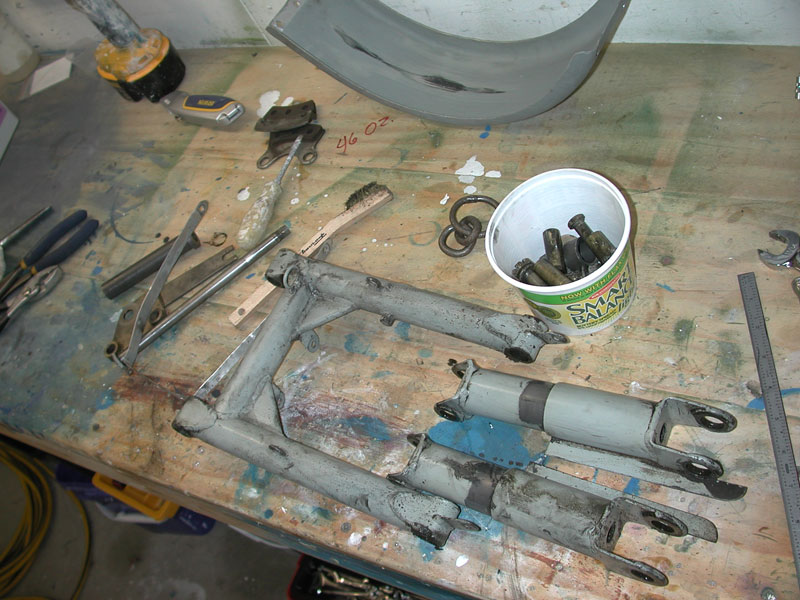 |
Below - I wire-brushed the painted parts and sprayed on a coat of Schempp-Hirth grey I bought at Lowe's. |
 |
Tomorrow, I sand the gel-coat and Monday I go to Oke City for a week of FAA training so progress will come to a screeching halt. |
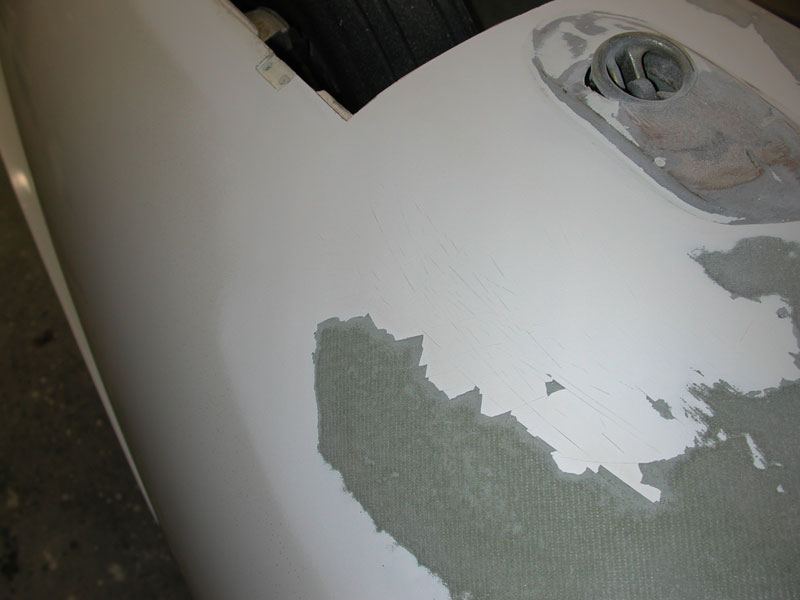
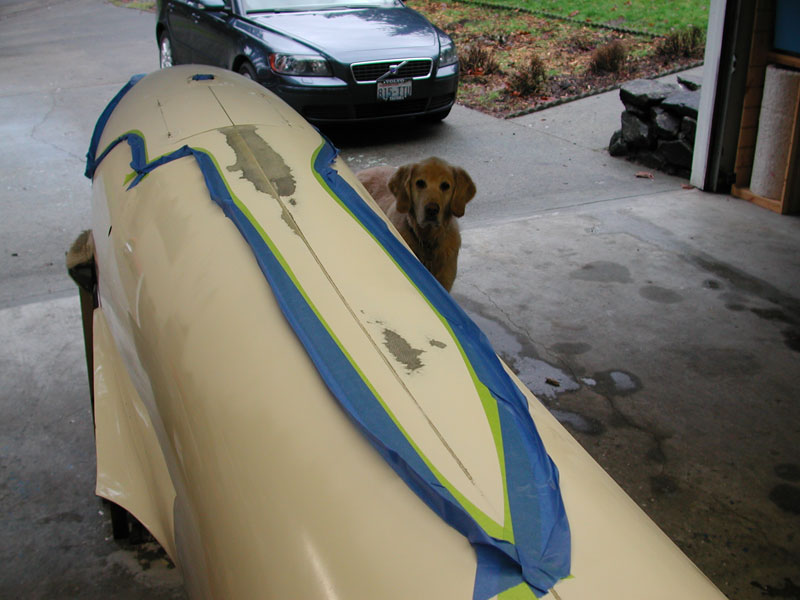
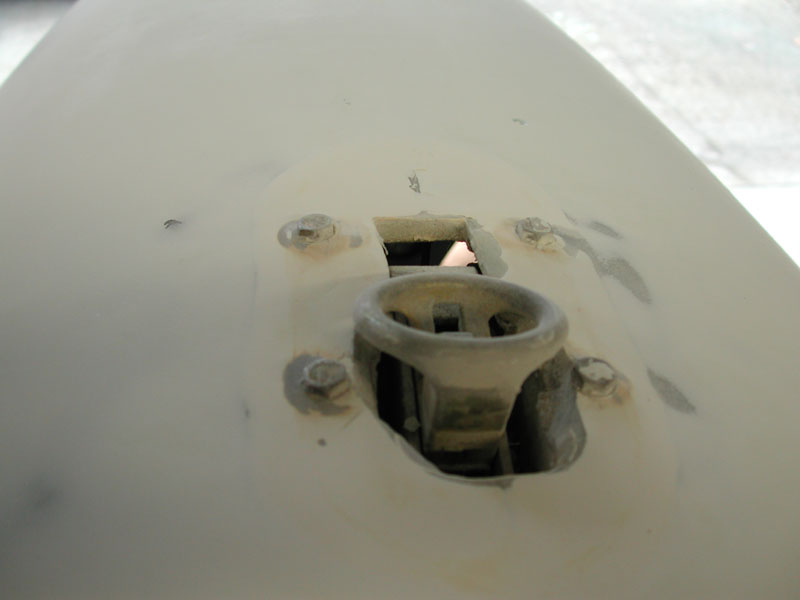
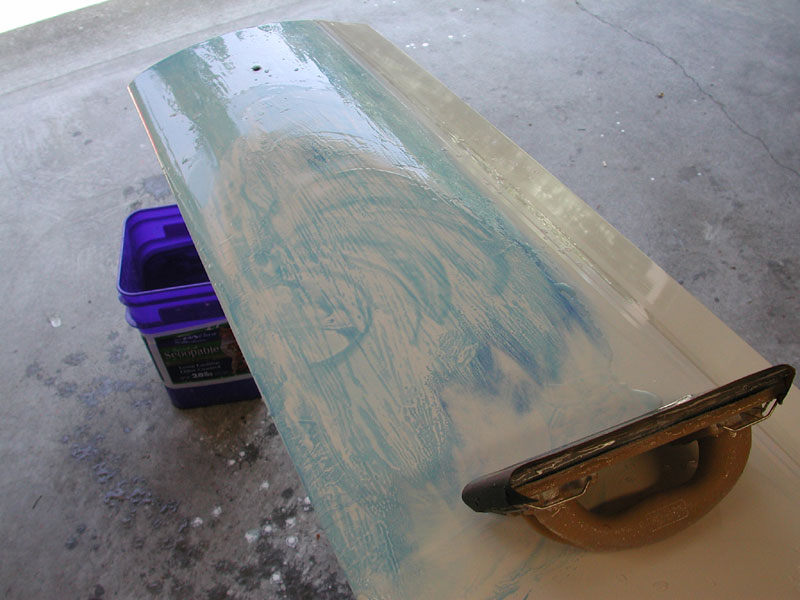
Below - January 8 - I mix some blue ink with water and prepare to dye the new gelcoat blue so I can see when I've sanded it flat (mostly). I'm concerned about the very rough area around the tow hook, there is a piece of plywood surrounding the hook cutout that acts as a fairing and it look like the gelcoat did not set up very well around it and it looks like the typical gelcoat mess when it reacts with moisture. My fears will soon be proved correct. |
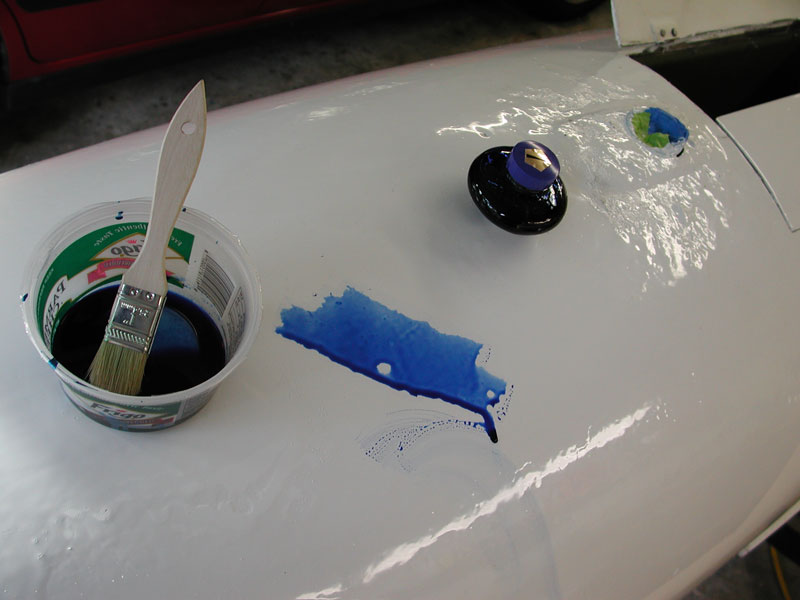 |
Below - the dye is given time to dry while Samson chases some ball. |
 |
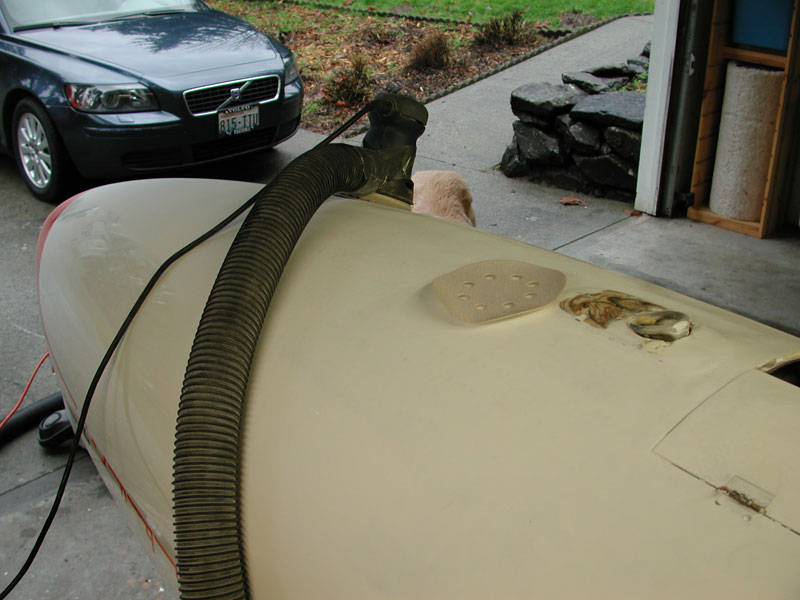
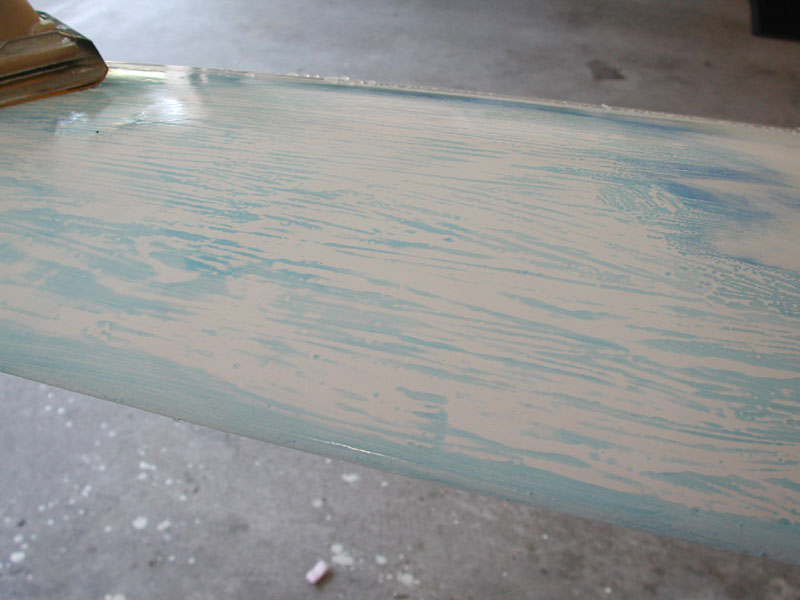
Below - I start to sand the new gelcoat with some 240 - not sanding too deep because I'll quickly change to hand sanding with wet 600 grit. |
 |
Here's the problem with the gelcoat around the towhook fairing. The plywood that served as a makeshift fairing never fully dried out and wicked moisture into the surrounding gelcoat. You can see the craters where the gelcoat never set up as a result of the moisture. The only remedy is to remove all of the old plywood and fabricate a new fairing from foam sandwich fiberglass. |
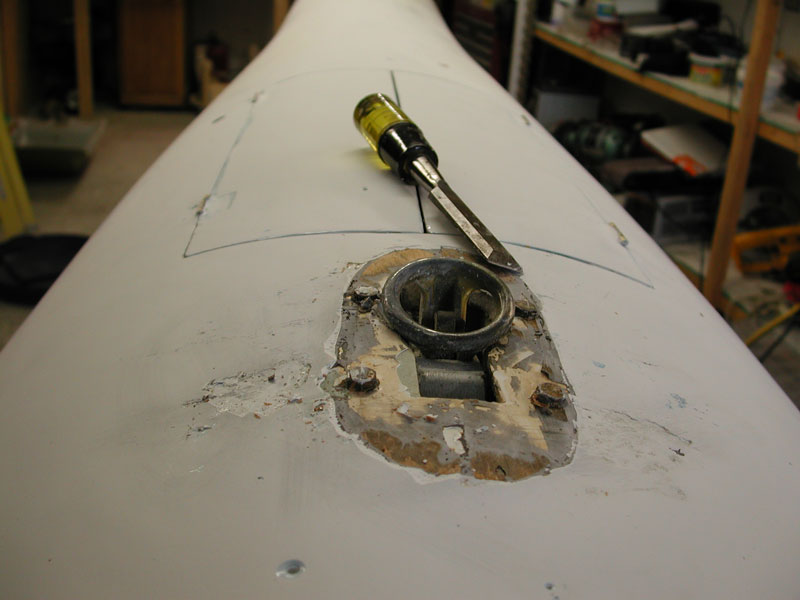 |
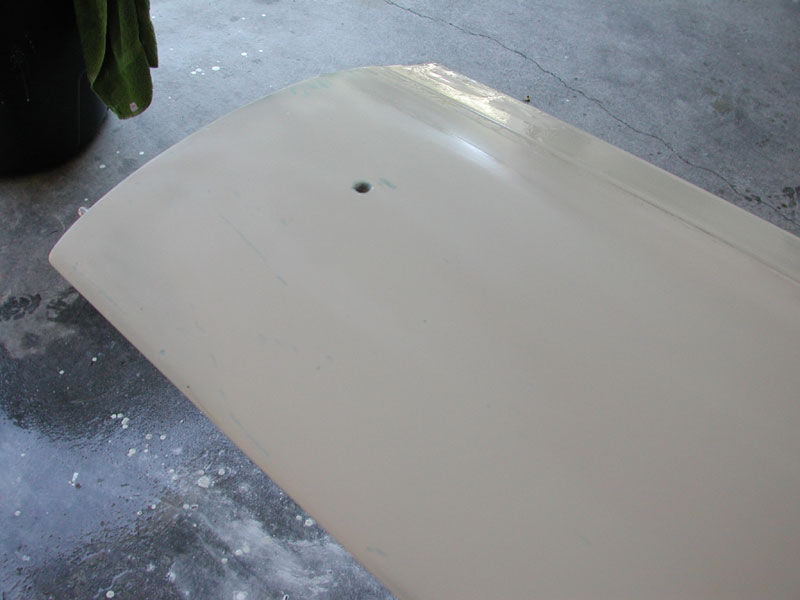
Below - I've sanded all the old wood and epoxy off - down to the original gelcoat. Seems the hook fairing was an aftermarket addition. |
 |
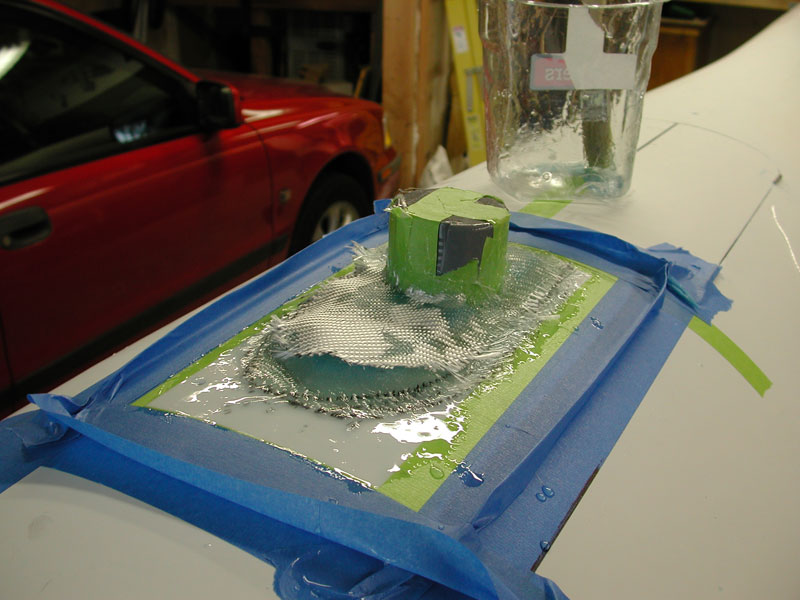
Below - after masking the hook and opening, I cut some fiberglass and foam to shape and get ready to goop it up. |
 |
I mixed some MGS resin and laid on one layer of glass, next I set the foam on the first layer and covered the foam with 4 more layers of fiberglass. |
 |
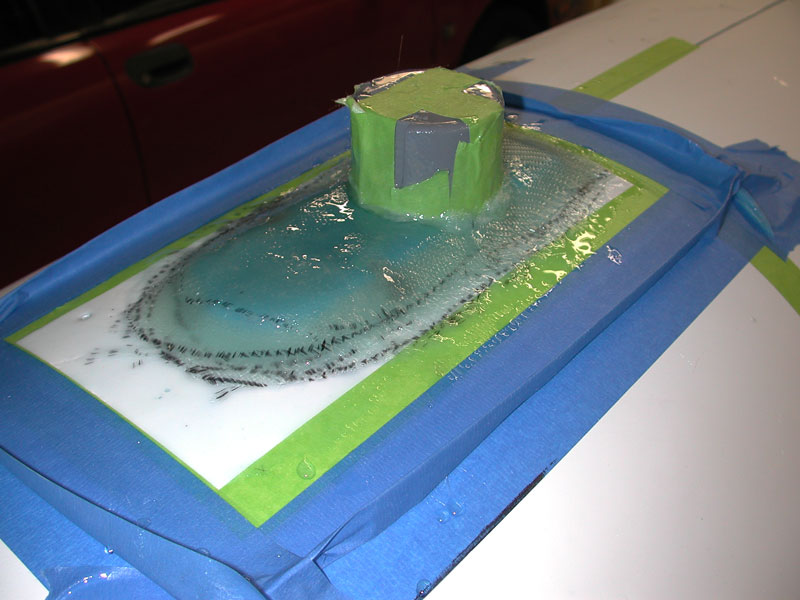
Below - the new fairing is finished, now I just need to wait for the epoxy to set up, sand it shape and resume the gelcoat process. |
 |
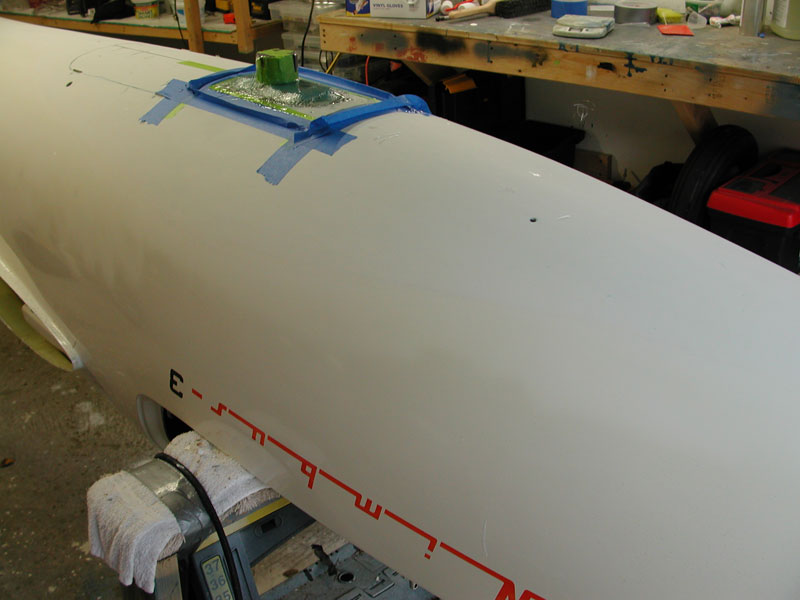
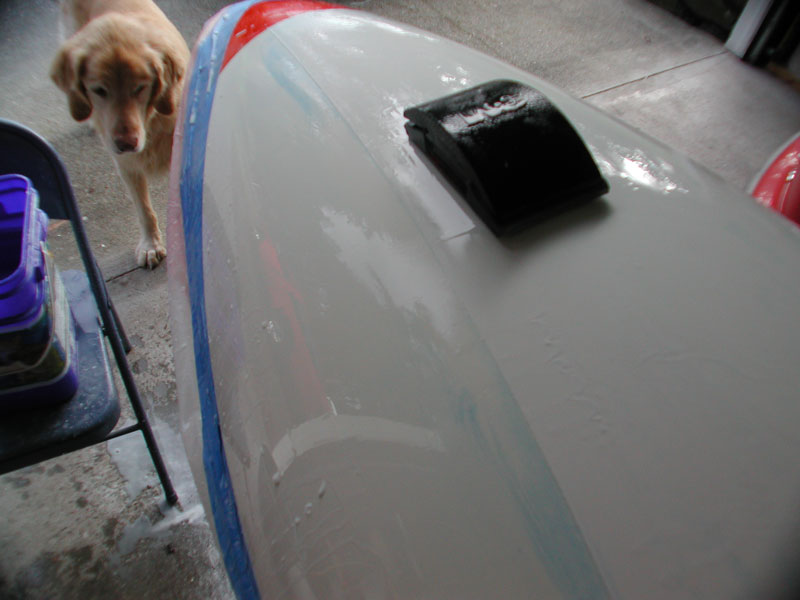
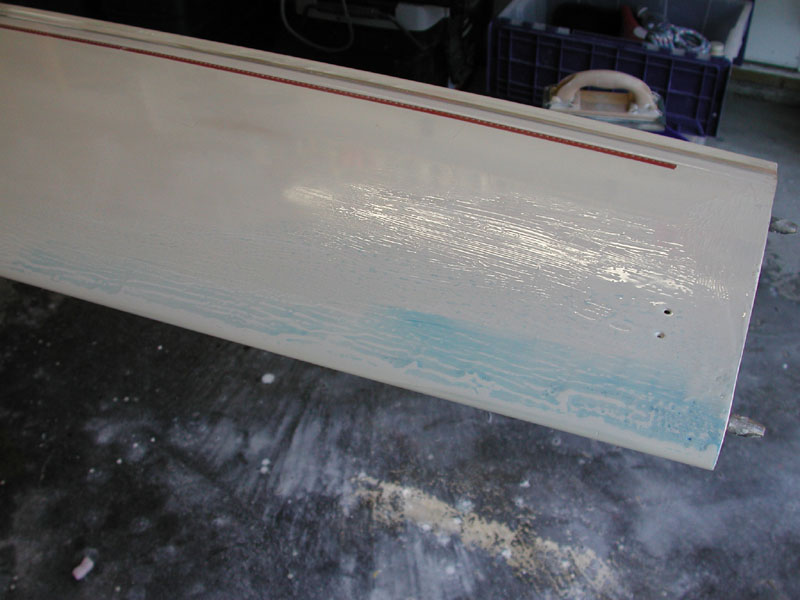
Below - the second application of gelcoat has covered the repaired area very well. After I get back from Oke City, the fiberglass hook fairing will be ready for shaping and another coat of gelcoat will go on, then I'll start hand-sanding. The new wheel bearings will be here by then, so I can re-install the landing gear. |
 |
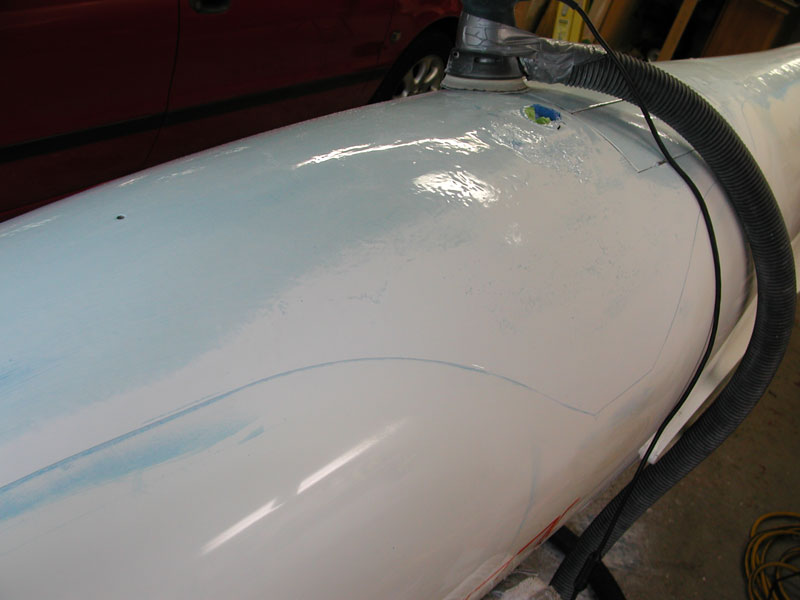
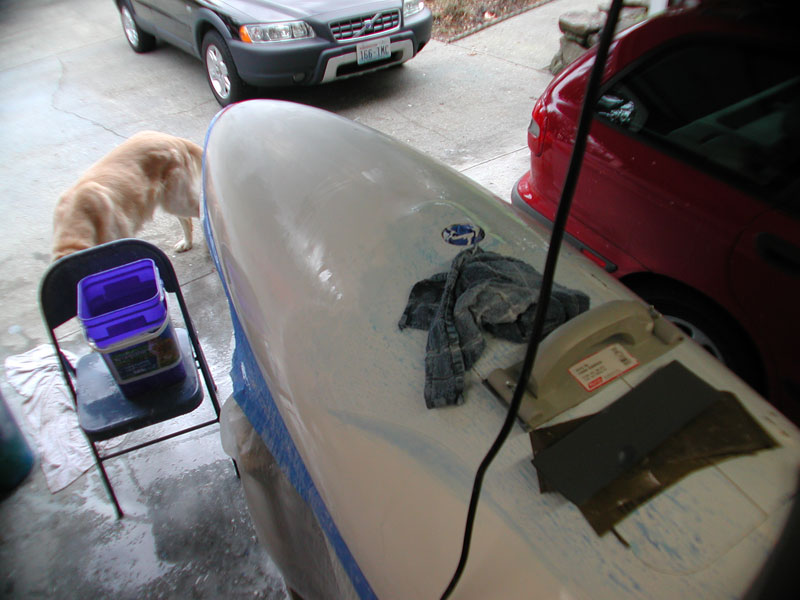
Below - January 13, 2005 - I wet sand the fuselage with 600 in preparation for the third coat. The surface is getting flat and the gelcoat is thick enough now that it's starting to cover pretty well. Maybe one more coat, maybe two, hard to say until I sand the next coat. |
 |
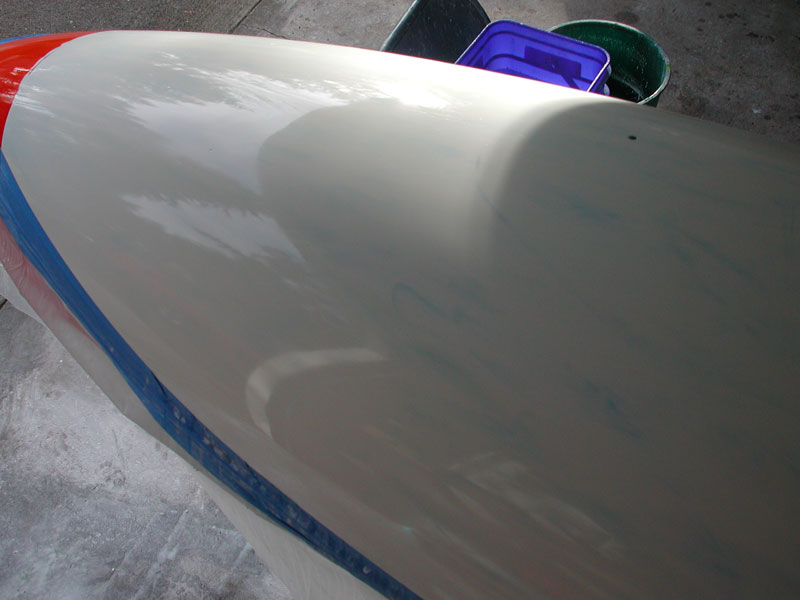
Below - I polished the forward section just a bit to check for color, looks OK. |
 |
Below - All sanded flat and the towhook fairing is sealed and shaped with some epoxy filler. |
 |
Below - masked off and ready for the third coat of 2481, Samson is tired from his walk and playing ball, just about to fall asleep. |
 |
Below - I roll on the Simtec 2481 with a thin nap roller, it goes on nice and thick. |
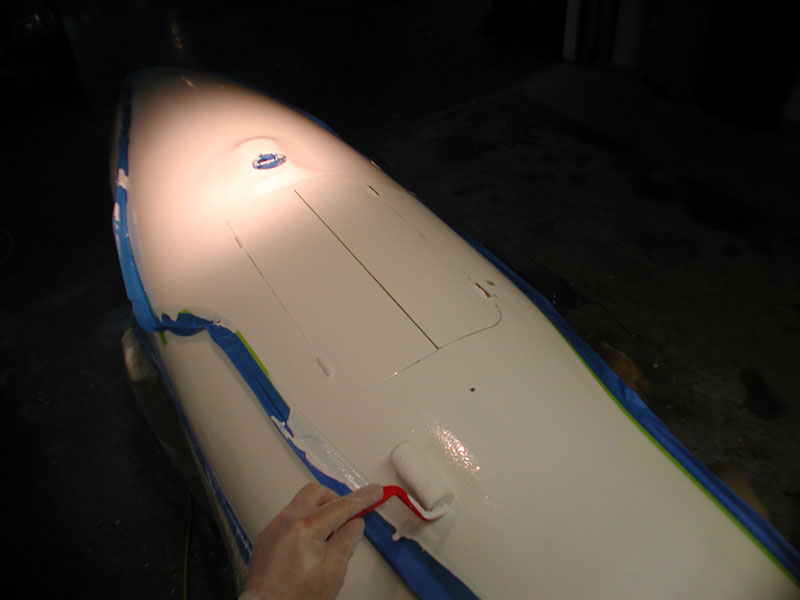 |
Below - a few runs, but the 600 will take care of those. |
 |
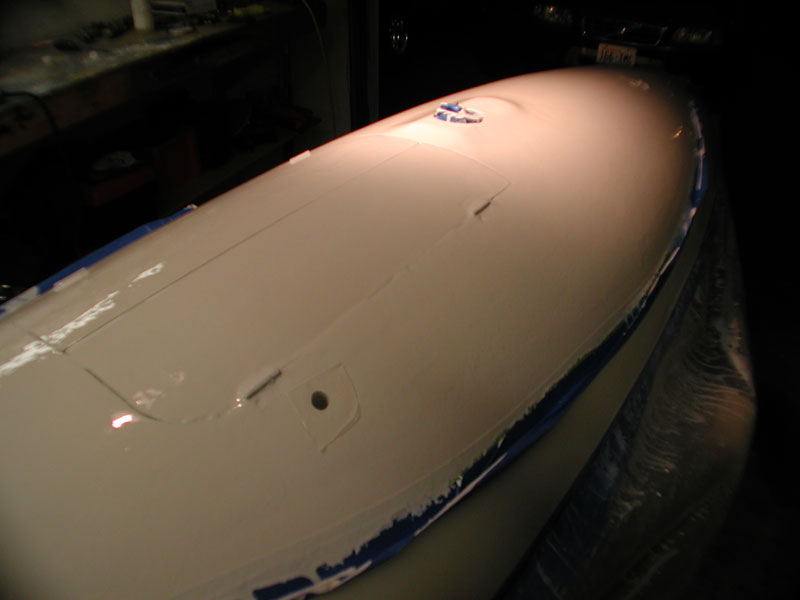
Below - I use wax paper over the holes to get a clean edge from the gelcoat. Without the wax paper, the gelcoat craters around the hole and it does not provide a nice clean edge. |
 |
Below - The new wheel bearings arrived today, so it's time to disassemble the main wheel and install the new bearings. Some Kroil on the bolt threads (inside the brake disc) helps to loosen the bolts. |
 |
Wheel disassembled, old bearings removed using the two-socket and hammer technique. |
 |
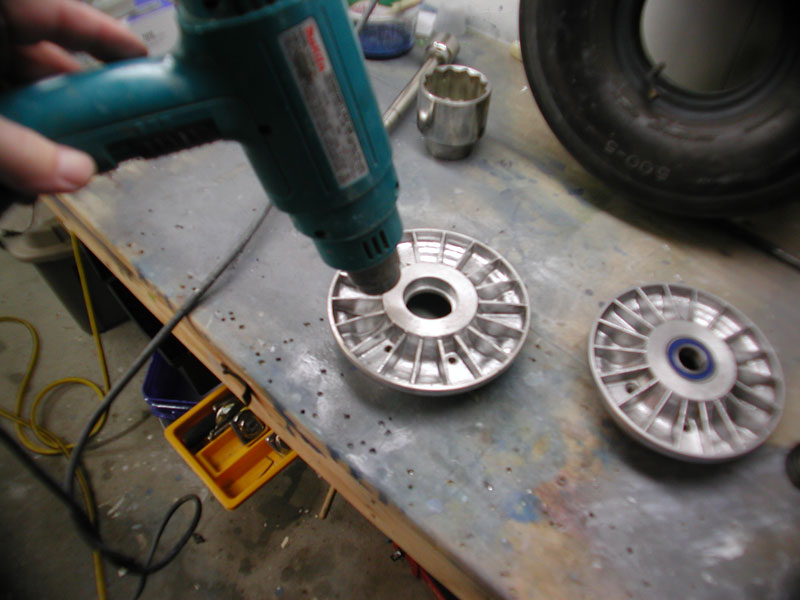
Wheels cleaned up and I'm using the heat gun to heat the aluminum wheels. Once they're nice and hot, the bearing just drops into place with finger pressure and Klaar is Kees! |
 |
Below - I use some all thread and a socket to draw the wheel halves together so I can start the wheel half bolts into the brake disc. Next, I'll finish sanding and polishing the fuselage and reassemble the landing gear. |
 |
| Below - January 15, 2005 and I start to sand the third coat. I'm using 600 to start. |
 |
| Below - after 2 hours and two buckets of water, I have about a quarter of the job done through 600. |
 |
| Below - Four hours into the program and most of the right side is done - back to the gear doors and now I move to the other side. |
 |
Below - I've got both sides sanded through 600 back to the gear doors and I polished the forward section to reveal any waves, bumps and scratches. There are a few, and I'll sand those out with 1000 tomorrow. |
 |
Below - January 17, 2005 - I apply more blue ink for the final sanding from 1000 through 1500. The ink will show the sanding scratches from the 600 grit and help me to see when I sanded through those deep (relatively) scratches. |
 |
Below - the 1000 grit session reveals some low spots, more sanding with more 1000, I don't dare go back to 600 as it would cut too much and maybe go through the remaining gelcoat, it's very thin at this stage, maybe 2 or 3 mils. |
 |
Below - the forward portion of the fuselage was already through 1000 grit in some places, nonetheless, much more sanding is required to get the 600 grit scratches and minor dimples out. |
 |
| Below - after 1000 there are some minor scratches remaining, time to move up to 1500. |
 |
| Below - the entire fuselage and gear doors through 1500. |
 |
| Below - I polished the gelcoat with Menzerna Final Polish II and then applied a coat of Weather Seal and a coat of Weather Block. |
 |
| I have to touch up the red paint where I sanded through it. |
 |
Next, paint touch up i a few places, re-drill the drain holes that are now plugged with gelcoat, permanently install the gear doors and then reassemble the main landing gear. The wheel well is completely sealed with GE RTV. |
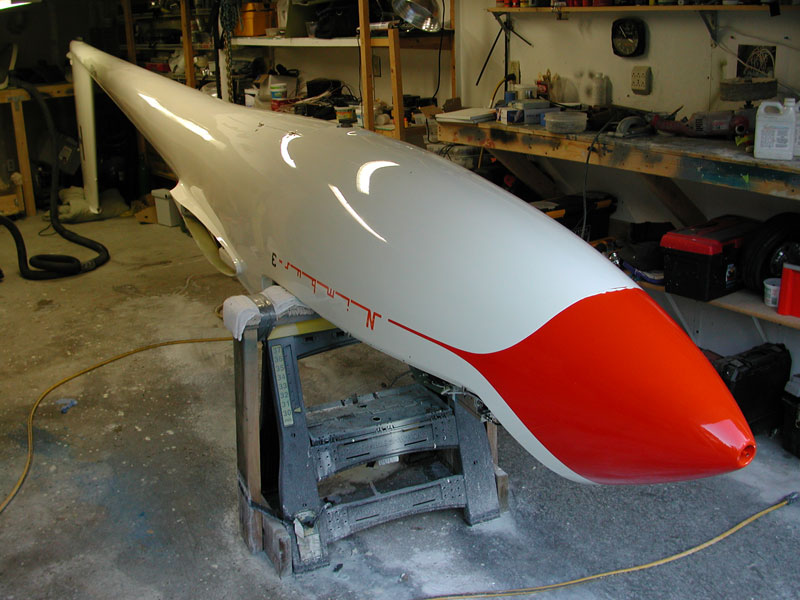 |
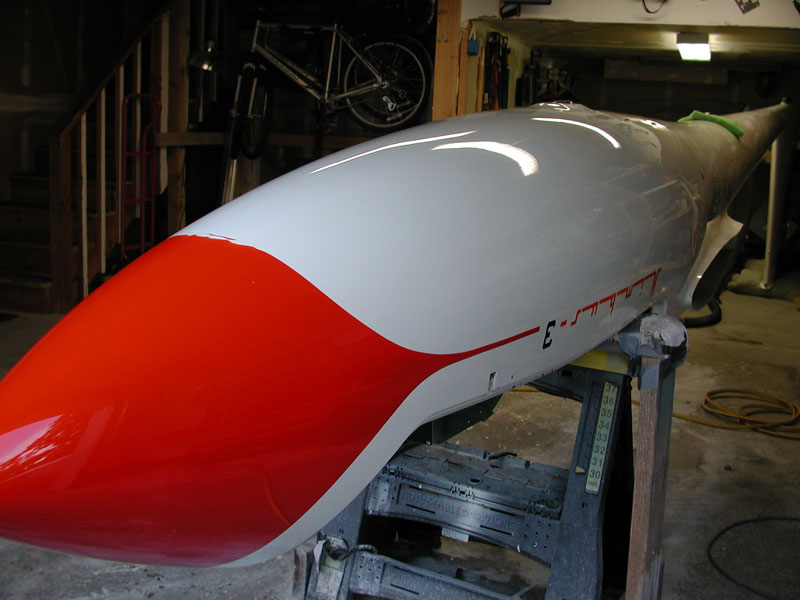
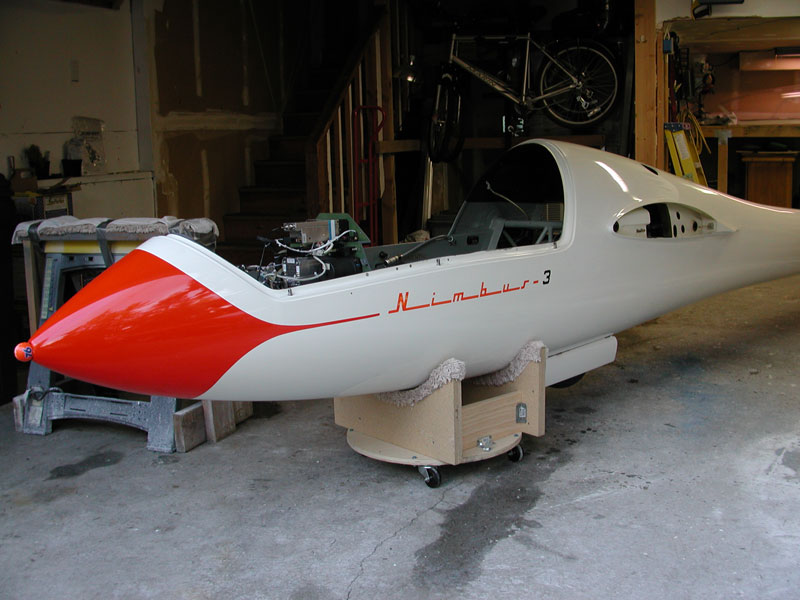
| Looks better than it did. |
 |
| Above after. |
Below - before. |
|
Below - Saturday 21 Jan 2005 - I cleaned up all the gear parts, replaced some AN hardware, found the axle grease and now it's time to re-install the landing gear. |
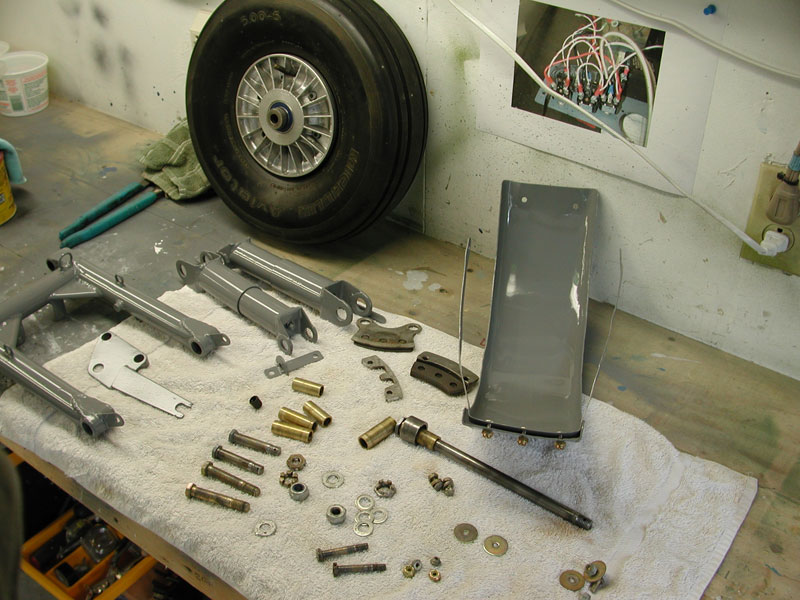 |
| Below - the big pieces go in with red grease inside the bronze bushings. |
 |
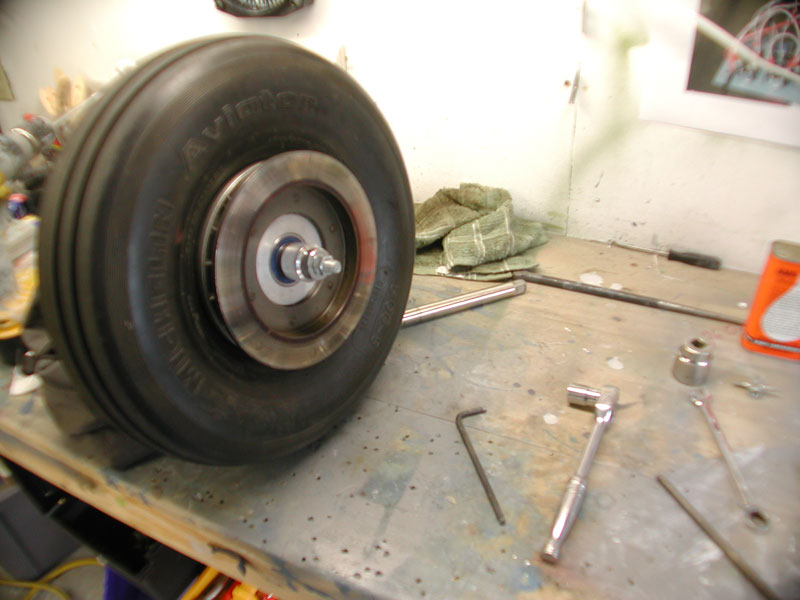
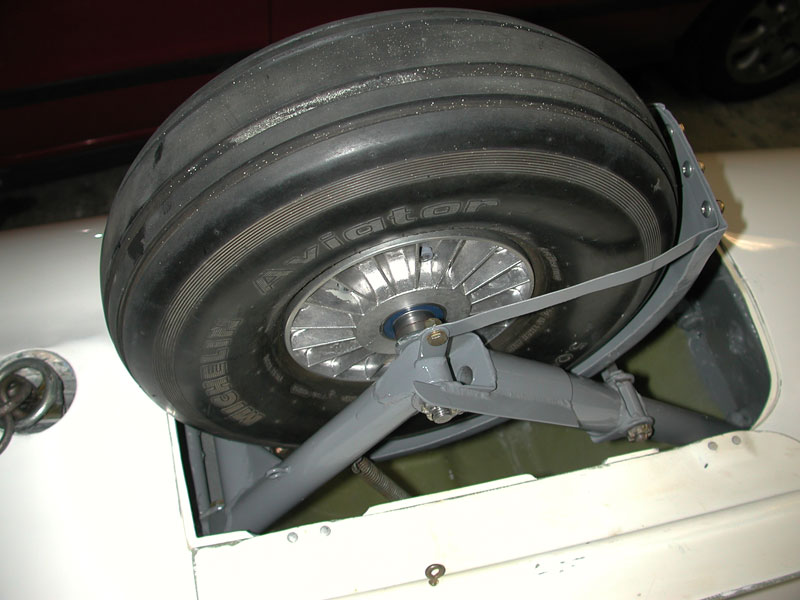
The tire goes in. That is a Michelin 6 ply 5.00 x 5 tire that I installed when I first obtained the Nimbus. The old tire had sidewall damage from cracking and a groove worn into the sidewall from the inside brake caliper. When I removed the tire, I noticed it was a 4 ply tire, not unusual in a light aircraft, but when researching a replacement, I discovered that the 4 ply 5.00 x 5 tires available all have max. load ratings of no more than 1200 lbs. That is the weight of this glider empty with me in it and no water. I needed a 6 ply tire that is rated to 1750 lbs. to accommodate the max gross weight of the Nimbus 3, which is 1650 lbs. (750 kg.). So, I bought the 6 ply Michelin and after installing the tire and inflating it to the recommended pressure of 70 psi, I was pleased to see that the brake caliper no longer rubbed the sidewall. I suspect that the stiffer tire construction is the reason that the sidewall does not deform enough to contact the brake caliper while sitting on the ramp assembled. |
 |
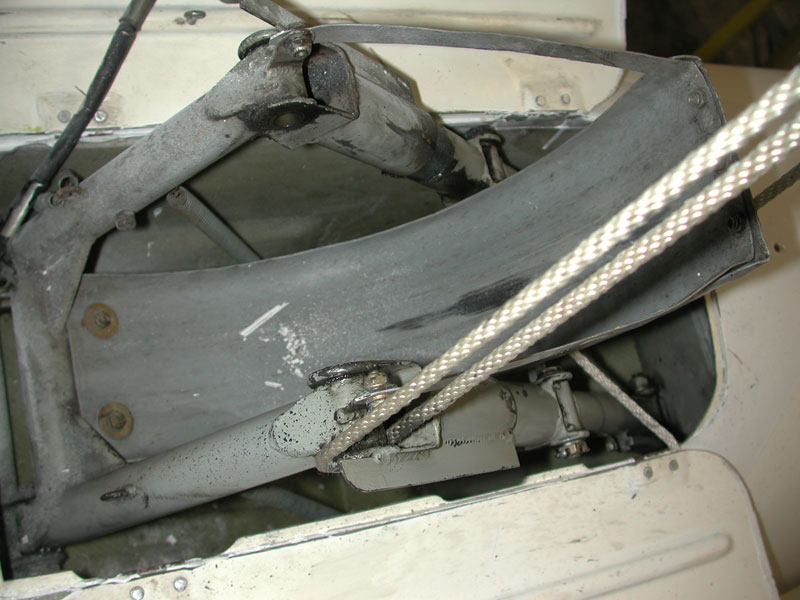
Below - with the brake caliper installed and retract springs connected, it's important to have a secure rope keeping the gear over center. If I was to accidentally nudge the gear over center, that gear would slam back into the wheel well so fast and with such a force that any body parts that might be in the way would no longer be considered body parts.. more like body pieces. |
 |
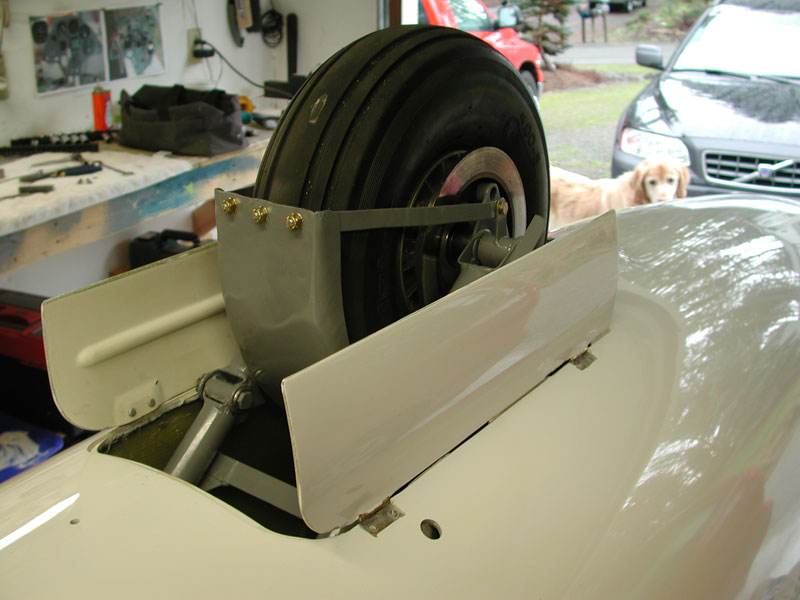
The gear doors are connected and the landing gear reinstallation is complete. Time to finish polishing the rear portion of the fuselage and turn this whale back upright. |
 |
Below - Saturday afternoon, neighbor Lee comes over and we hook the come-along to the main gear and lower the fuselage into the cradle. |
 |
The vertical lays on a thick blanket and I ratchet the fuselage down until it's lying on it's side in the cradle, then we simply rotate the fuselage upright. |
 |
 |
| All done, now I just have to finish the work in the cockpit and polish the top of the fuselage. |
 |
 |
| Looks a lot better now. |
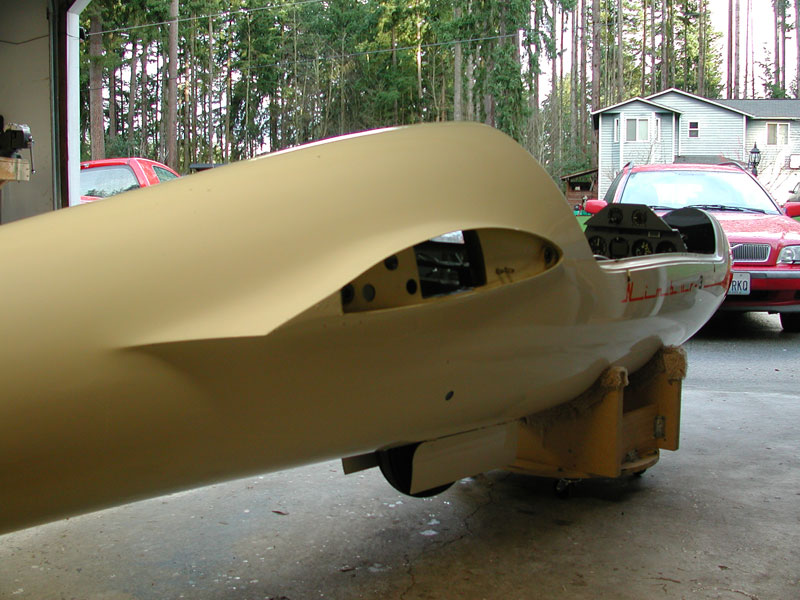
Below - July 2004 |
|
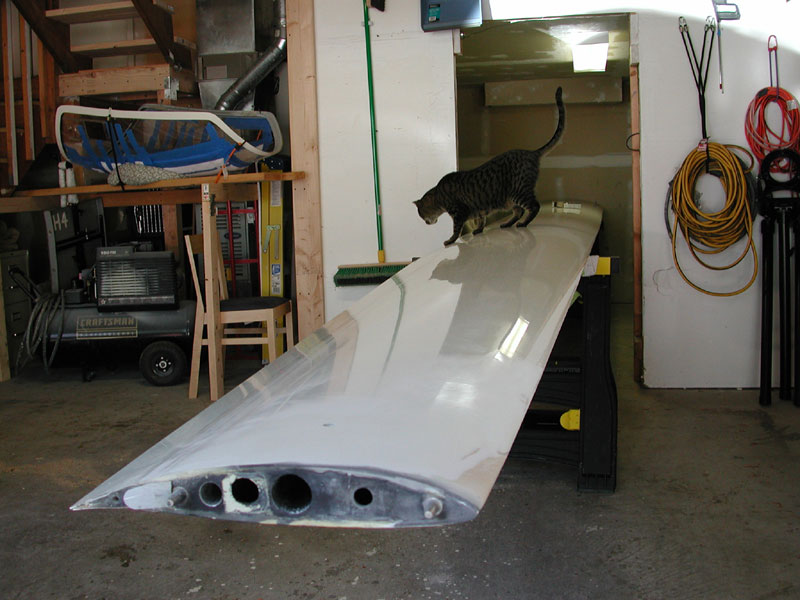
July 15, 2004 - the Tabby Cat (aka TigerTiger) completes his inspection of the tip damage incurred when I dropped the wing while de-rigging. The wind was blowing pretty good on the last day of the Region 8 contest in Ephrata and it got hold of the wing when I removed it from the inboard panel, fell over and I dinged the tip pretty good. |
 |
|
No damage to the structure - it just chipped off a large chunk of the large amount of filler on this wing. Need to re-fill it, profile it and restore the gel-coat. A 3 working day job. |
 |
|
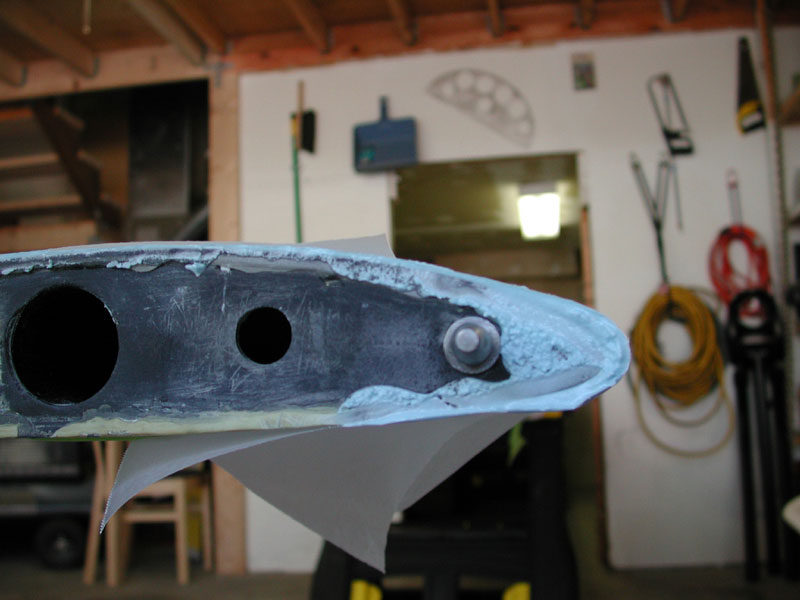
There's a lot of filler on this wing. The brown colored epoxy is the filler used by Dick Johnson to build up the wing contour to the proper profile. You can see the graphite composite structure under the filler - unhurt by its fall from the dolly. |
 |
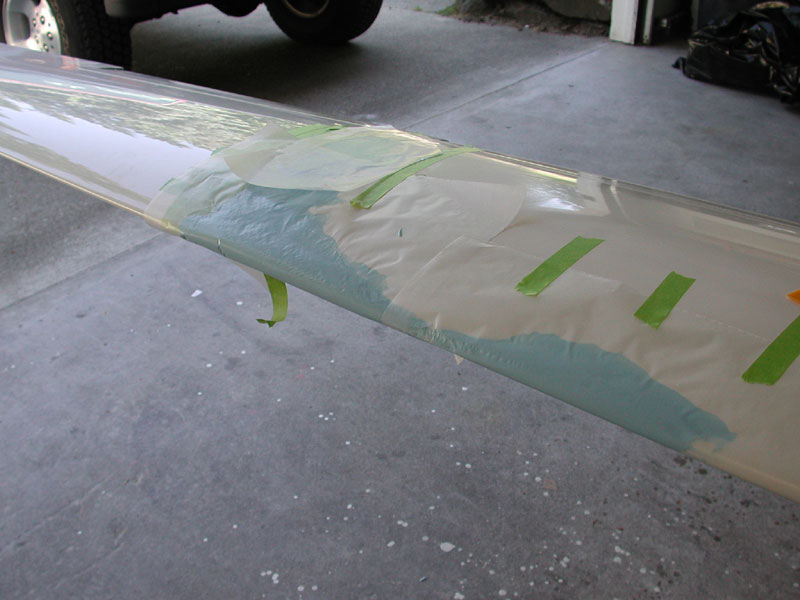
I install the tip, tape some wax paper in those places that I do not wish to glue together and apply the filler. I'm using PolyFiber lightweight epoxy filler. God stuff - durable and very lightweight. |
 |
|
I put lots of filler on and contoured it with more waxpaper on top. |
 |
|
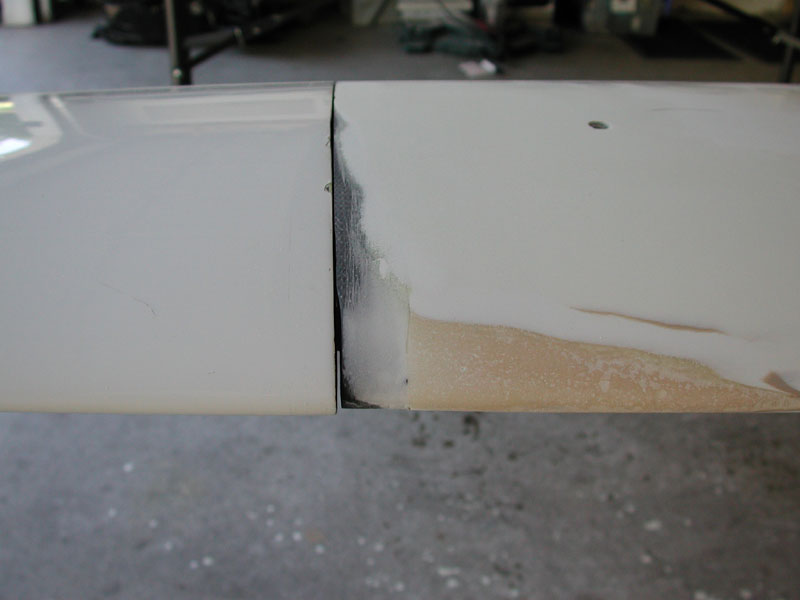
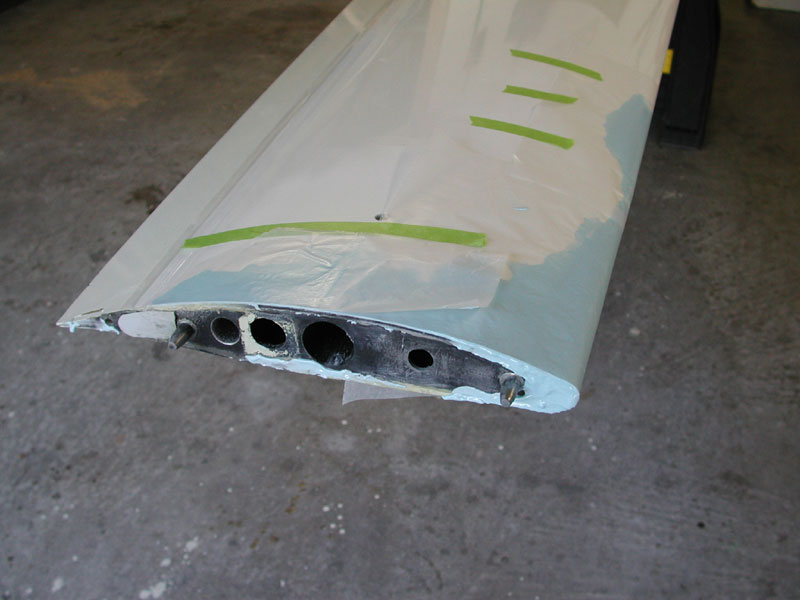
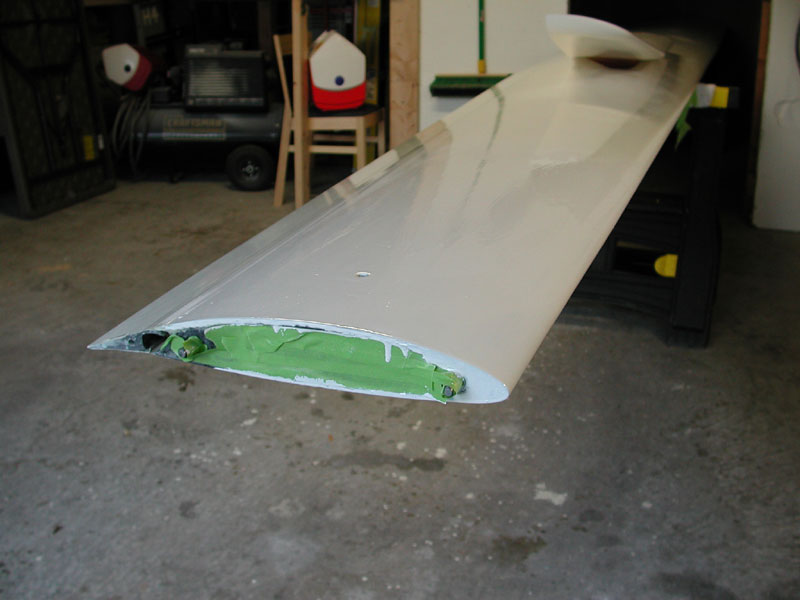
With the tip removed you can see the amount of filler needed to restore the profile. |
 |
|
|
 |
|
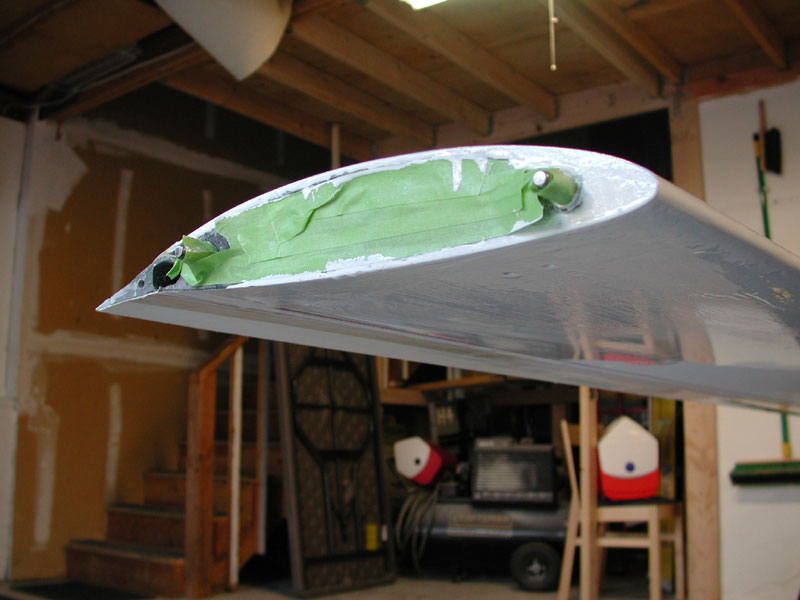
I've sanded the filler down to the original profile using the tip as a guide. |
 |
|
Ready for gel-coat. |
 |
|
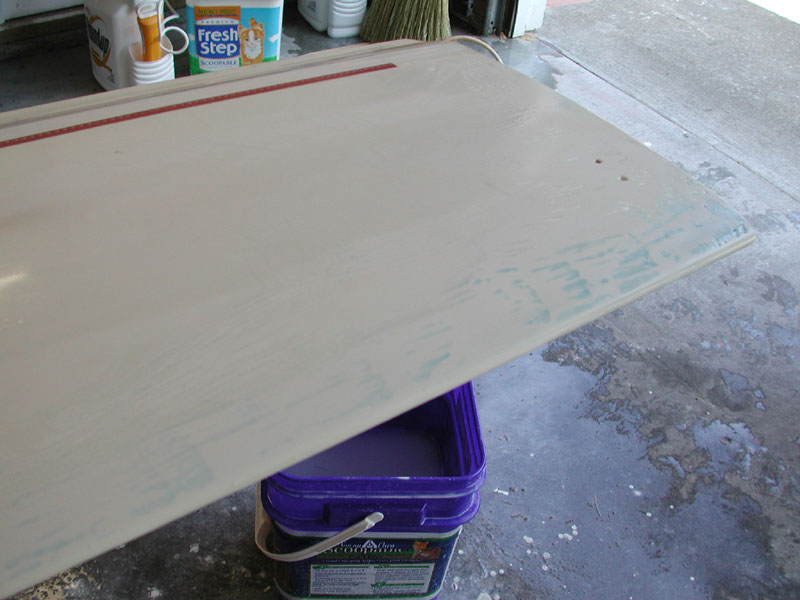
I brush on a coat of Simtec Prestec 2481. |
 |
It goes on thick, runny and unevenly. That's no problem because I'll be sanding most of it off anyhow. |
 |
|
More brushed on the underside. |
 |
|
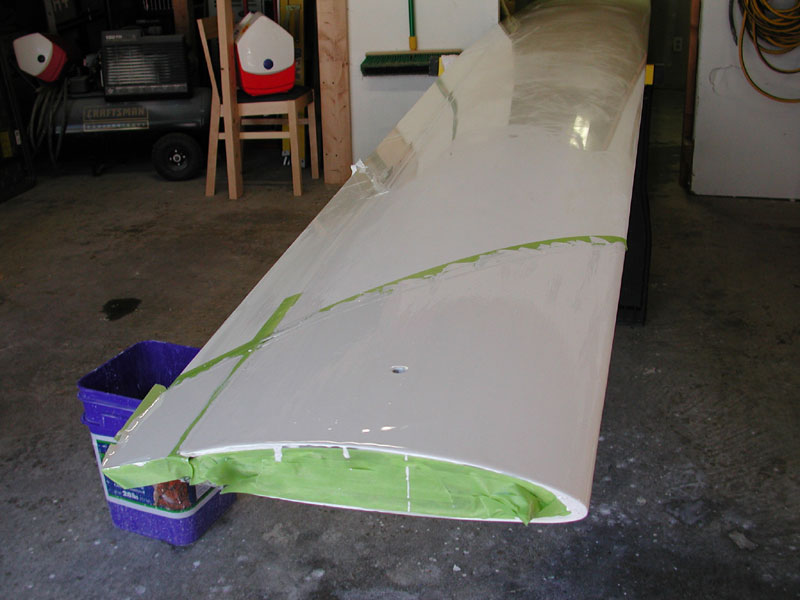
Blue dye to reveal the sanding and away we go. I'm starting off with 600 wet. |
 |
 |
This is about as far as I will go on sanding the first coat. Next step is to wipe the remaining dye off with alcohol and brush on another coat. |
 |
|
I flip the wing over and sand the bottom. |
 |
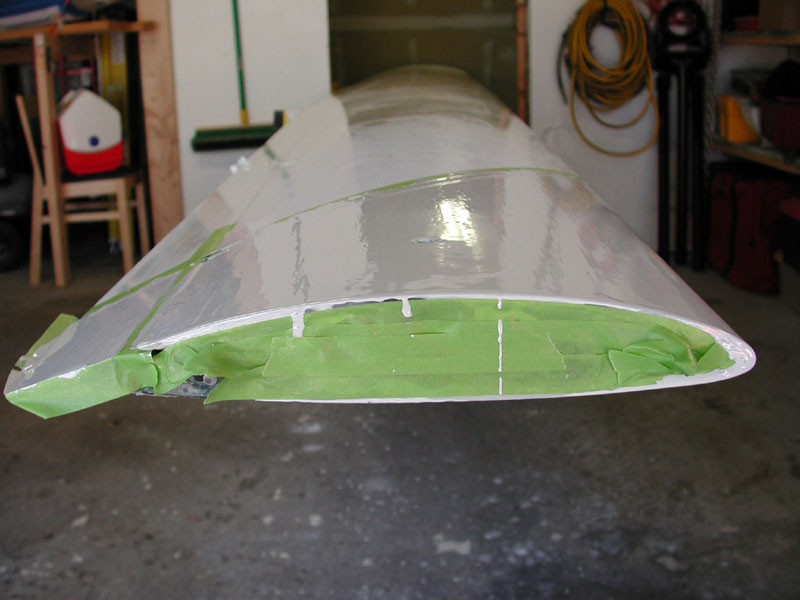
Ready for another coat. I do not sand all of the imperfections because to sand it completely flat at this stage would remove all of the gel-coat. I'll brush on another layer - that second coat will fill the low spots and I'll sand it flat again. |
 |
Second coat, I use tape to create edge dams - that will allow me to sand the edges square. |
 |
 |
|
Bottom coated with 2481. |
 |
|
Turned over the following day, blue ink applied and ready for final sanding. |
 |
|
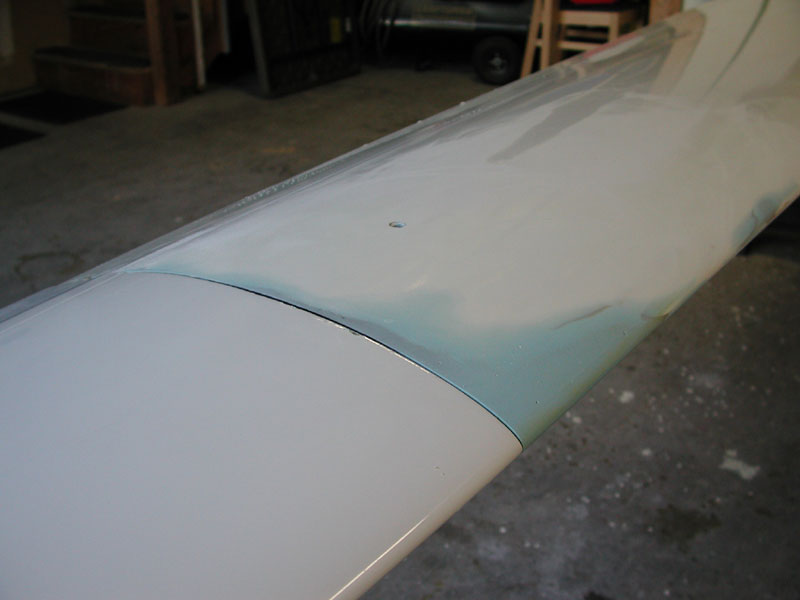
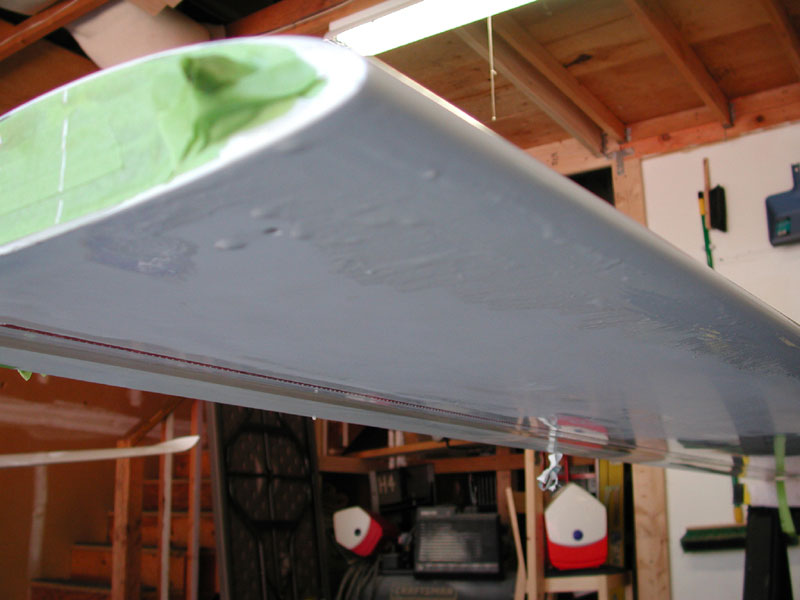
Top surface sanded through 1500 and polished. |
 |
It's a little thin - you can almost see the filler underneath, but I'll be re-finishing this wing anyhow, so minor imperfections go unresolved for now. |
 |
|
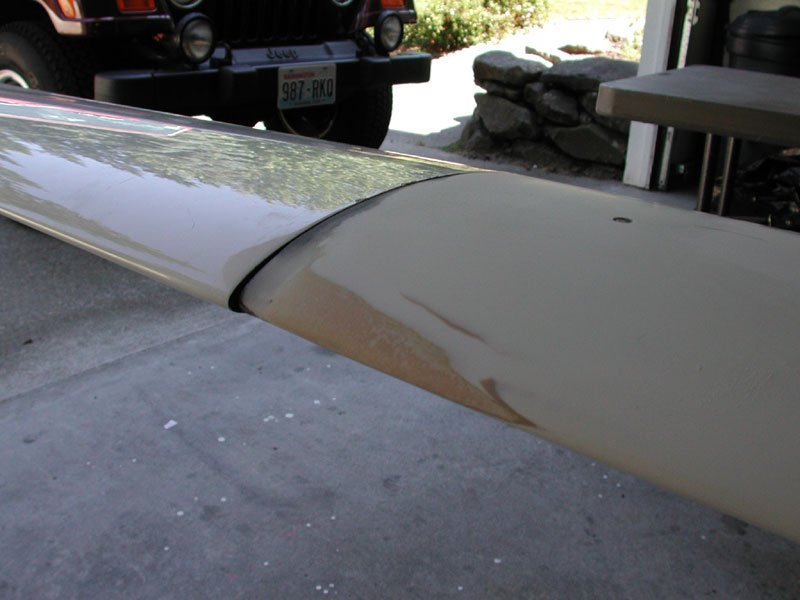
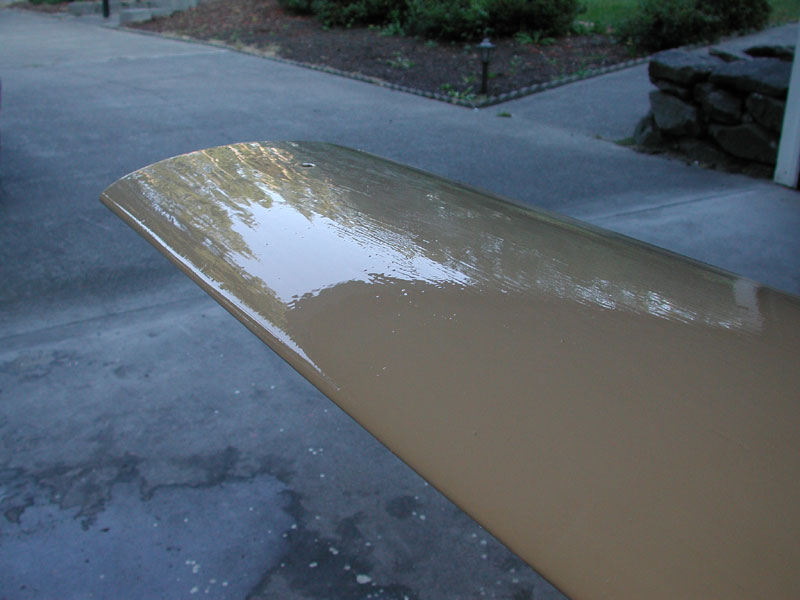
Profile restored. |
 |
Buffy the Gel Coat Slayer makes short work of the 1500 grit sanding scratches remaining. I'm still using the same polishing wheels Heinz Weissenbuller gave me last year when I picked up my 25.5m tips. |
 |
|
I decided to lightly sand, polish and wax the entire wing upper surface. |
 |