Thanksgiving Day - First step is to remove the old varnish with my Makita heat gun and Pro-Prep scraper. Both excellent tools for stripping.
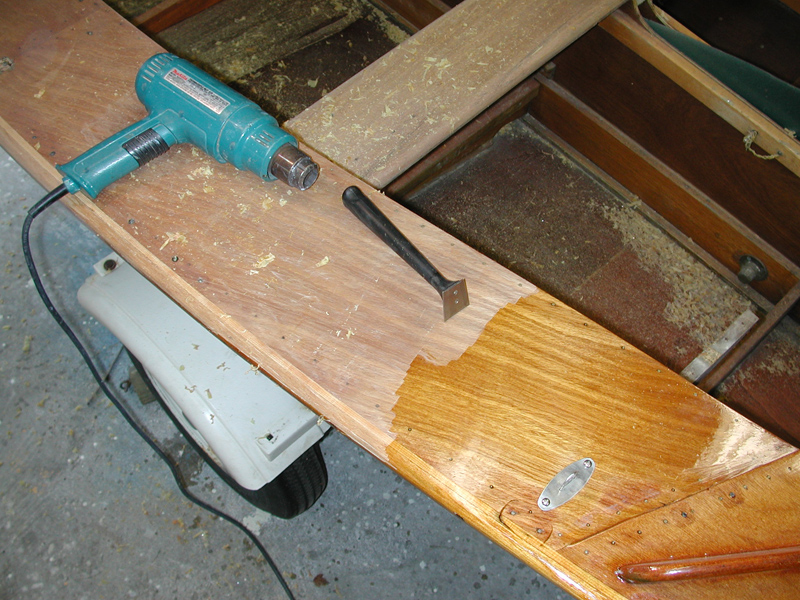
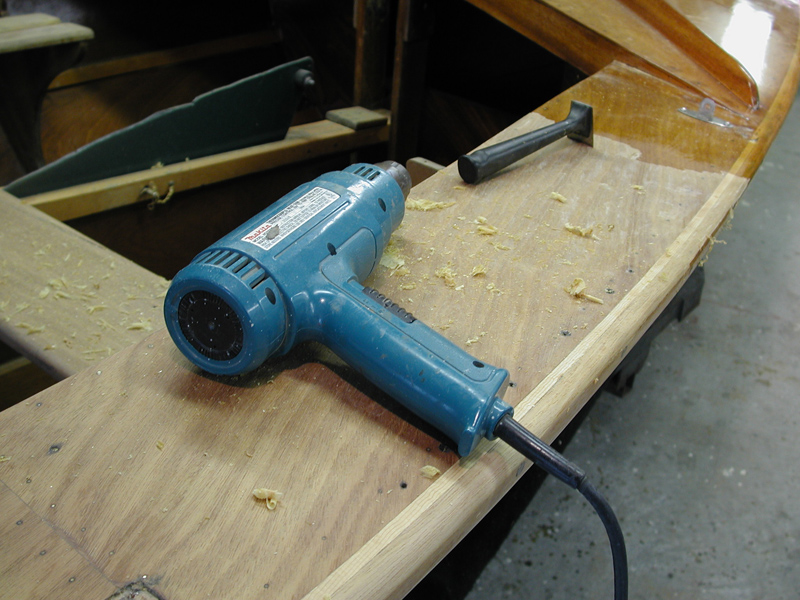
I will end up stripping all of the old varnish off of every part of the boat - eventually.
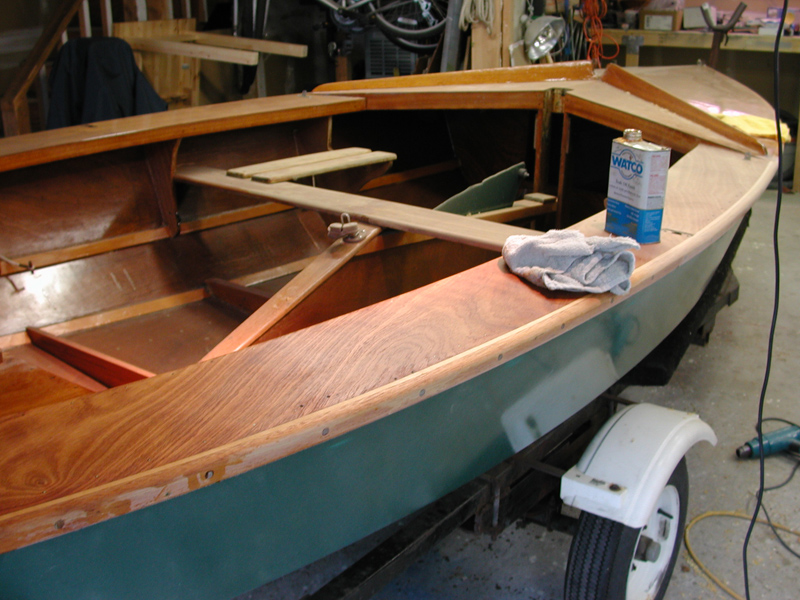
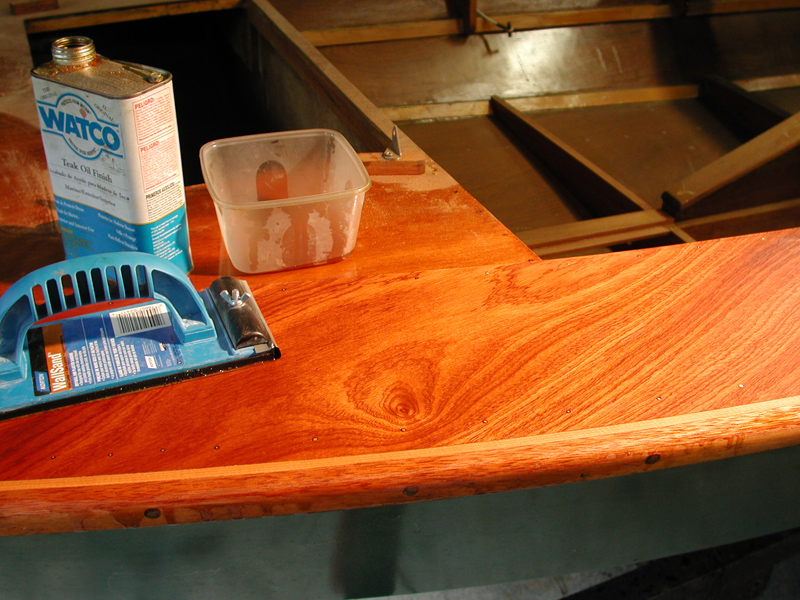
Once all the varnish is off, I sand the mahogany plywood with 220 and then apply some tung oil mixture , commercially available from WATCO or sometimes, I make my own with boiled linseed oil and tung oil. Either way, I thin it about 30% with mineral spirits.
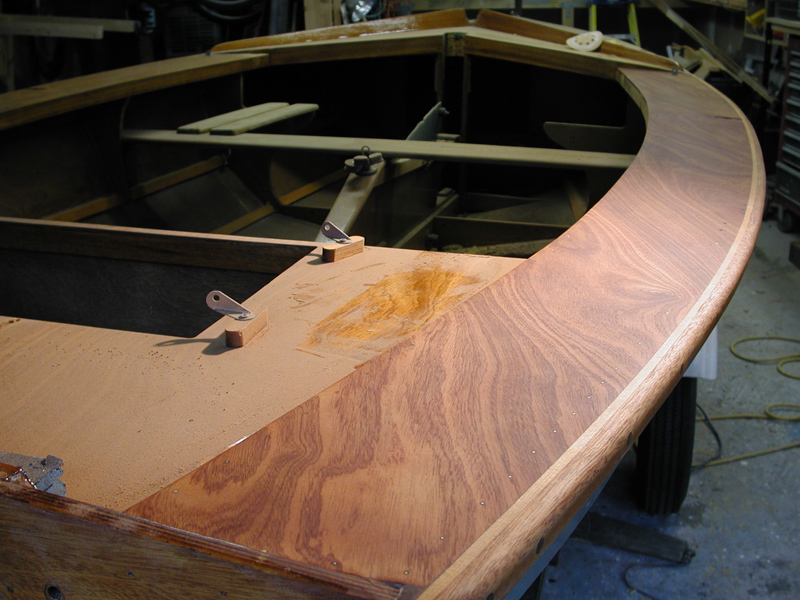
Next step is to sand the second coat of oil into the mahogany with some 600 grit, this will give it a nice glow and fill the pores with very fine mahogany sanding dust. I learned this method from Rebecca Wittman's book Brightwork.
After sanding in the tung oil, I wipe off the excess oil with a dry rag and wait for it to dry, in this cold and humidity, easily a month. Plenty to do while the oil dries.

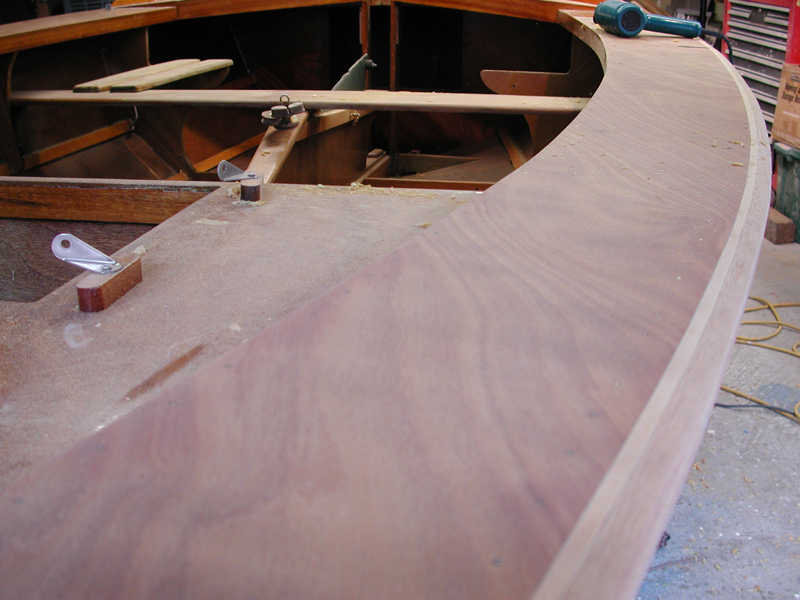
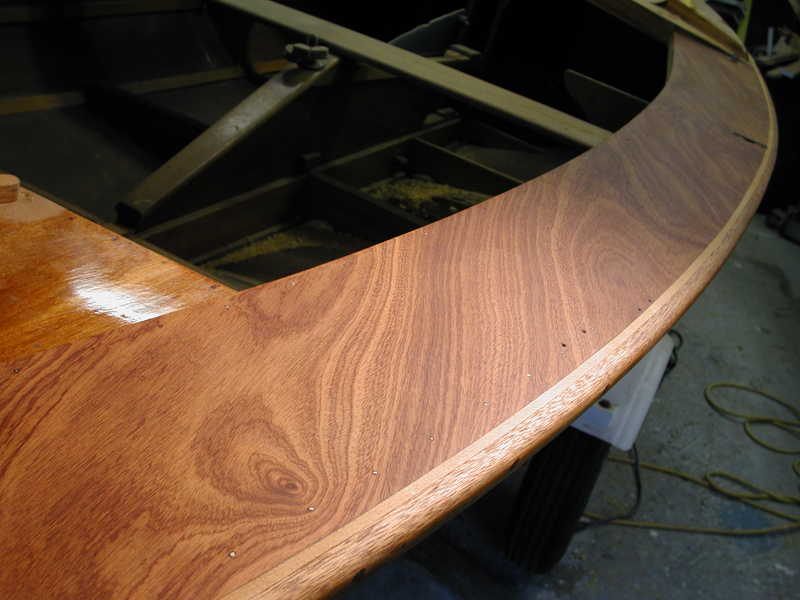
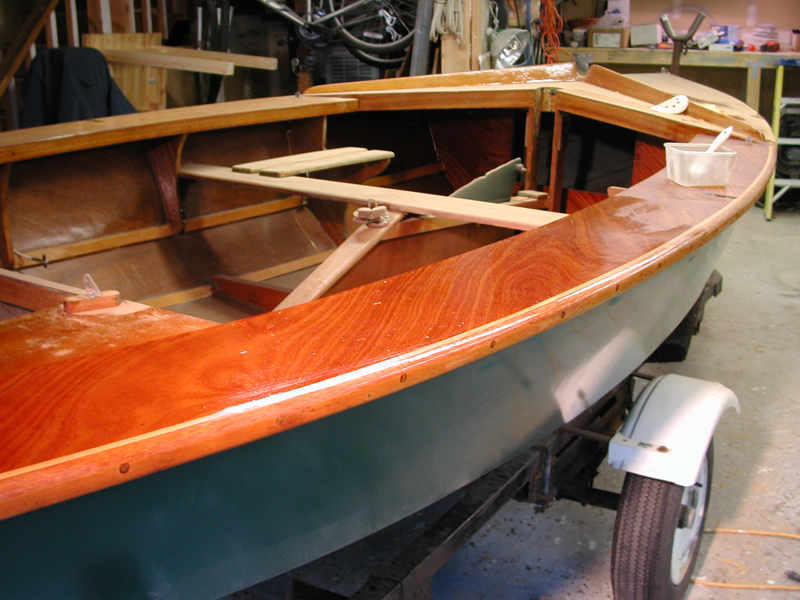
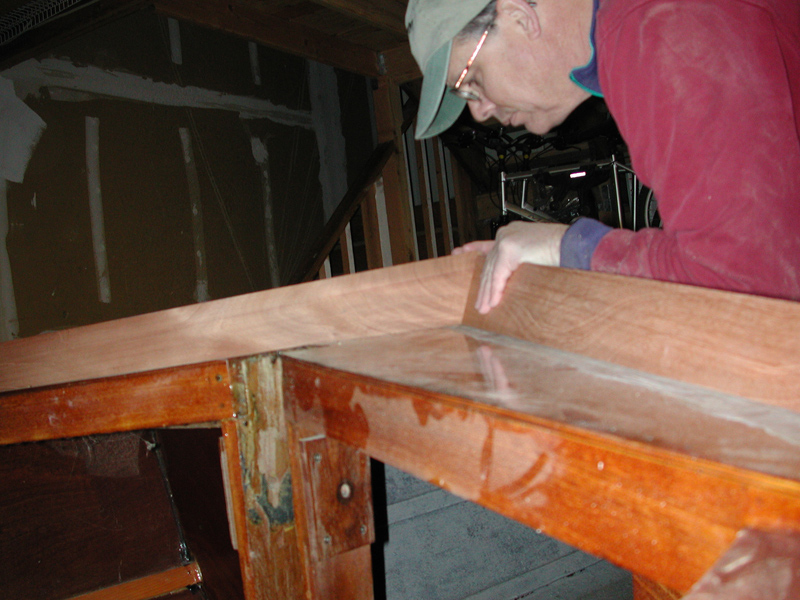
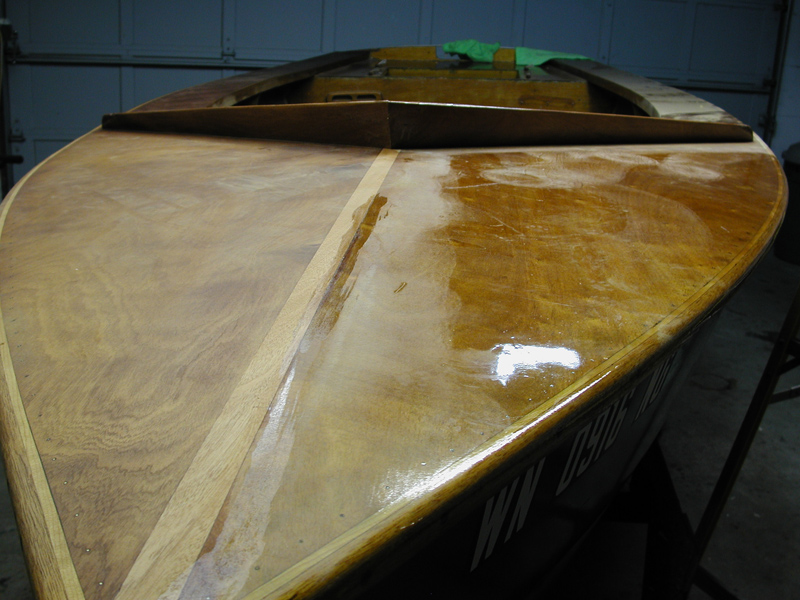
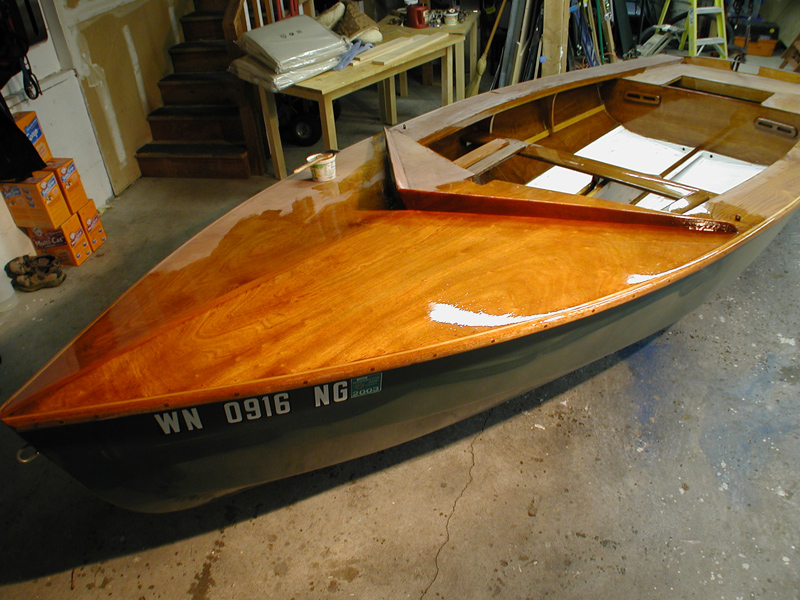
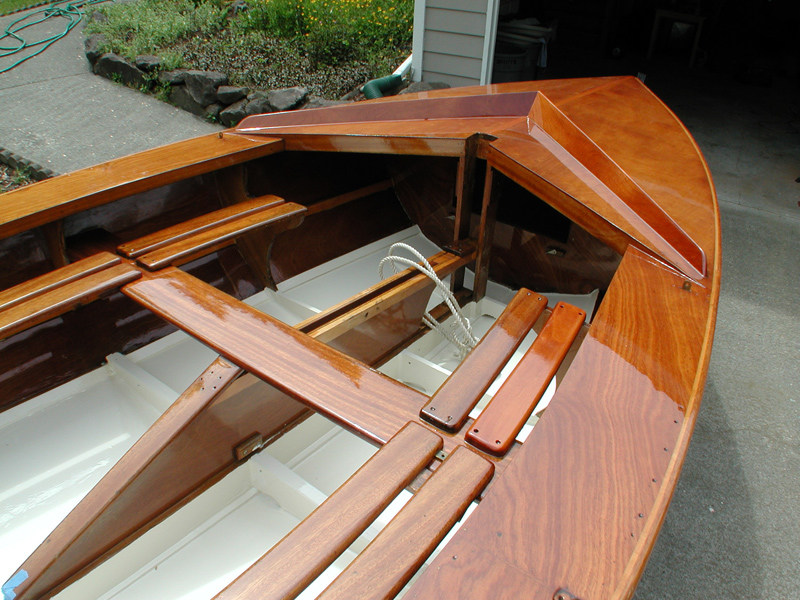
Above - the sanded oil finish really brings out the grain and darkens the wood a bit, which I like. I don't like light mahogany for some reason.

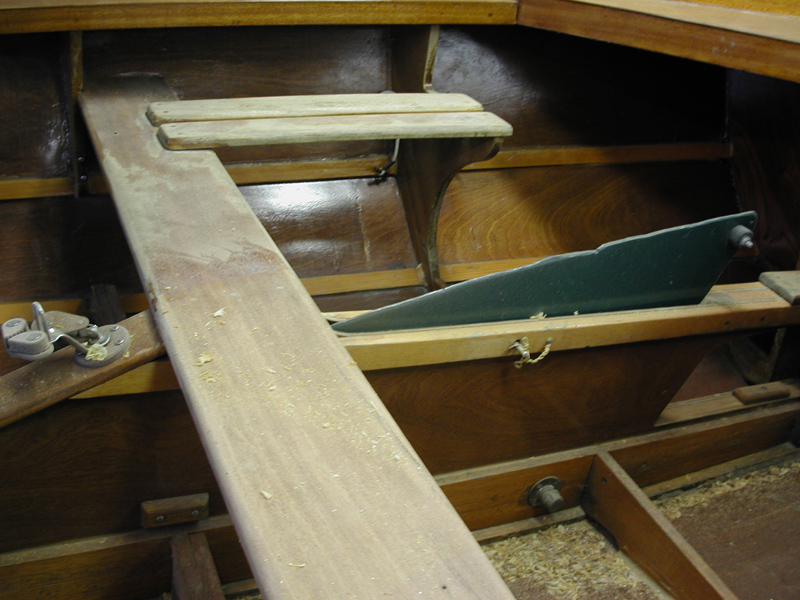
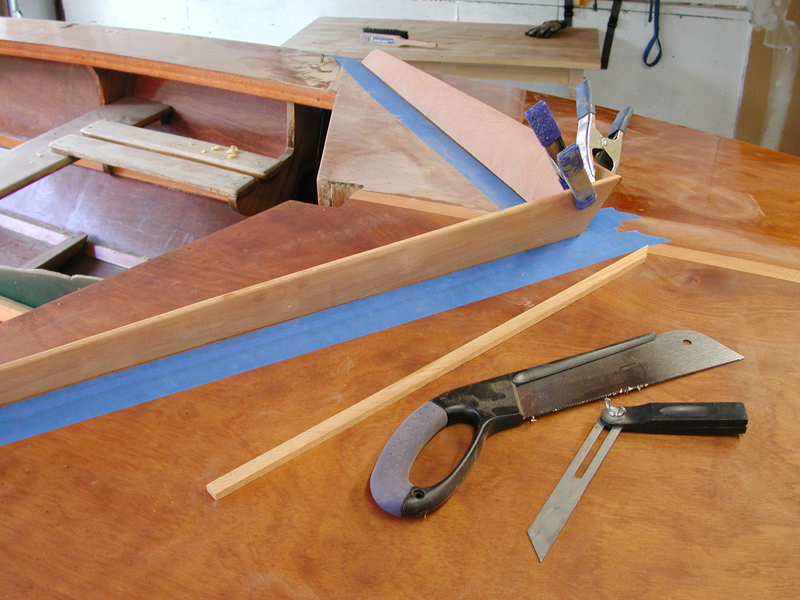
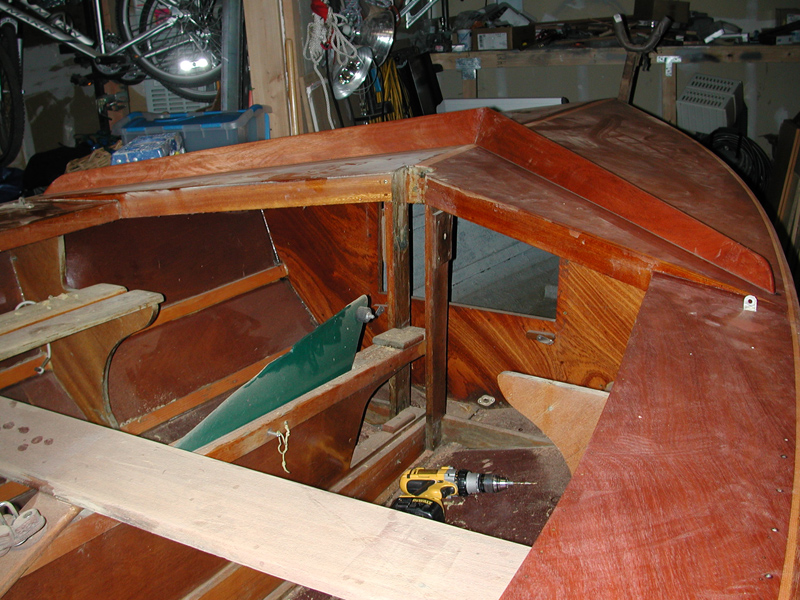
So, the splashboards come off and I make a couple of new ones.
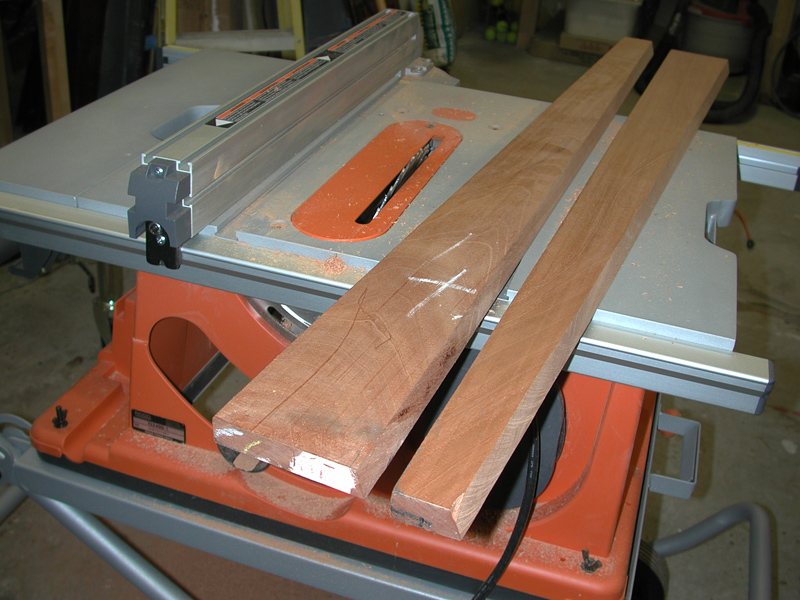
The center joint is a tricky three-way bevel, but I somehow pull it off without having to trash a set of boards. Even a blind squirrel finds nut occasionally!
November 25, 2006

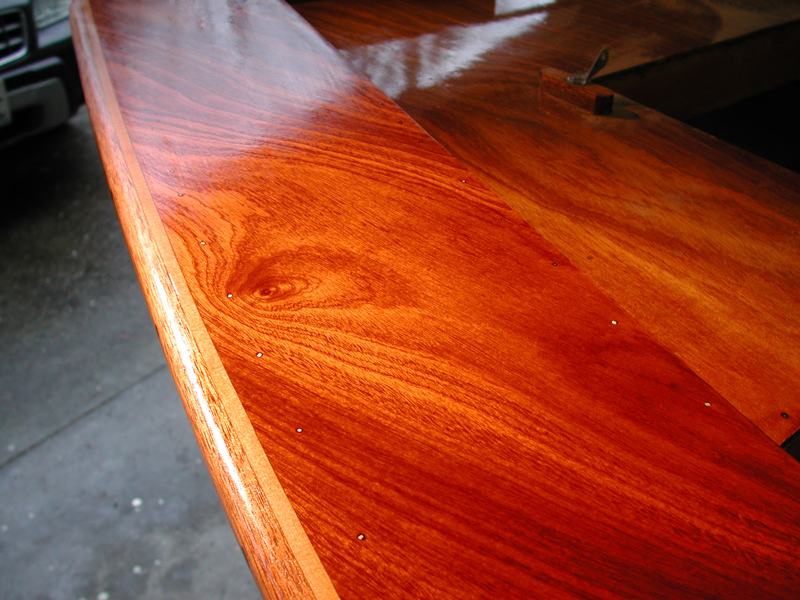
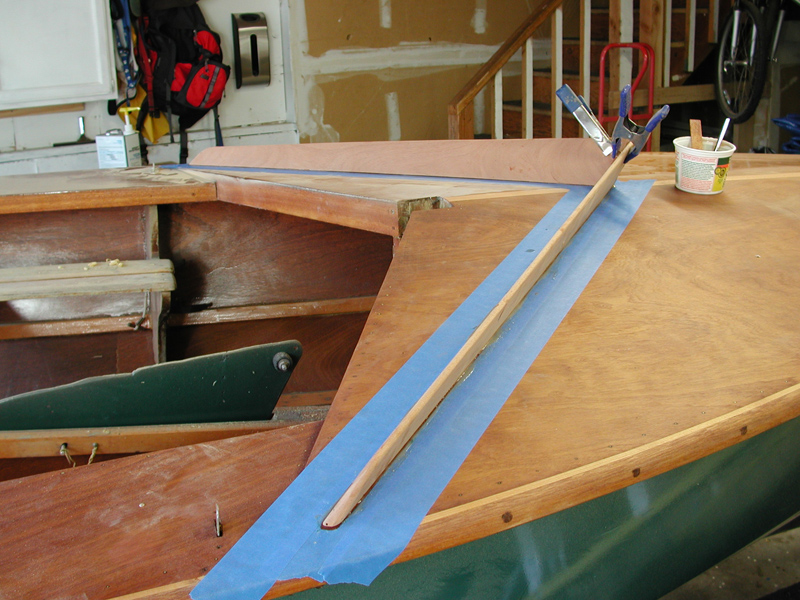
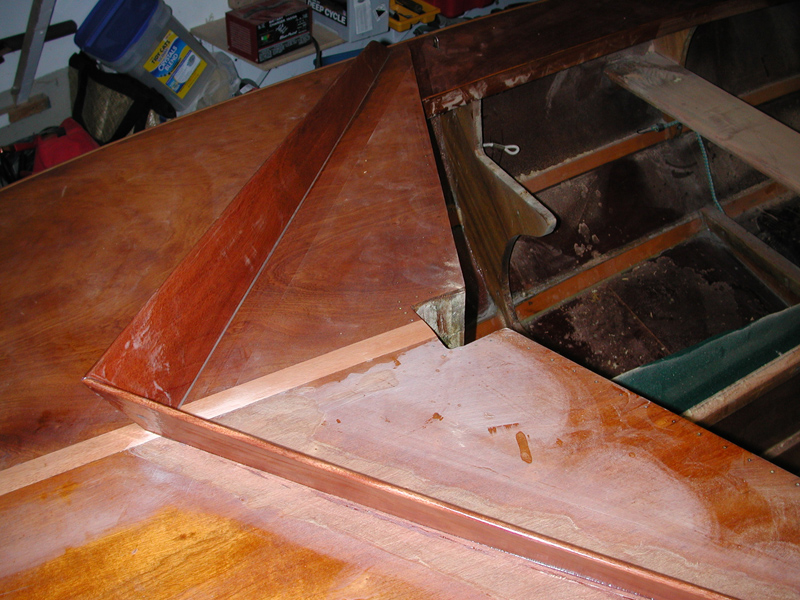
Next step is to cut out a shallow rebate in the center of the foredeck where the splice is. I use my circular saw to cut two grooves spaced equidistant along the center, then make a few cuts between them to facilitate chiseling out the wood. I left the old varnish on this part of the deck to keep the plywood veneer from splintering up when sawing the kerfs.

I don't cut all the way though the plywood, just about .080" deep, just enough to accept a piece of mahogany cut to the width of the rebate, acting as a kingplank and hiding the joint underneath.


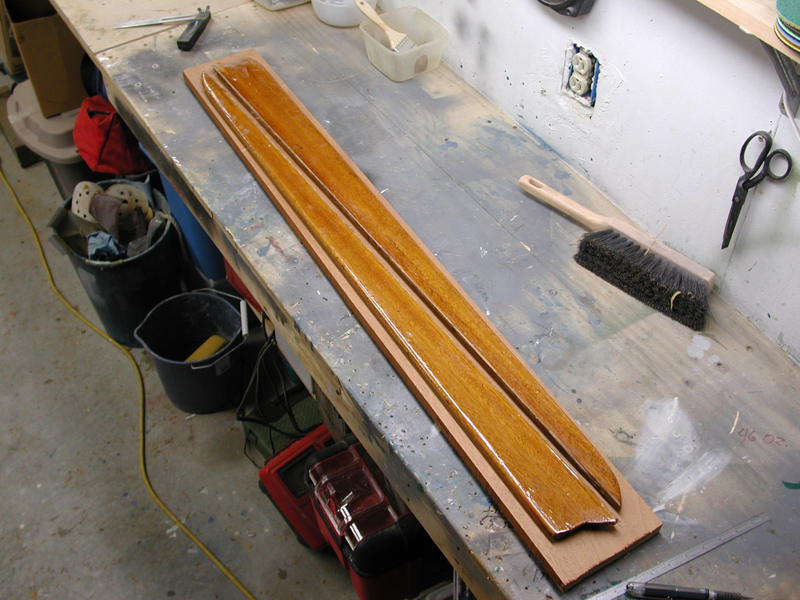
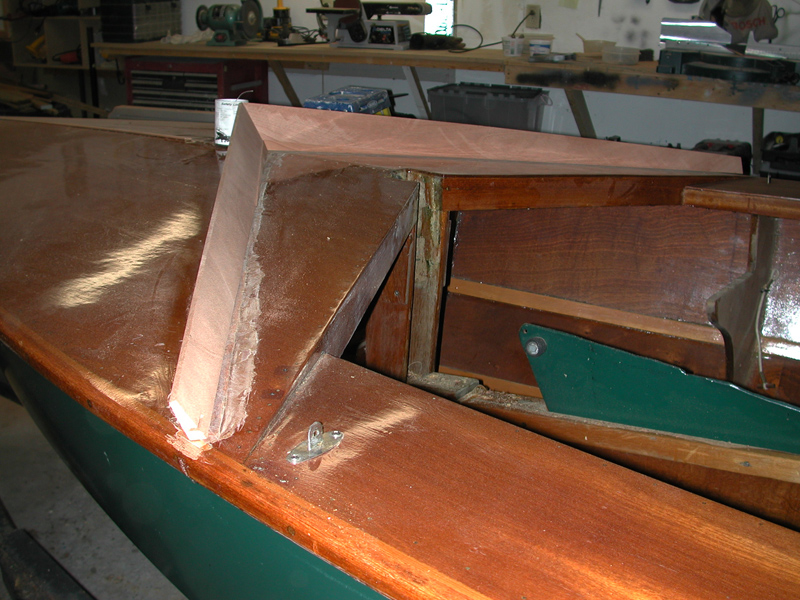
Piece of new mahogany, cut to width and, bellow, cut to height. Next step is to epoxy it in place with some West System goop.

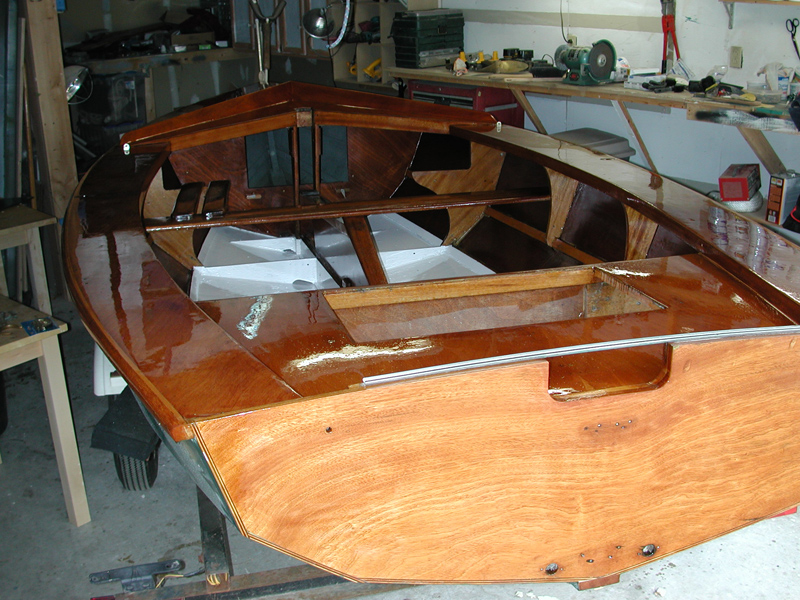
Below - 22 December, 2006 and I mask off the location of the splash boards to keep the epoxy mess to a minimum.
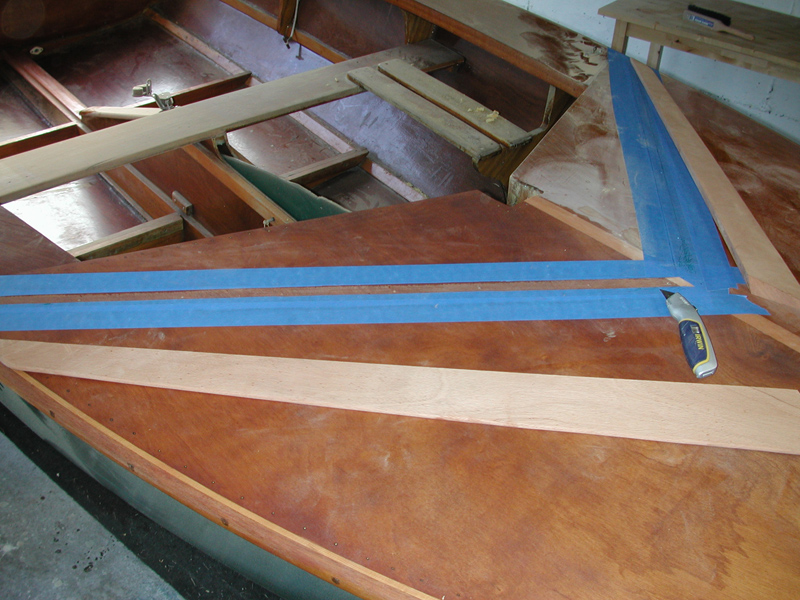
I glue the two splash boards together first and clamp them together at the correct angle.
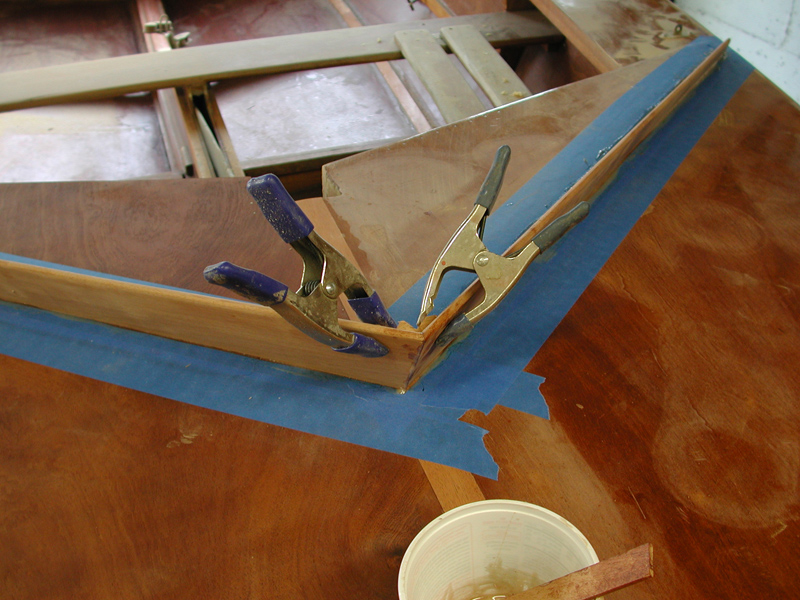
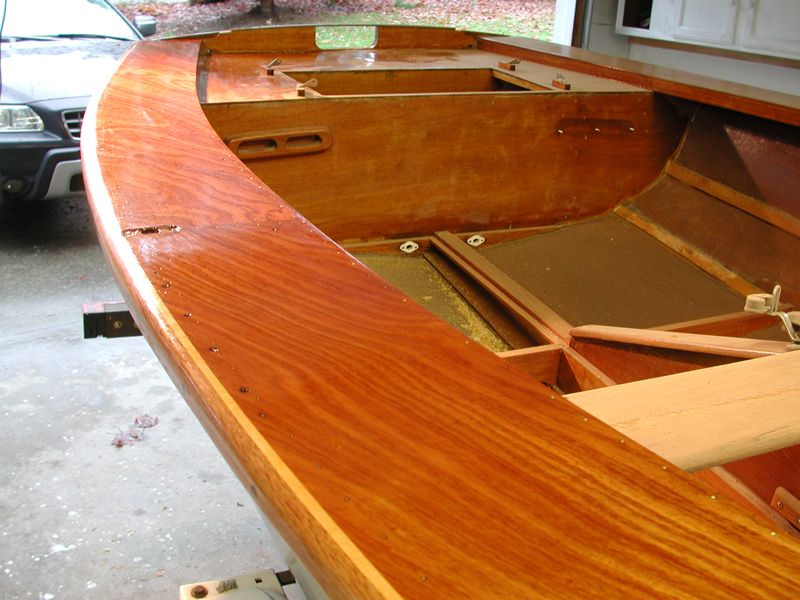
Below, after they are fastened in place and the excess epoxy is scraped off, I remove the masking tape.

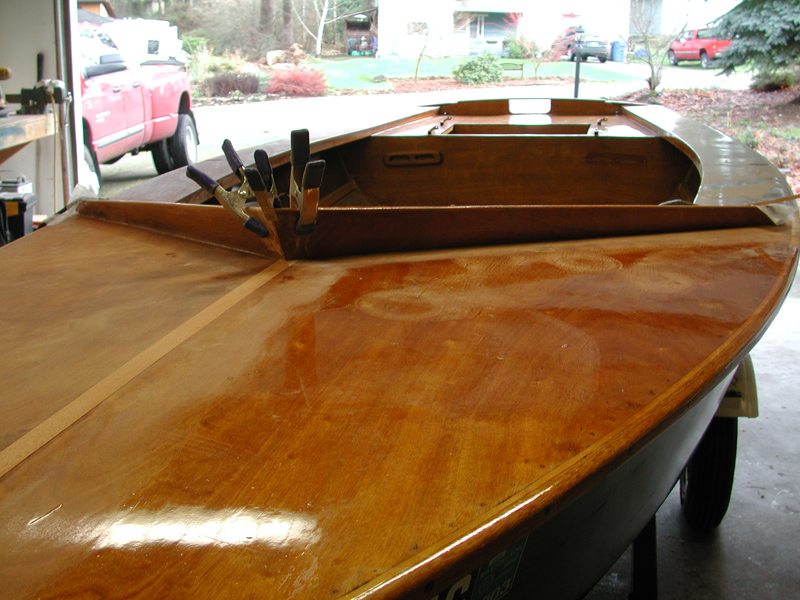

Next, I'll strip the remainder of the decks with the heat gun and scraper and apply some Epifanes varnish.
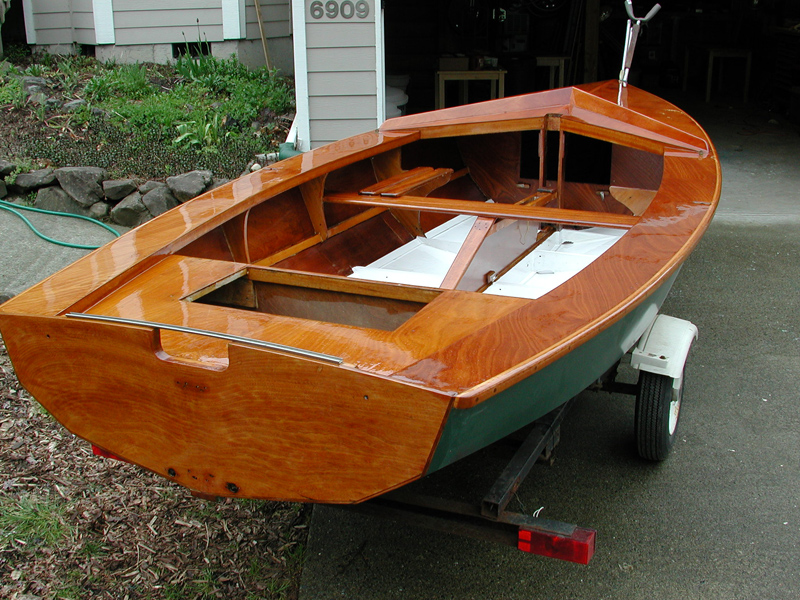
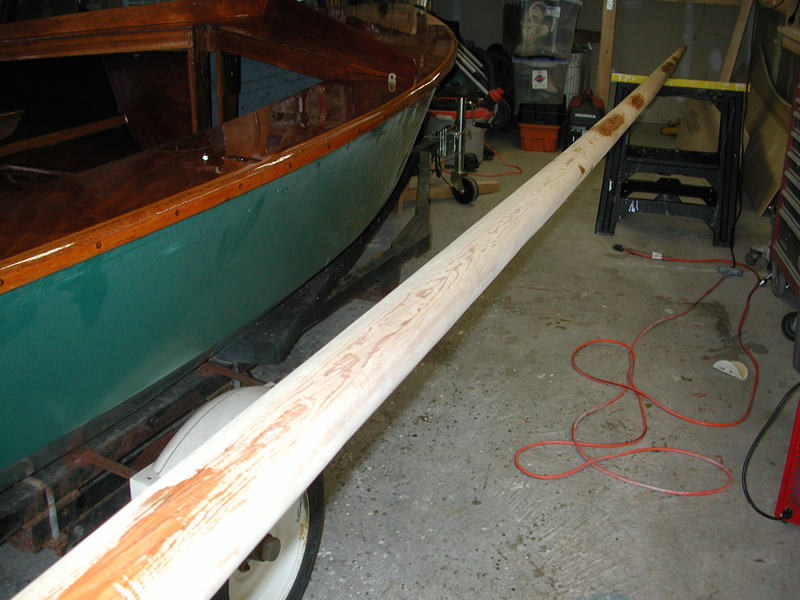
Below - the mast was stripped and coated with epoxy, next a few coats of varnish and this boat will be ready for hardware reinstallation.
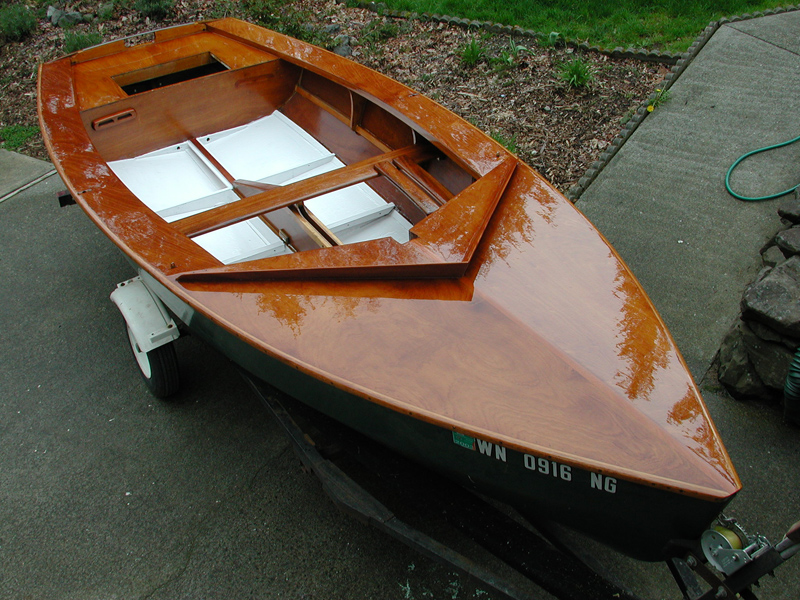
Below - May 17, 2007 - The eighth or 15th coat of varnish goes on. I've lost count.


Bilge painted with EasyPoxy Off-White.
