| Deck |
|
|
| test |
|
| November 22nd - Back home from Boise. My tour of duty there is finished and now I have a week off to get some work done, on the Paperjet, around the house, and on the Monk as well. |
|
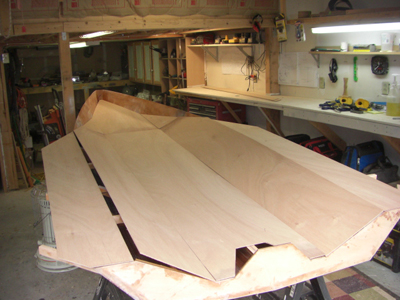
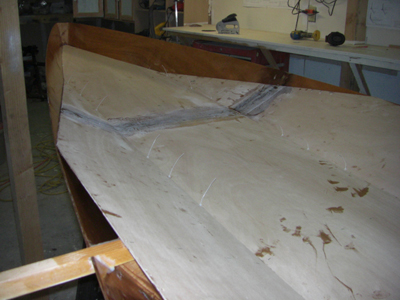
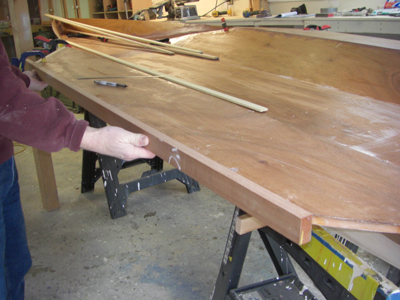
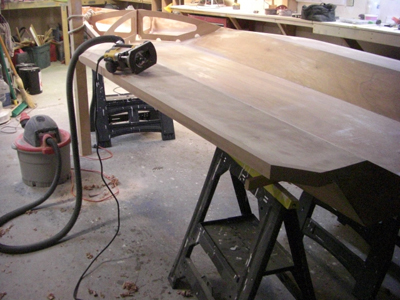
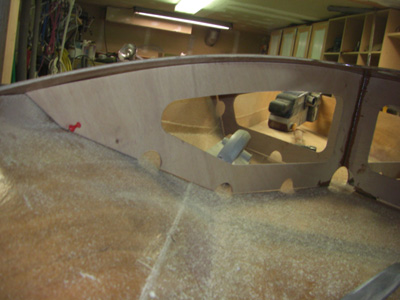
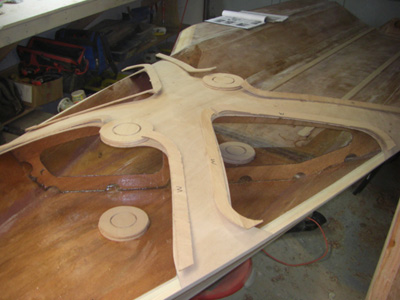
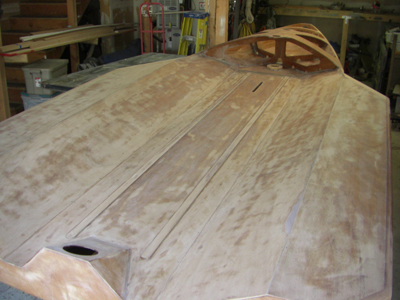
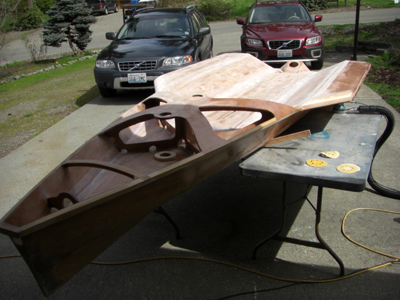
| I lay the deck panels in place to get an idea of how I am going to trim the deck beams. |
|
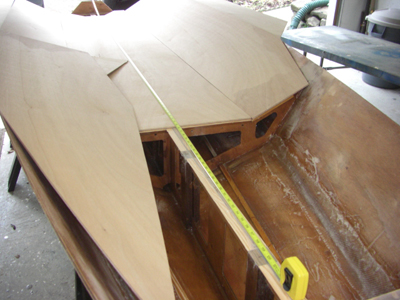
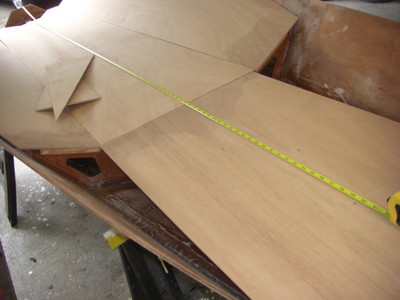
| I carefully measure the location of the mast supports and mark their locations on the main deck piece (below). |
|
| |
|
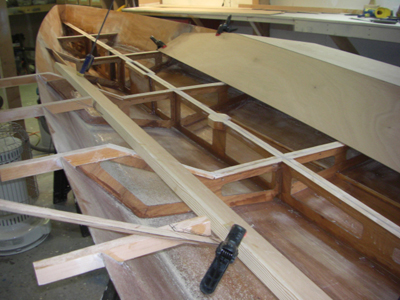
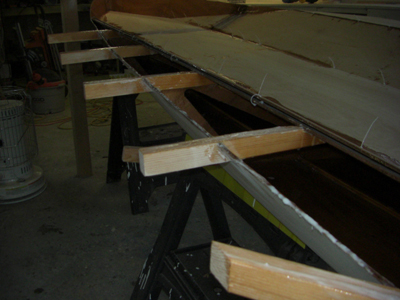
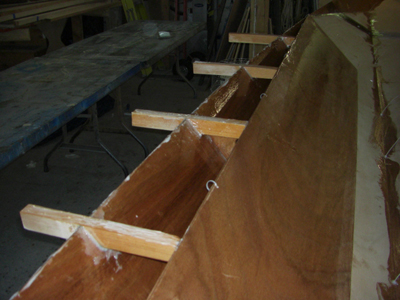
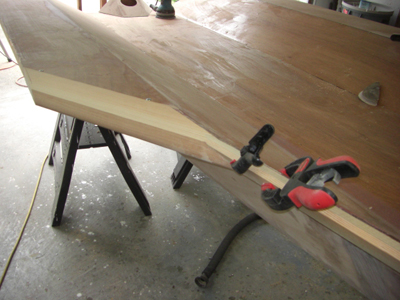
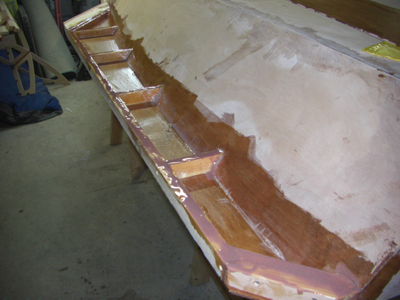
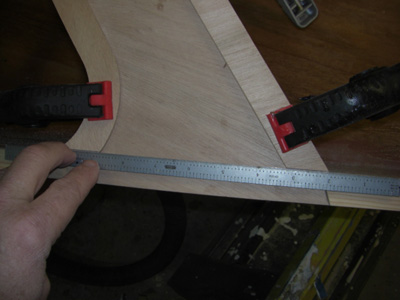
| Above - I use a piece of very straight fir to level the bulkheads and to use as a support for the piece of wood used to make the cut lines on the intermediate deck beams. |
|
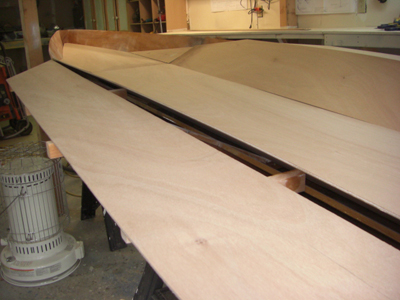
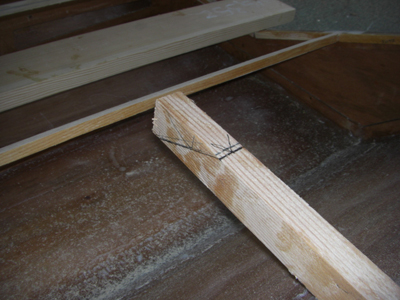
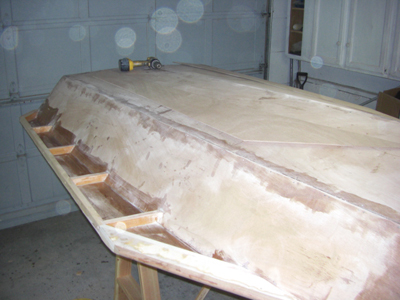
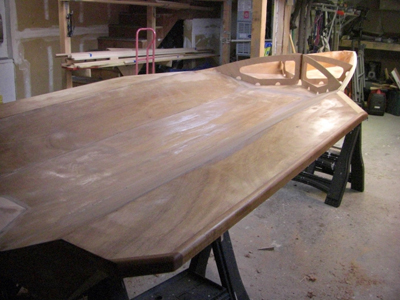
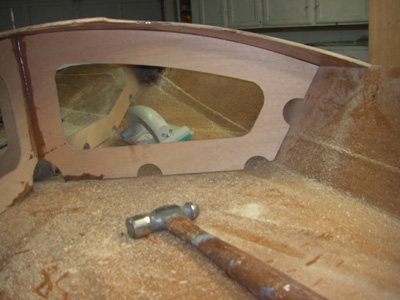
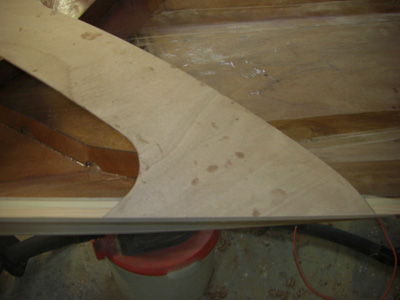
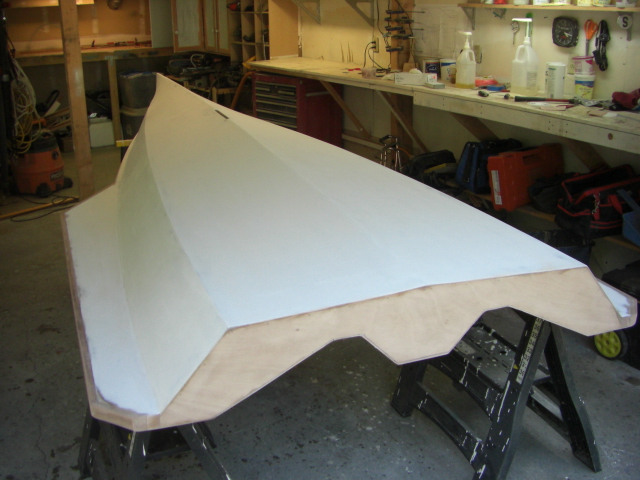
| Above - beams marked for cutting, below - the deck panels fit nicely and I sight down the edges to make sure they are level and fair with no sags or bulges where they pass over the bulkheads and beams. |
|
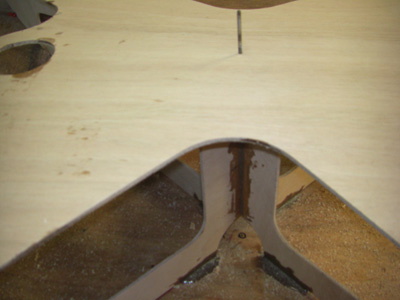
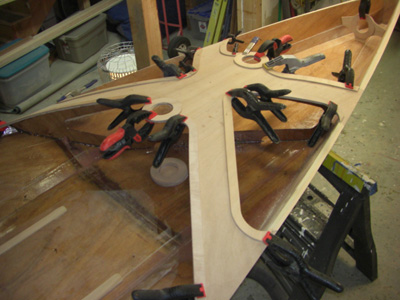
| Above and below - it takes about 30 minutes of sanding to get all the deck beams faired on both sides so that the deck panels lay as they should - true and straight. |
|
| |
|
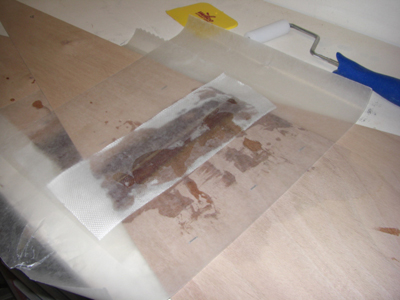
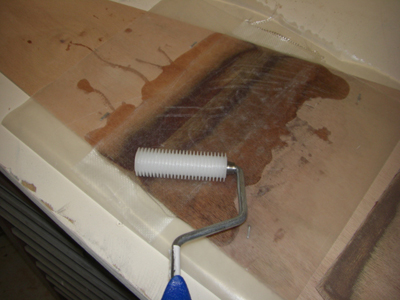
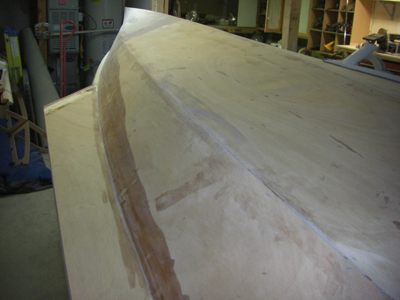
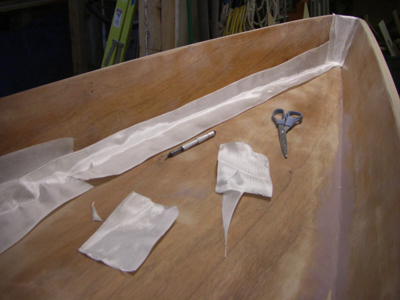
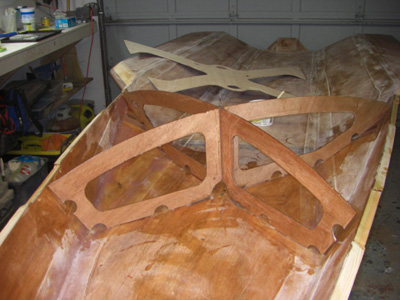
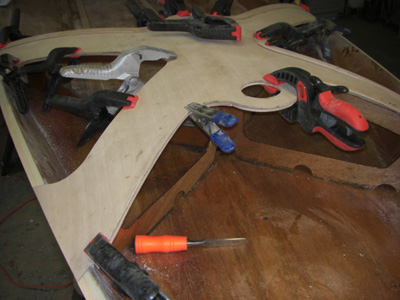
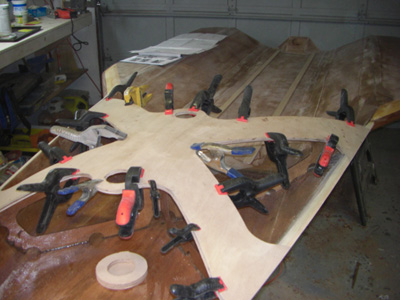
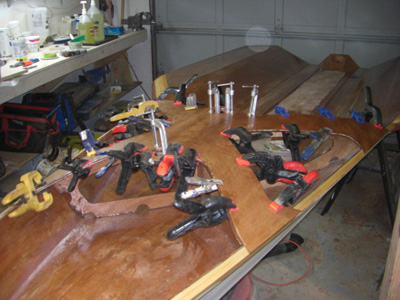
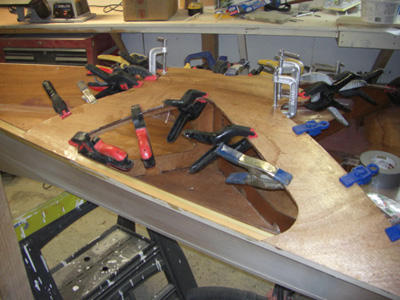
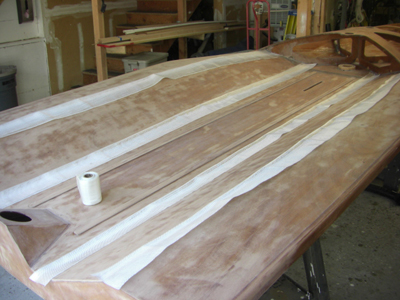
| Above and below - I sand a shallow vee into the deck panels and epoxy them together using the 4" tape I bought from Fibreglast.com and I work the epoxy in with the epoxy roller. This roller works very well for saturating epoxy into fiberglass. |
|
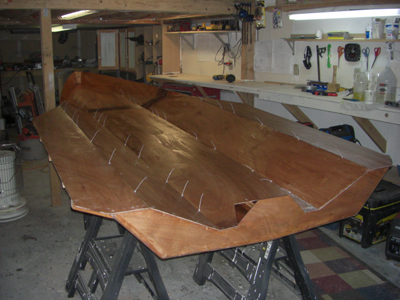
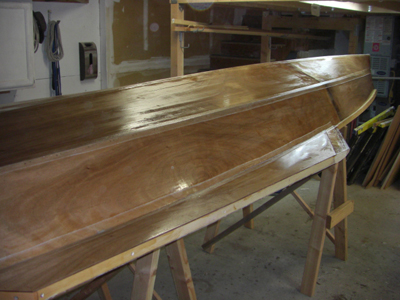
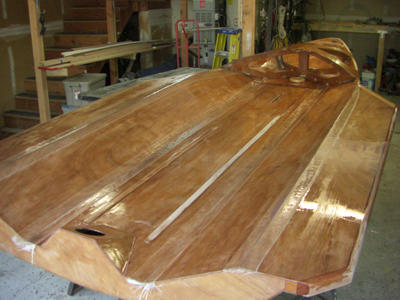
| I coat the underside of the panels with two coats of System Three epoxy. Next. I'll flip the panels over and epoxy them in place. |
|
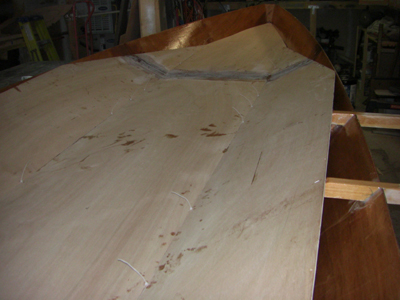
| Below - Nov. 24, I lay the deck panels in place and sand the edges to make them fit properly. |
|
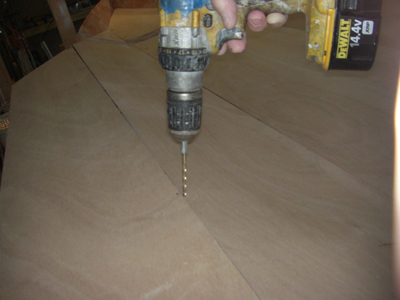
| I drill holes for tie-wraps in the areas between the frames to provide support. This prevents the panels from sagging between the frames. |
|
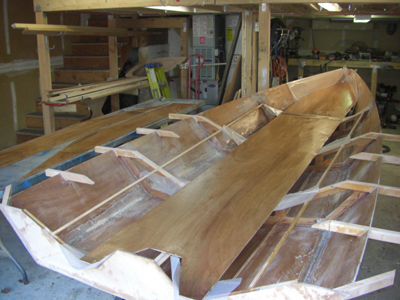
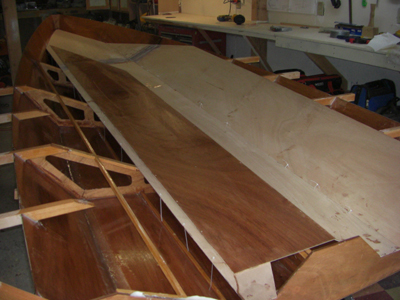
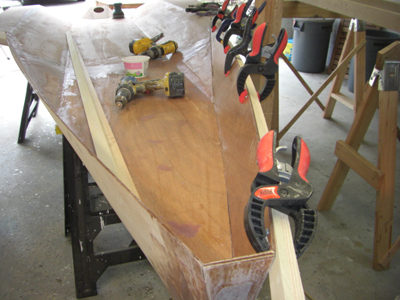
| I laid on a thickened bead of epoxy - placed the center panel on and stapled it down. Before installing the deck panels, I coated the entire interior of the hull with a second coat of epoxy. |
|
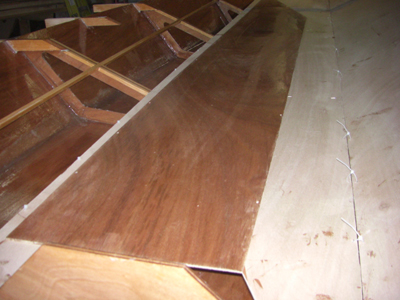
| Next I lay in the side deck panels and put the tie-wraps in pace - bit I don't tighten the tie-wraps yet, first I need to lay down thickened epoxy on all faying surfaces. |
 |
| |
 |
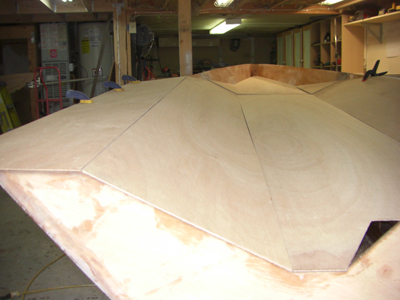
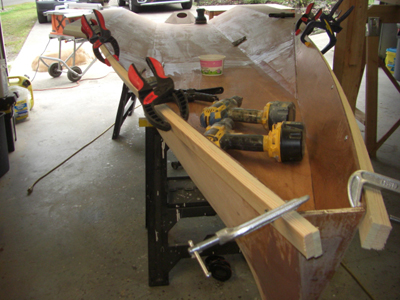
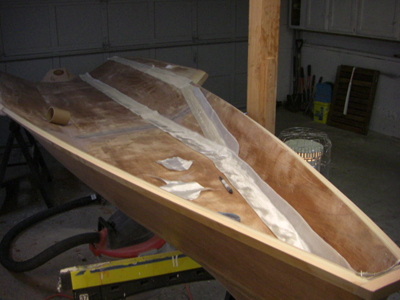
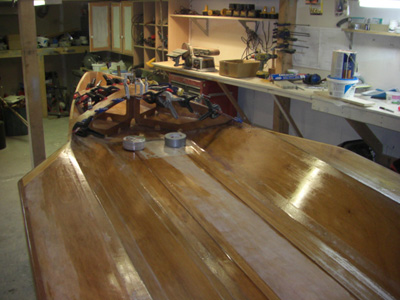
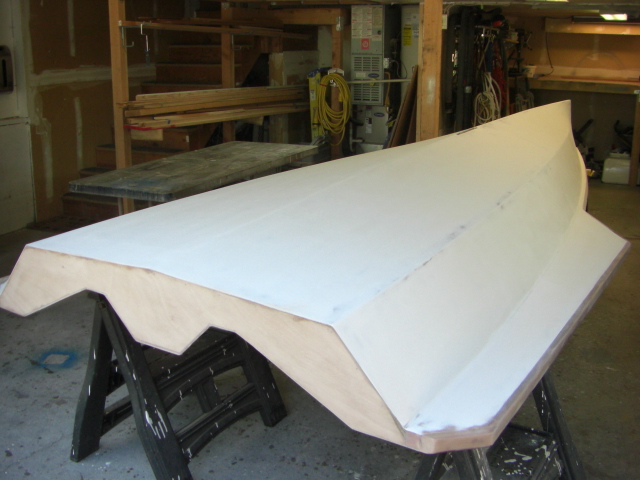
| Above - both side panels in place, tie-wraps tightened and stapled to the frames and stringers. |
 |
| |
 |
| Deck beams gooped up with thickened epoxy - ready for the upper deck wing panels. |
 |
| |
 |
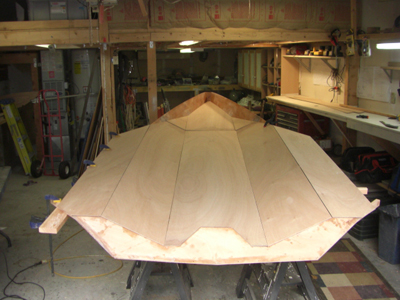
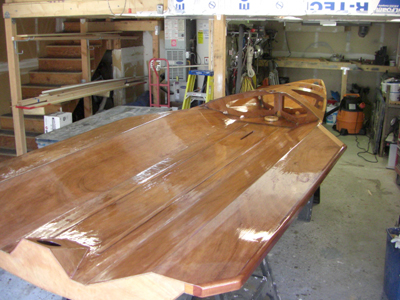
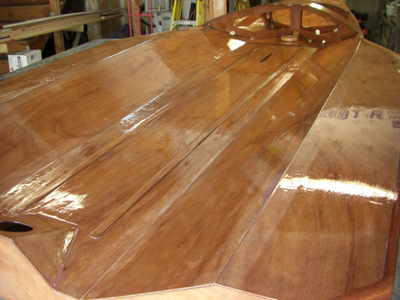
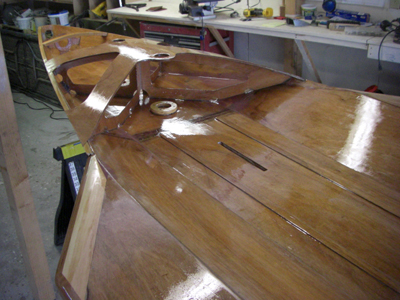
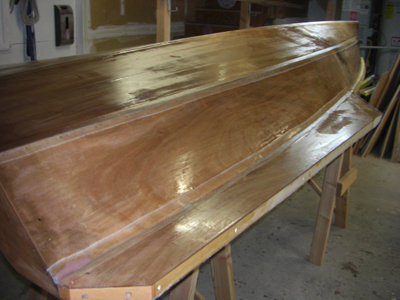
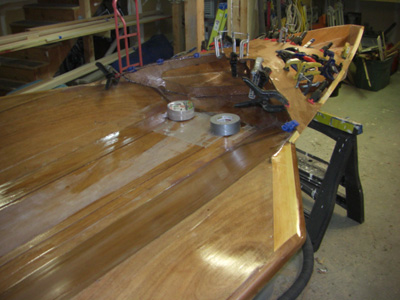
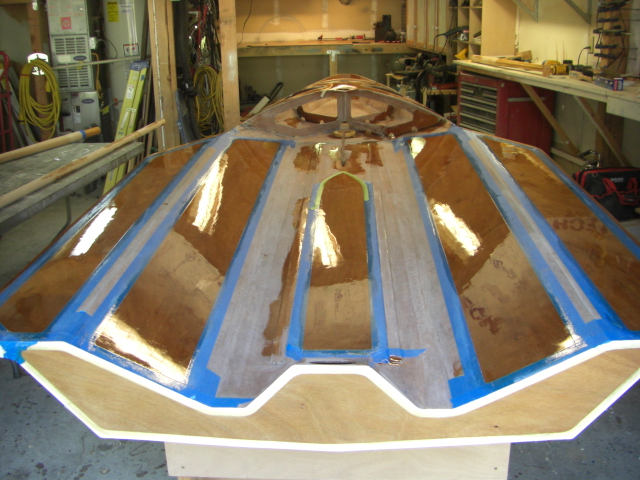
| All panels installed now, stapled and tie-wrapped. I lay on the first coat of epoxy on the upper surface of the deck panels. |
 |
| |
 |
| Above - the mast support crosspiece is glued together at a 90° angle. |
 |
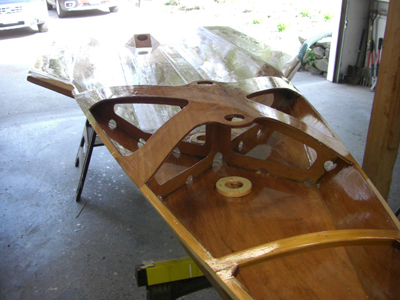
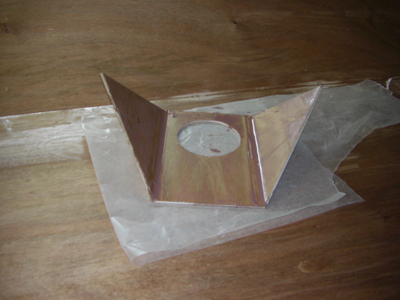
| The aft doghouse structure is assembled and tacked in place with epoxy, then disassembled so the inside joints can be epoxy filleted. |
 |
| |
 |
| |
 |
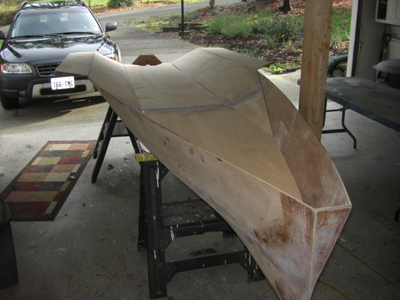
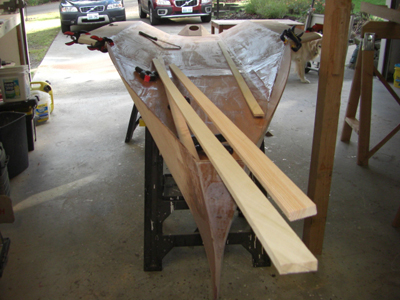
| Above - next I make the wings. This part of the job is not well documented in the instructions with photos, so it took me some time to put them together and get the angles correct. |
 |
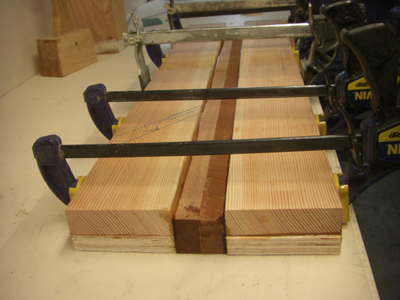
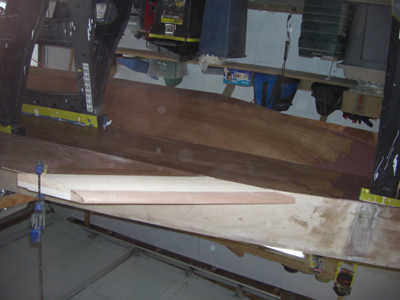
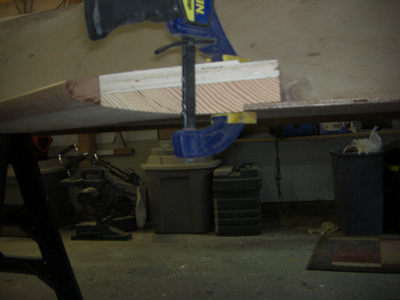
First I glue up the pieces to make the wing blanks. |
 |
| |
 |
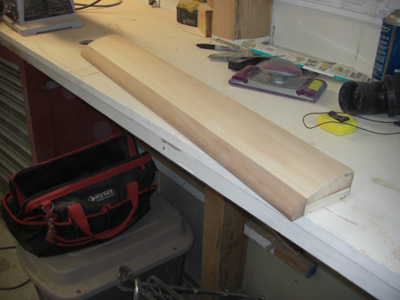
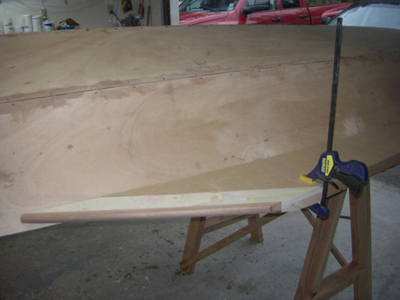
| Then, below - I shape the wings to the correct profile as shown on the plans |
 |
| |
 |
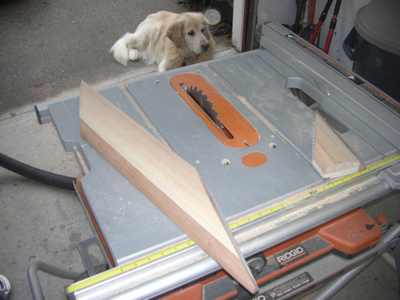
| Next I measure the two angles and cut the sharp angle and the bevel at once on the table saw. |
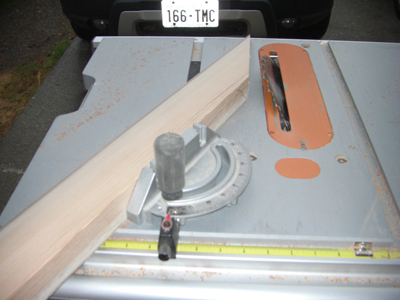 |
| It was kinda tricky but I managed to do it OK. Even a blind squirrel finds a nut occasionally! |
 |
| |
 |
| Some fitting and trimming... actually a lot of fitting and trimming and I finally cut the rabbets into the leading edges for the wing skins. |
 |
| |
 |
| |
 |
| Once I get both wing leading edges fitted OK, I cut the outside edge to match the outer edge of the wing skins. |
 |
| |
 |
| |
 |
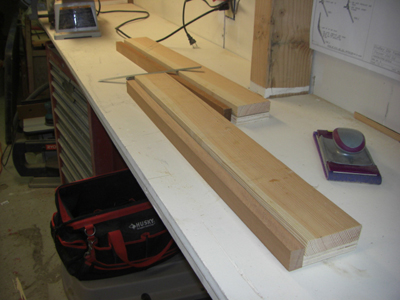
I rip some poplar and fir for the gunwales. |
 |
| |
 |
I cut two pieces of mahogany for the wing edges. |
 |
The gunwales are epoxied in place. |
 |
| |
 |
| |
 |
Gunwales fit up against the wing leading edges. |
 |
| Everything glued up and the inside of the wings structure is filleted with epoxy. |
 |
| |
 |
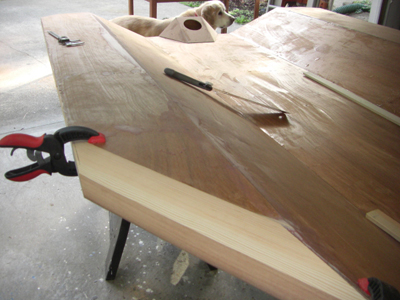
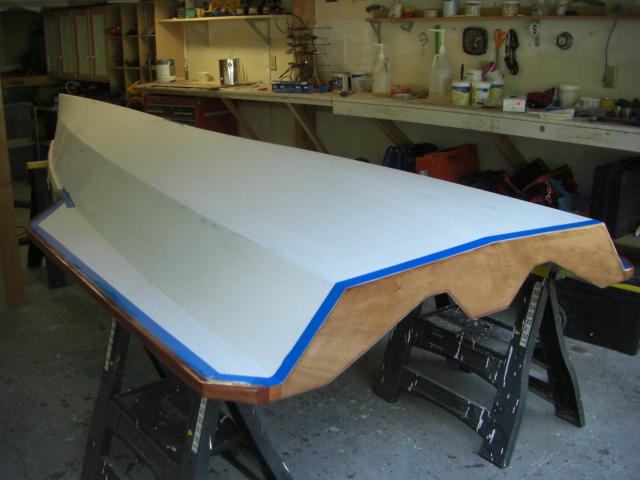
| Above - I lay on some thickened epoxy and below - I place the lower wing skins in place and staple the skins down. |
 |
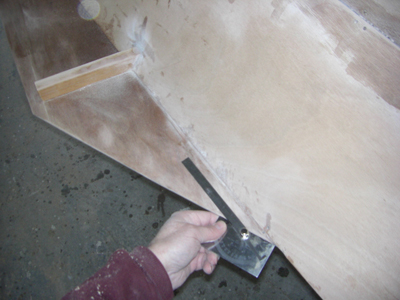
Above - I use a longboard to fair the hull. |
 |
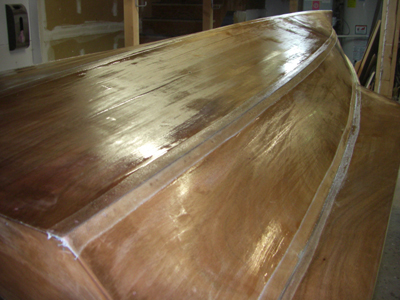
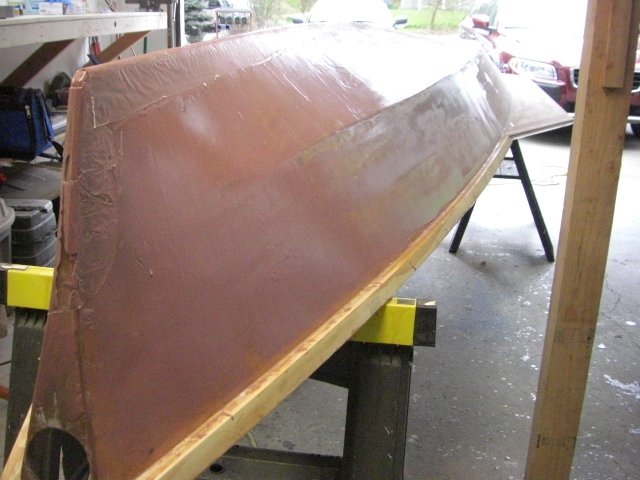
| Above - seams faired and filled and below - I place fully wetted 2" fiberglass tapes in a fresh overall coat of System Three epoxy. |
 |
| |
 |
| |
 |
| |
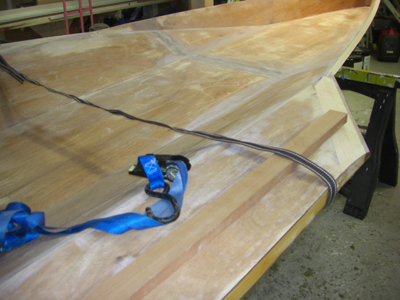 |
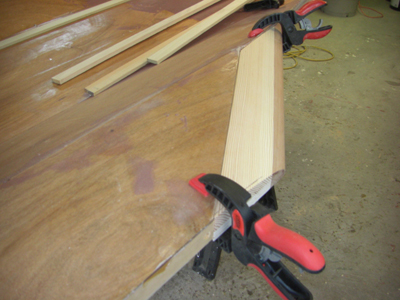
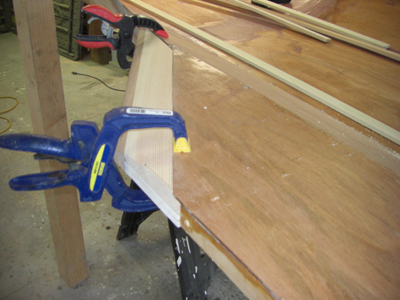
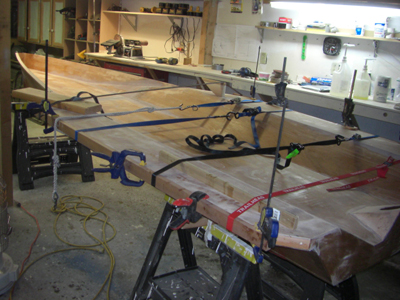
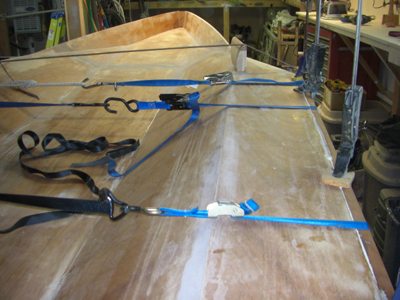
| Next I get ready to install the edge boards on the sides of the wings. |
 |
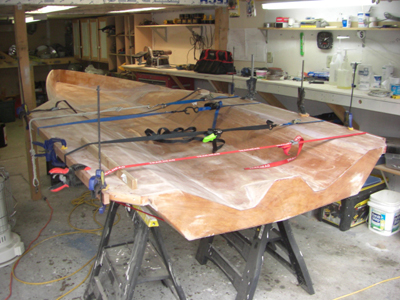
| I use ratcheting straps and spacer boards to pull the mahogany edges very tight against the sides of the wings. |
 |
| |
 |
| |
 |
| |
 |
| After the epoxy is set, I remove the straps and shape the edge boards. |
 |
| |
 |
| |
 |
| |
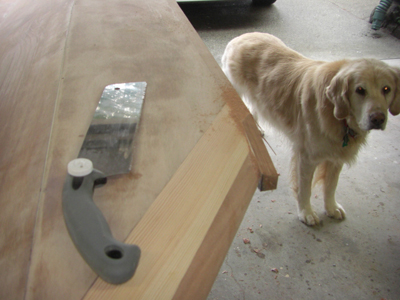 |
Samson just wants to go for a walk. |
 |
| |
 |
Leading edges shaped and ready for the router. |
 |
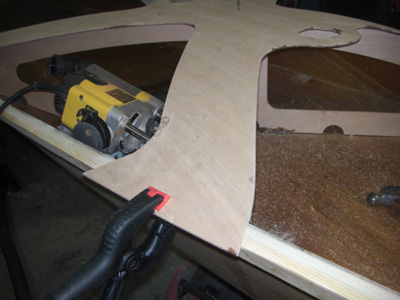
| Below - After I glue on the aft diagonal pieces of mahogany edge, I'll round the top edge of the trim with a large radius quarter-round router bit to provide a nice round edge for my butt to rest upon while sailing. |
 |
| |
 |
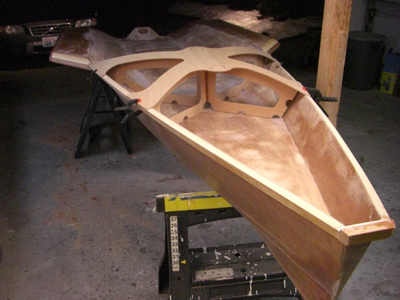
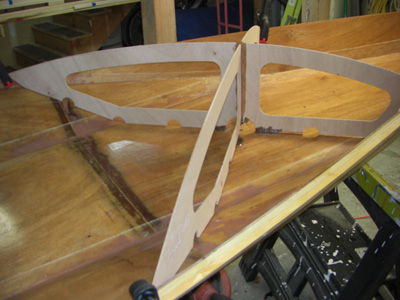
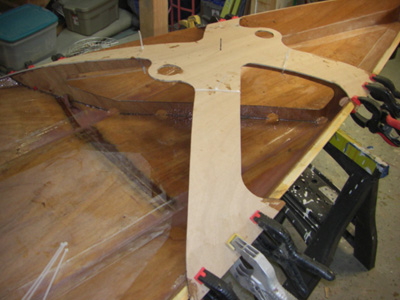
| Above - router at the ready. Below, edges rounded, cross structure being test-fit and located. |
 |
| The location of the cross structure and the top panel of the cross structure are critical because they set the location of the mast and the mast rake. |
 |
January 2, 2009 |
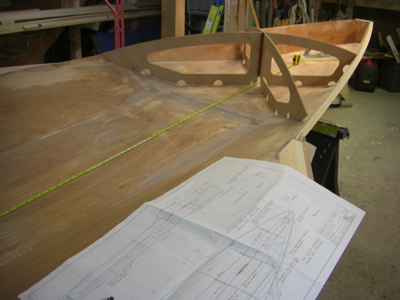 |
| Above - laying out the precise location of the cross structure. |
 |
| |
 |
Cutting the 4 inch fiberglass tapes for the seams. |
 |
| |
 |
| Above - one complete coat of epoxy laid on. Below - the tapes are laid in place and soaked thoroughly with resin. |
 |
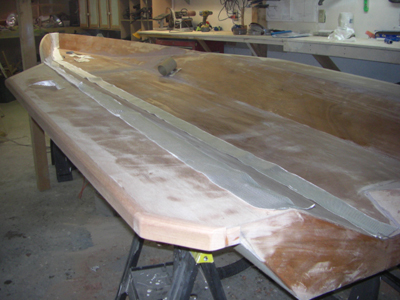
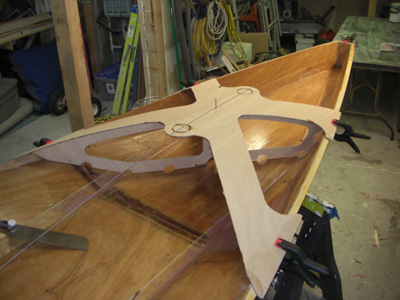
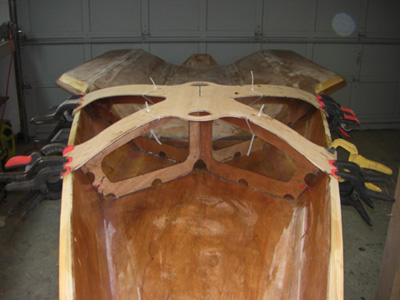
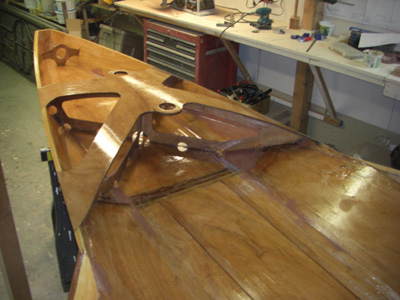
| Below - January 17, 2009 - I begin to install the mast support structure which consists of this cross-brace assembly, a top piece and reinforcing doublers. |
 |
| First steps are to locate the cross-brace exactly as shown on the drawings, 2800 mm forward of the transom. I glued it in place, leaving the outer wings free to adjust position after I locate the upper flat brace piece. |
 |
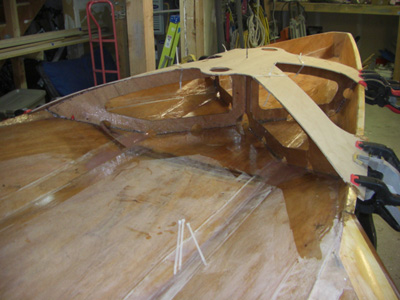
| Above - I coat the bottom face of the flat cross-piece with epoxy and drill a hole exactly halfway between the mast holes. Exact location of the upper, flat cross-piece is critical to mast rake and alignment. |
 |
| I use a piece of wire to align the mast holes fore and aft prior to marking the locations of the rebates in the gunwales that I will cut to lay the cross-brace into. |
 |
| |
 |
| |
 |
| With everything located, aligned and measured twice and much fiddling about with everything, I mark the rebates and route them into the gunwales. |
 |
Pretty good fit. |
 |
| |
 |
| |
 |
Everything looks pretty well aligned so far. |
 |
| Next I glue the upper flat cross-piece onto the cross-braces and clamp it up for the evening. |
 |
| |
 |
| |
 |
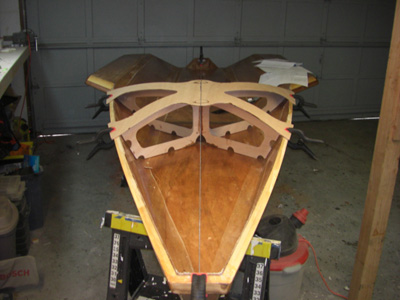
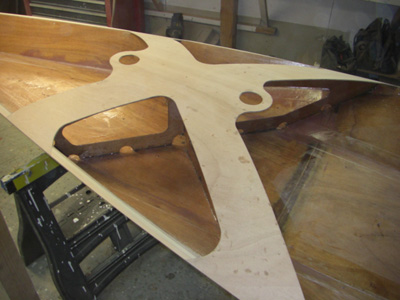
| Next morning, I trim the cross brace flush with the gunwales and prepare to install the doublers and triplers. |
 |
| |
 |
| I lay the doublers and triplers on top of the cross-brace to see how it all goes together. |
 |
| |
 |
Next I mark them for fit and trim them to size. |
 |
| |
 |
| A final fit check and a good time to look under everything in the garage to find any clamp that may have escaped in the past few months because I'm gonna need every clamp I own for this part of the program. |
 |
Mix up some glue and clamp it all together. |
 |
| |
 |
| I also lay on the deck doublers and glue them in place. |
 |
| |
 |
| Next, I'll locate and install the mast steps and the bowsprit support. The hull is getting close to finished. |
 |
| January 24, 2009 - Above - after sanding the doublers and triplers to fair with the cross structure, I coat everything with more epoxy and make fillets at all the joints. This takes all damn day long. Very tedious - second in tediousness only to making all the little triangular-shaped deck supports :-( |
 |
Then I locate and install the bowsprit support. |
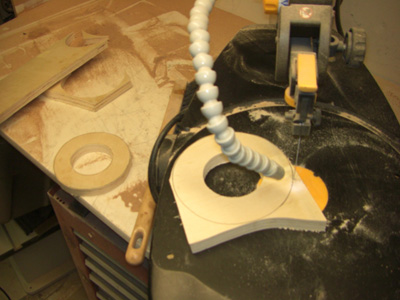 |
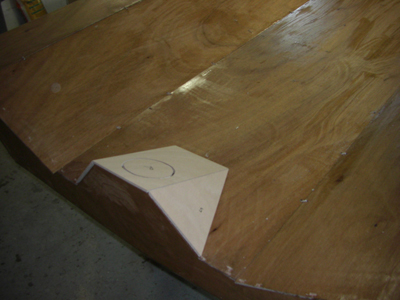
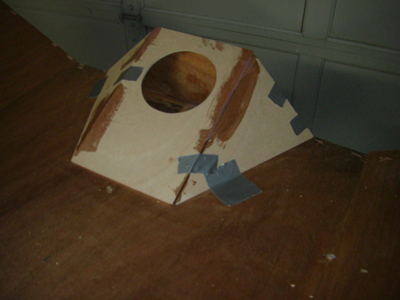
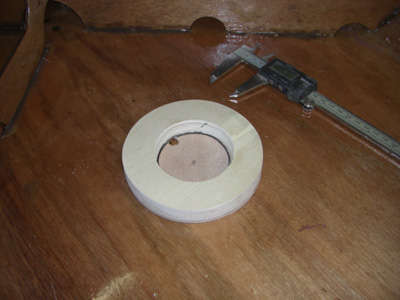
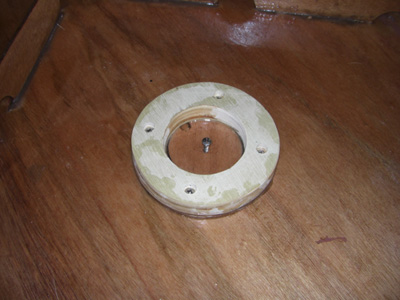
| Sunday January 25 - I don't like how the mast step assembles, the circular rings are not all exactly round when they come out of the plywood sheet, so in the process of stacking them and making them round and fair, too much material is removed, so I abandon the supplied mast steps and cut my own from a piece of plywood of the correct thickness. |
 |
| Above - making the spinnaker chute brace thingy. Can't remember the names of all these parts. |
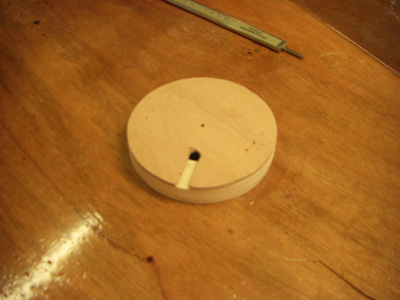 |
| Using the supplied mast base - I cut a slot to make a channel to drain water out of the mast step. Not in the instructions, but I think it's a good idea. |
 |
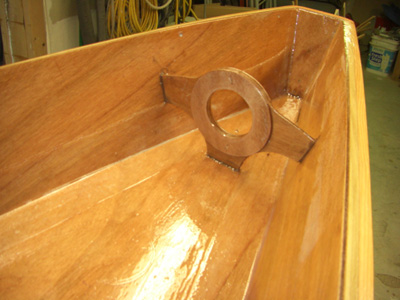
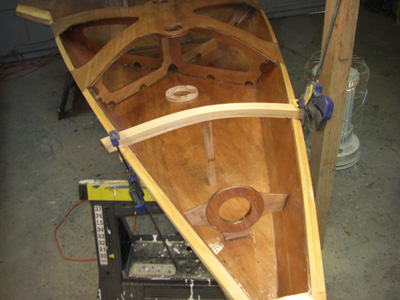
Locating the mast steps on the deck. |
 |
| |
 |
| I use a screw in the center to locate the mast steps and hold them exactly in place while I install the permanent screws. With all the epoxy, the step assemblies are slippery and like to move around, so this center screw keeps everything exactly located while I screw it to the deck. |
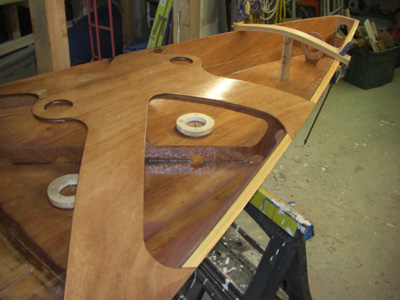 |
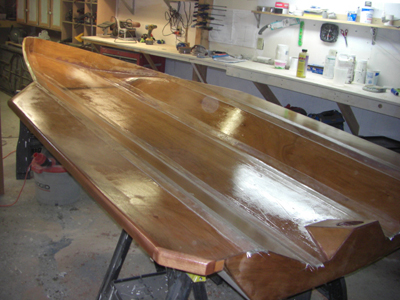
| Below - spinnaker support laminated, mast steps installed. Only thing left to do on the hull is install the spinnaker chute brace and cut the centerboard slots. |
 |
Then lots of fairing and filling and sanding, etc. |
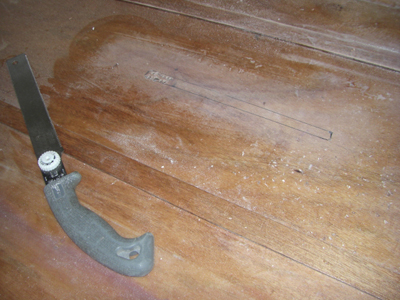 |
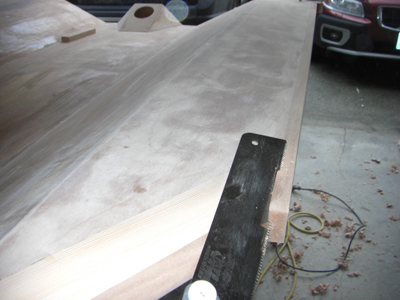
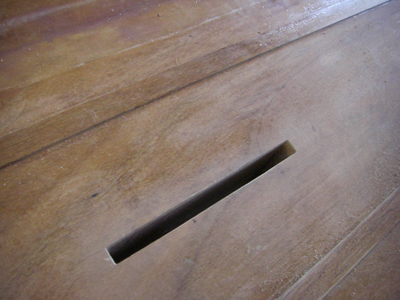
| March 15, 2009 - the weather has been very cold, so not much work done on the PJ. I cut the centerboard case hole in the upper deck with the backsaw. |
 |
| |
 |
| I do some sanding but quickly realize that the epoxy on the aft section of the hull where I laid the fiberglass tapes has not set up properly - and it's been over a month since I last laid epoxy. |
 |
| |
 |
| This happened to me once before with MAS epoxy, I'm sure I got the ratio correct, but these things can happen. Normally, it's operator error, but I cannot recall this ever happening to me with West System products - and I've been using West System since the 80's. |
 |
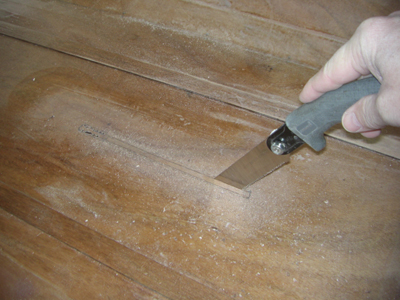
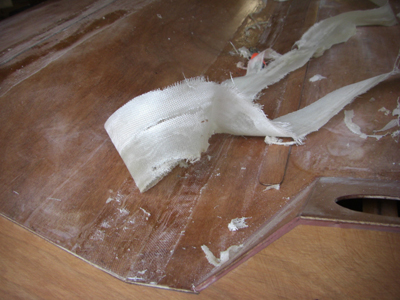
| I use the heat gun to pull up the still-soft fiberglass tapes - it's an easy job and I don't have to heat it up much to pull the fiberglass off. Under the glass, the epoxy is still very soft, even after the heat of the gun, so something was wrong for sure. The bottom of the hull has set up nicely, but not the top, sop there's only one thing to do - spend two weekend days with the heat gun and scraper and scrape it all off. |
 |
| Bummer, dude. Let's go bowling. |
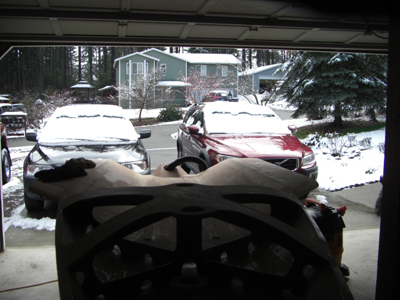 |
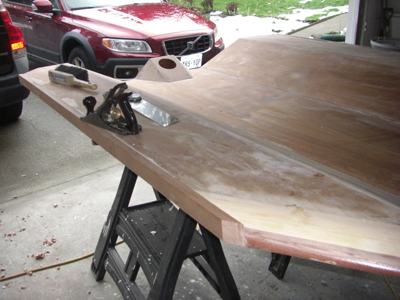
Above - it's April and it's snowing :-( |
 |
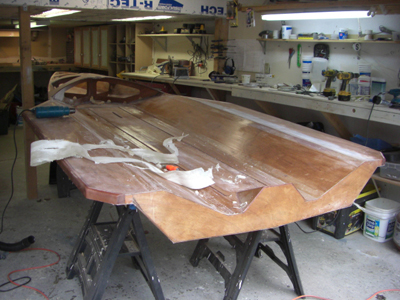
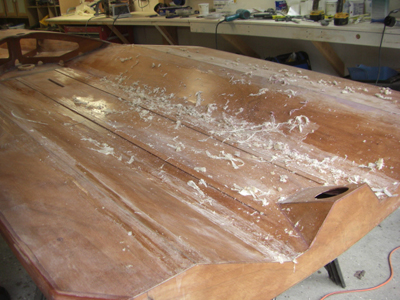
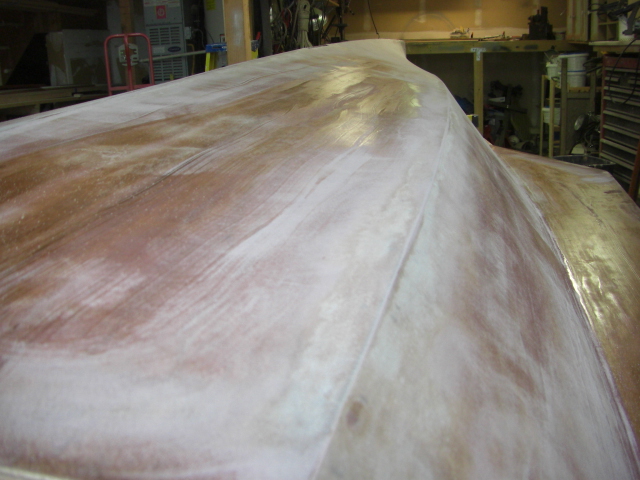
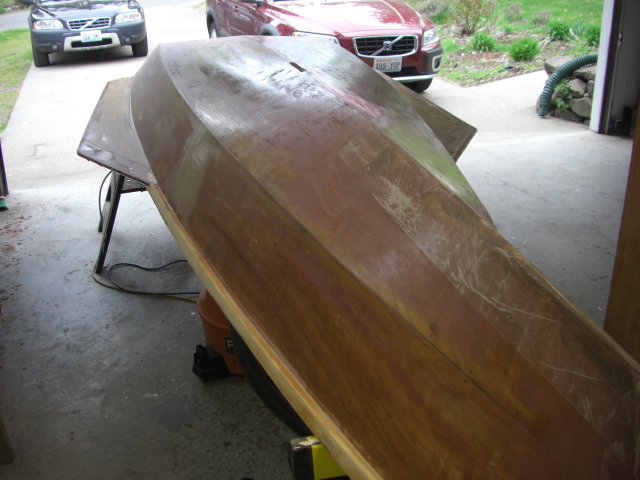
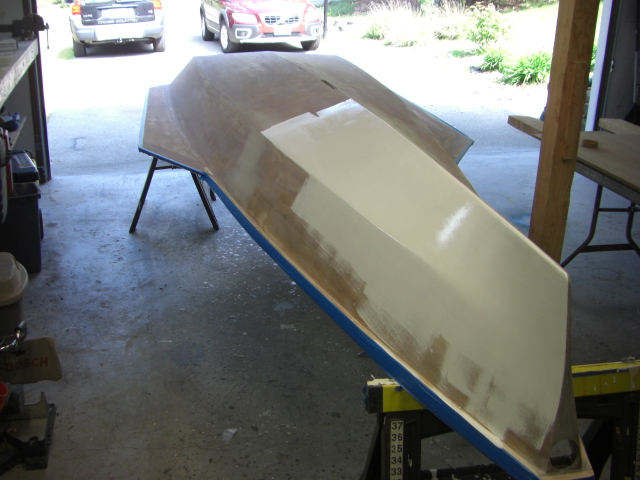
| Above - finally some relatively warmer days arrive and I begin the healing by sanding all the old epoxy off. |
 |
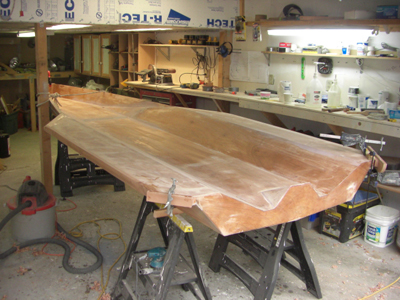
| Then I lay new fiberglass and mix up a new batch of epoxy, below - I'm almost back to where I was a month ago. |
 |
| |
 |
| April 19 - it's a nice sunny day. Renee and I go down to the Monk and spend the morning on it, then I come back and sand for a couple of hours on the PJ. |
 |
| |
 |
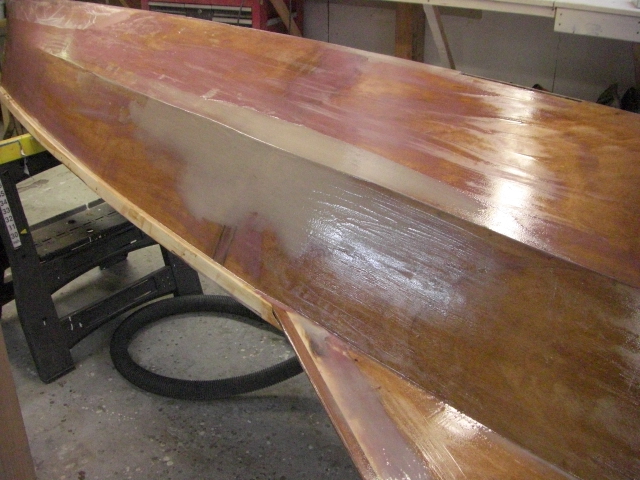
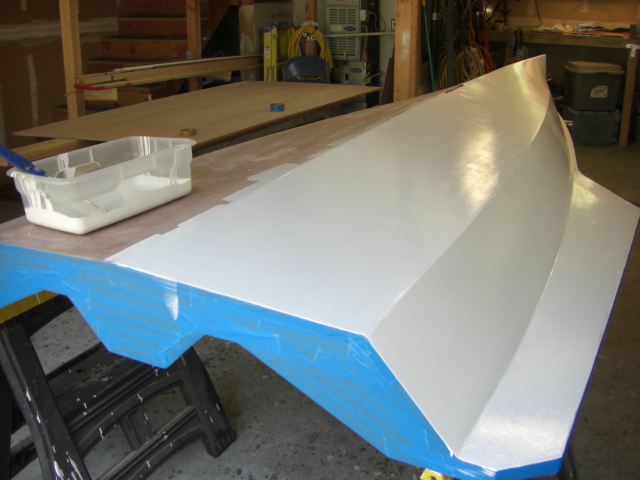
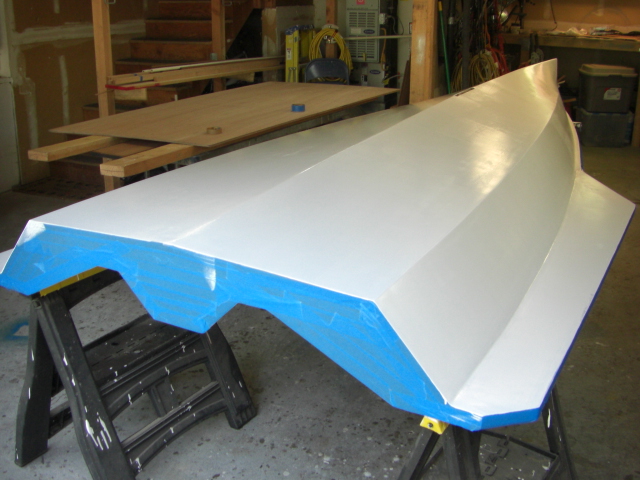
Then a new coat of epoxy over everything again. |
|
| |
|
| |
|
| |
|
| |
 |
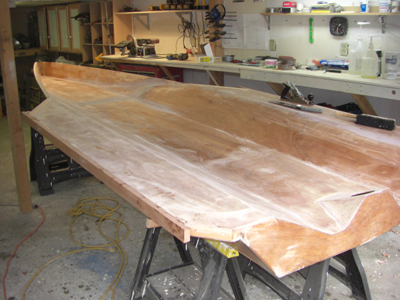
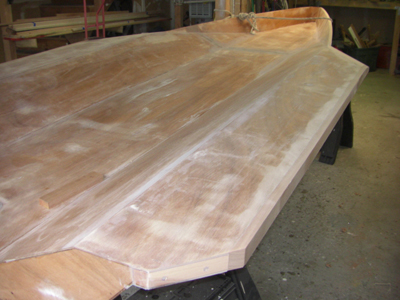
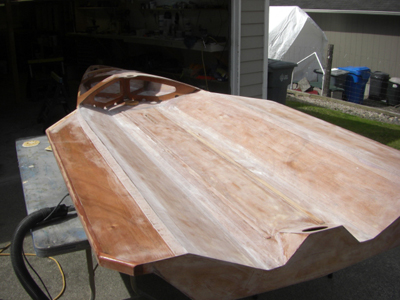
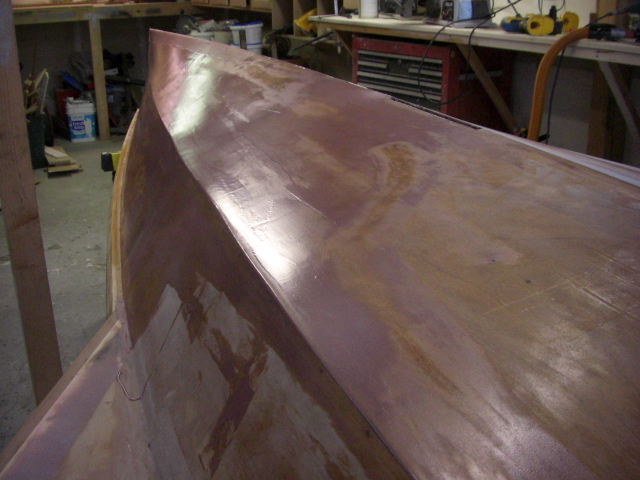
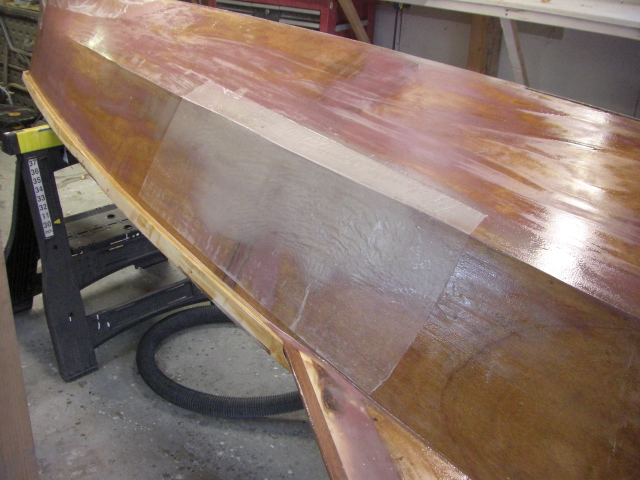
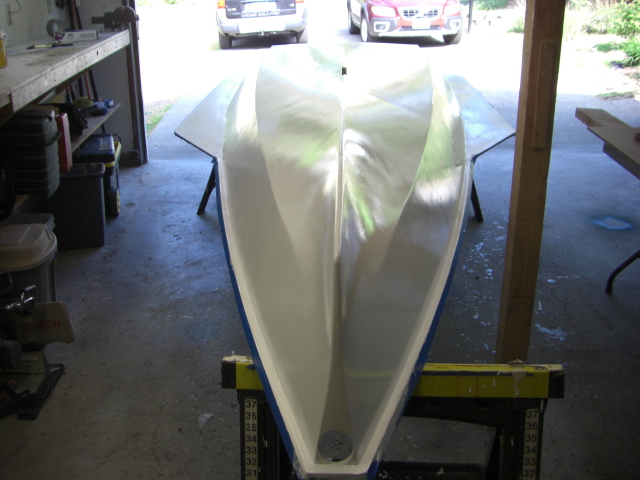
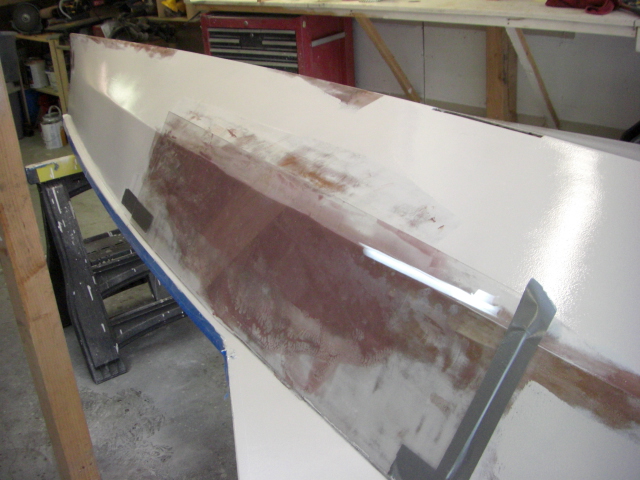
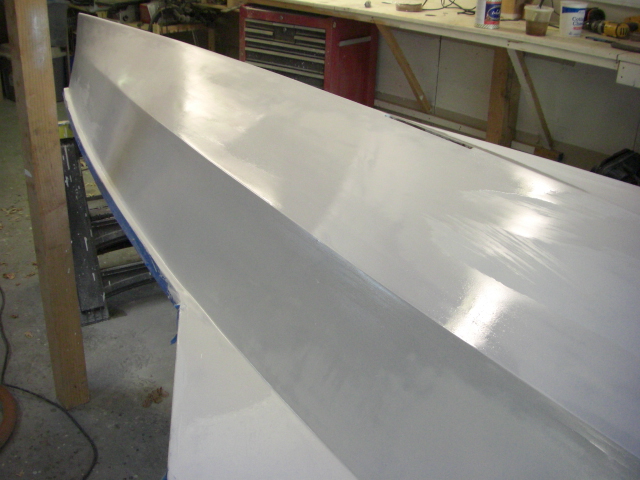
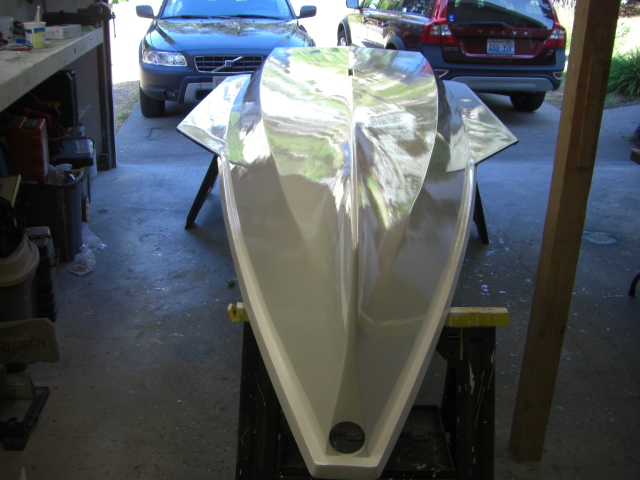
| April 24 - Above - it's another nice sunny day in the Puget Sound metropolitan area and I roll the PJ out for some hull sanding. You can see the runny mess left over from the application of a layer of 2 oz. crowfoot fiberglass cloth over the forward section of the hull. Not much strength in 2 oz. but maybe some abrasion resistance due to its resin-holding properties. |
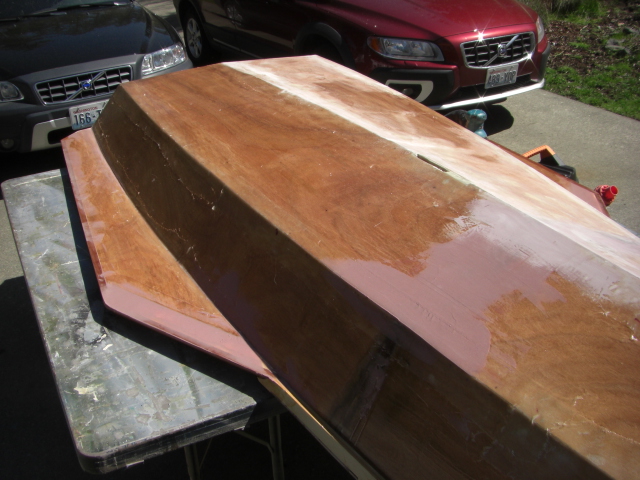 |
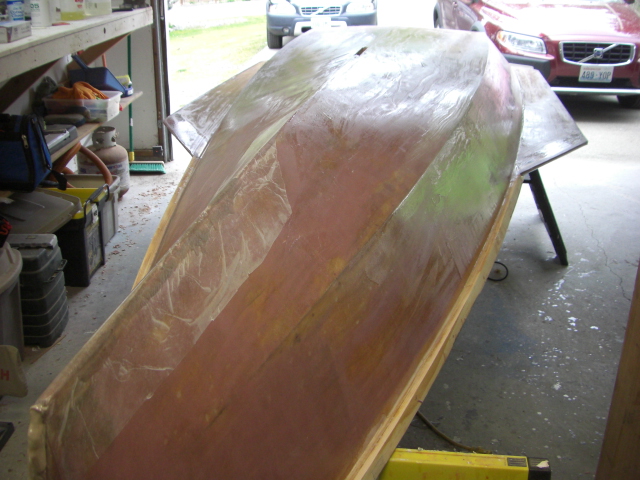
| Years of sanding glider wings gives me the skills to fair the hull profile so that it looks nice and fair. I use lots of West 407 fairing filler to fill in the low spots and then start sanding again. |
 |
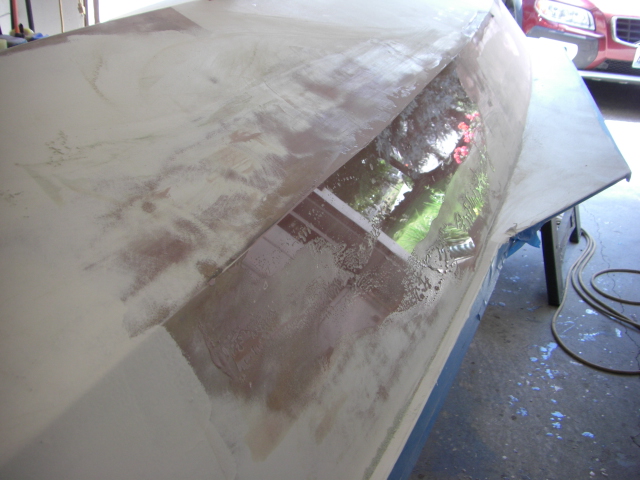
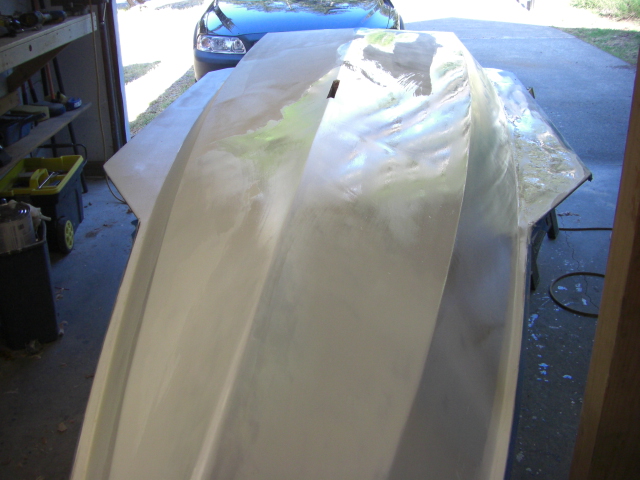
| I kept the photos large in this series to give some idea of the details of the fairing process. |
 |
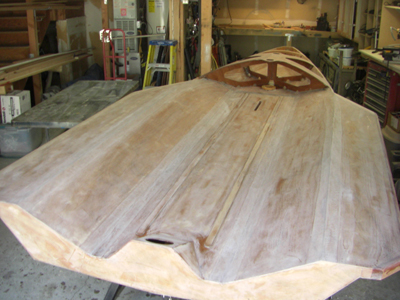
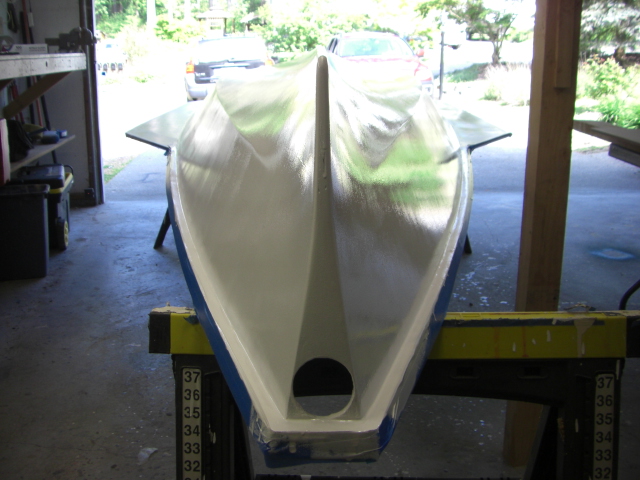
I use wax paper to build up the keel and nose so I can shape it symmetrically with the sander. |
 |
Sanding, sanding... |
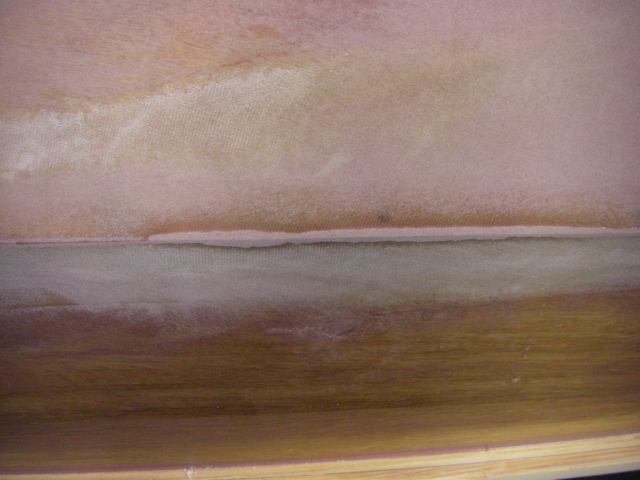 |
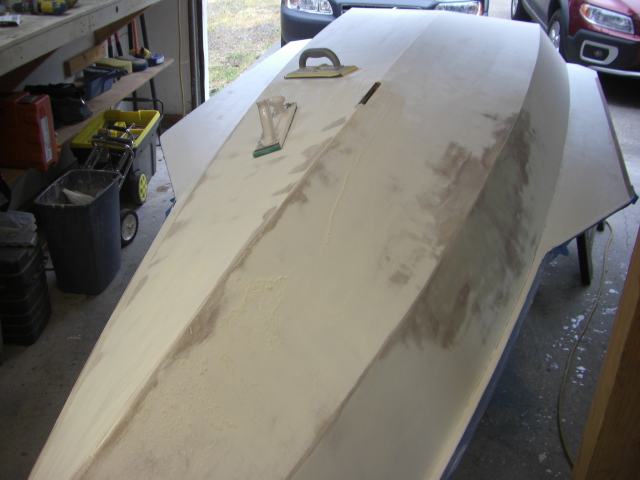
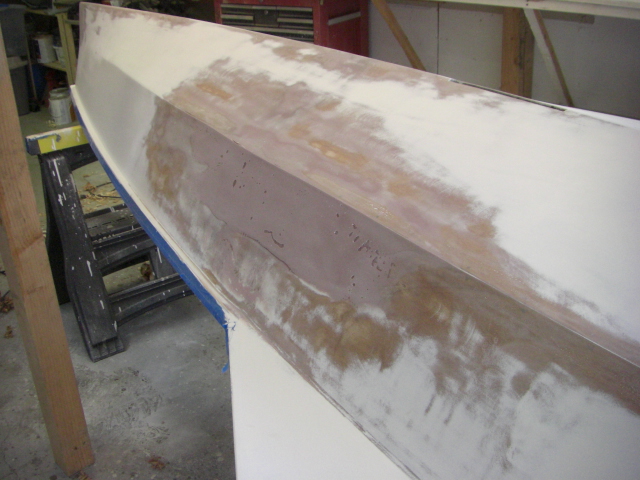
| Above - a low spot along the chine - you can see the filler and the sharp edge created by the sander to make it fair with the line of the hull. |
 |
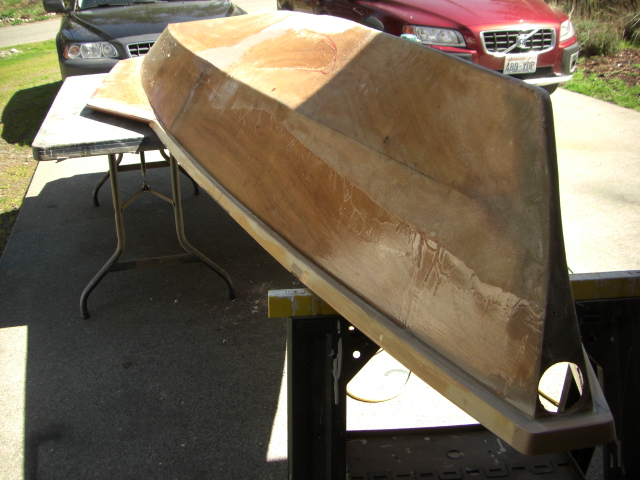
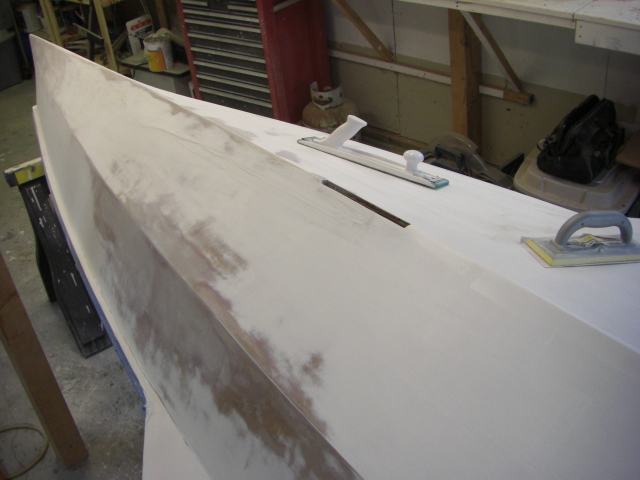
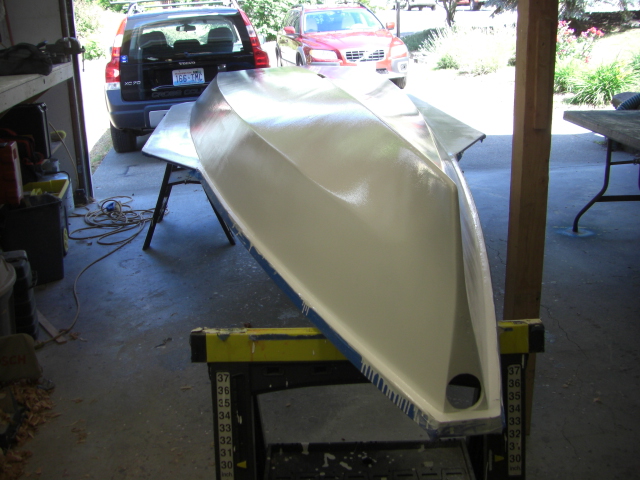
| More filler, and clearly - two low spots forward and aft of the hull panel splices. I anticipated additional filler would be needed to fair this area with this method of construction. |
 |
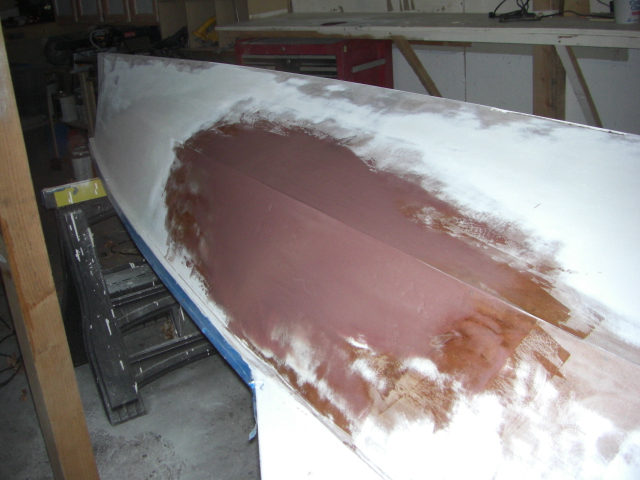
After sanding down the first layer of filler - more goes on to fill the low spots. |
 |
| |
 |
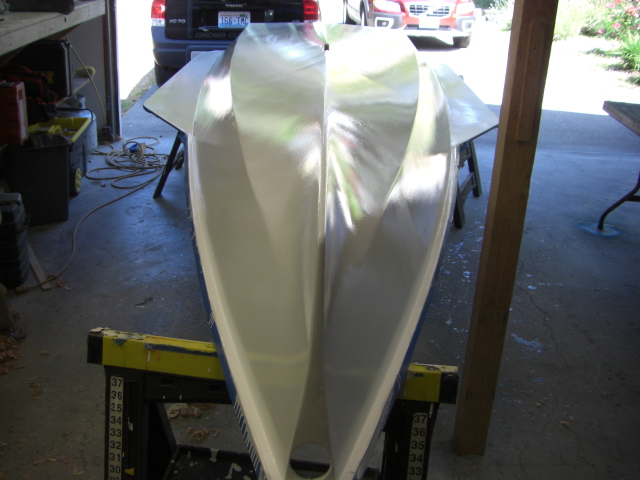
| Above - more filler on the keel - and below - more filler and a wax paper cover over the hull side. The wax paper keeps the epoxy filler from sagging down away from the chine. Next I'll use an auto body long board to fair the hull side and chine. |
 |
|
 |
| |
 |
| |
 |
| |
 |
| |
 |
| |
 |
| |
 |
| |
 |
| |
 |
| |
 |
| |
 |
| |
 |
| |
 |
| |
 |
| |
 |
| |
 |
| |
 |
| |
 |
| |
 |
| |
 |
| |
 |
| |
|
|