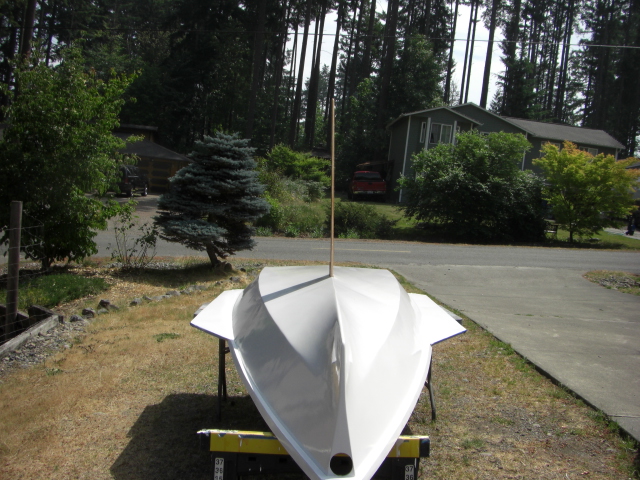
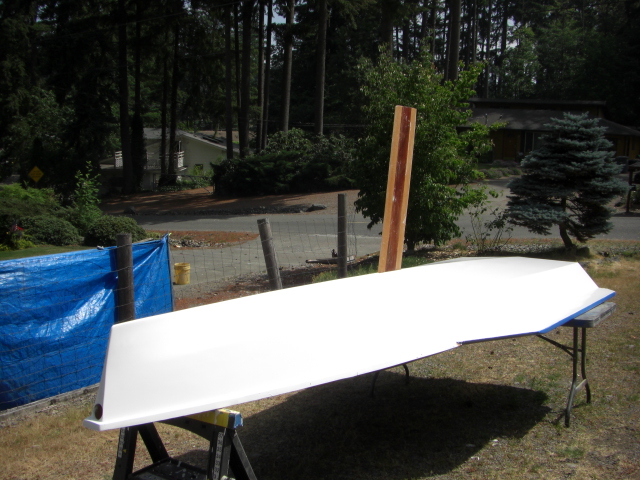
Foils
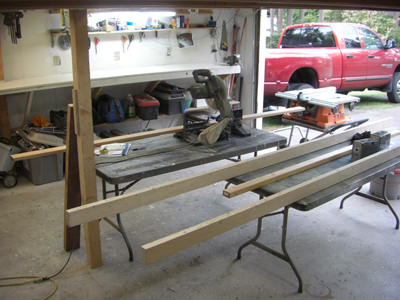
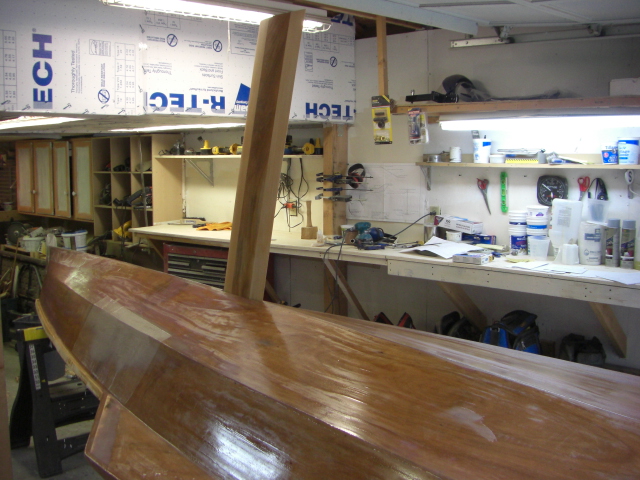
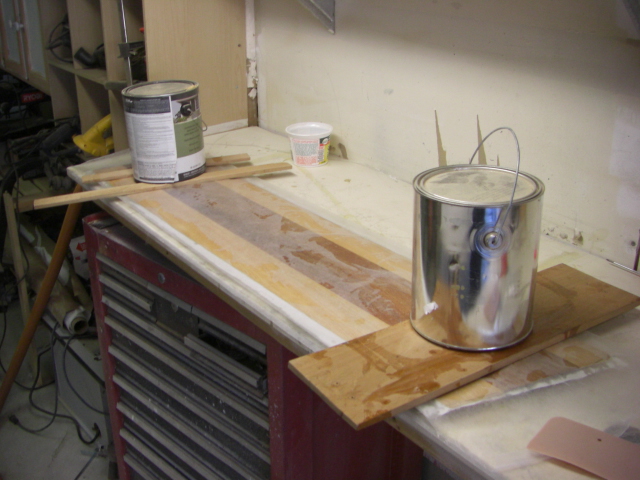
Above - October 4, 2008 - I clean up the shop in preparation for a new project. Renee and I took the seats down to the Monk today and installed them, finishing that project and on the way back, we bought a new Icom M422 DSC VHF radio for the Monk, using a $50 gift certificate she got for her birthday. That's next week's project, after I return from a trip to Boise for an FAA Manager's meeting. You can see the long 12' 2x3 timbers that will form the backbone of the Paperjet building frame. The 1.5"x3" piece is for the center longeron of the hull.
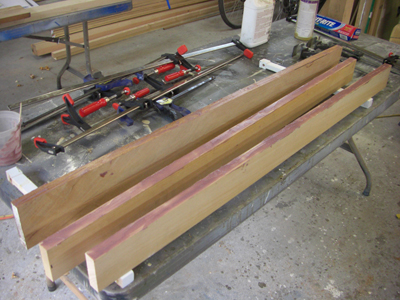
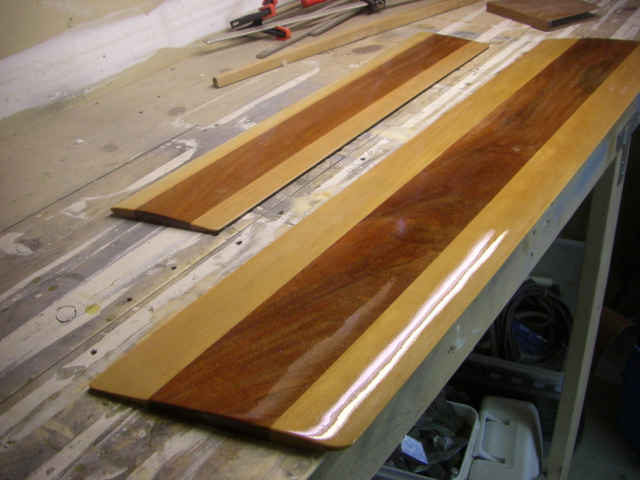
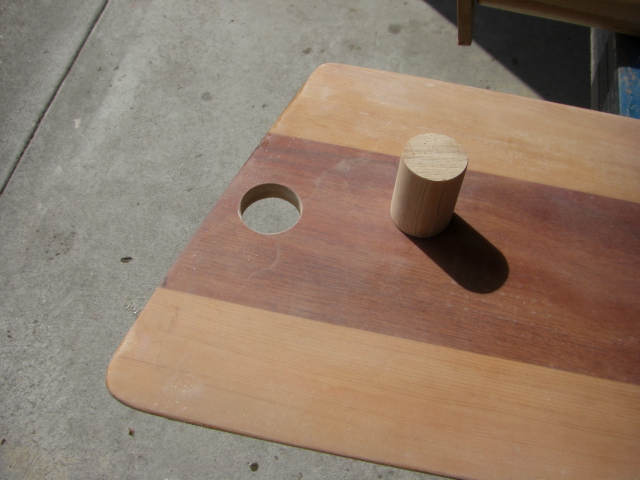
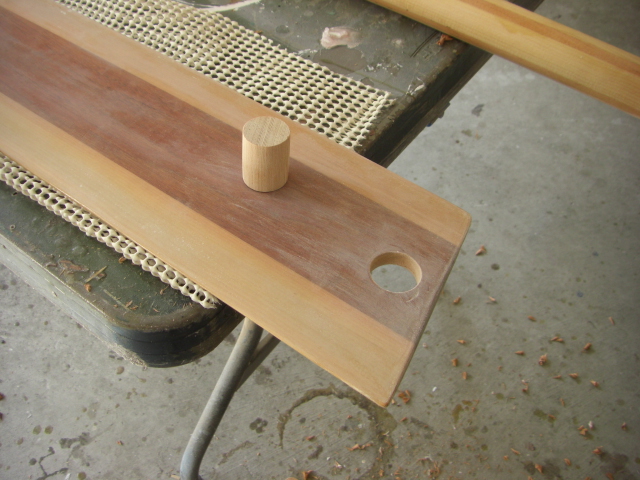
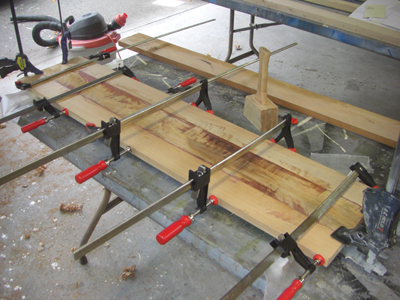
Above, I planed some clear, vertical grain fir and mahogany to make up the daggerboard of the Paperjet. Below, I squeeze the boards together with clamps and epoxy - filled with colloidal silica and dark filler. Makes for a strong bond. Next, I glue up blanks for the rudder. The kit should arrive sometime this coming week while I'm enjoying the southern Idaho weather.
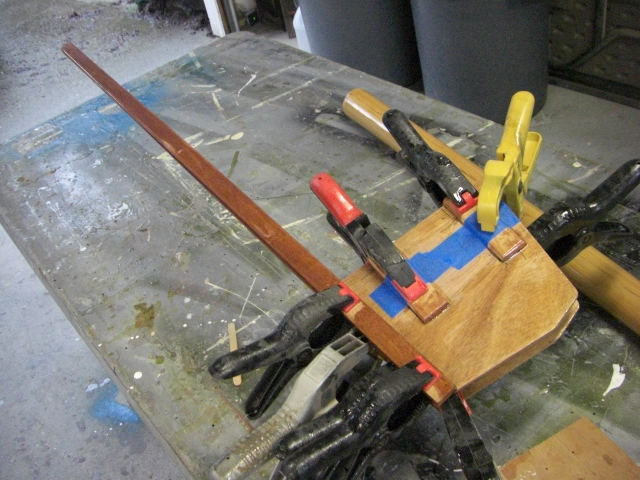
Below - October 5 2008 - I glue up the rudder blanks and make the tiller from two pieces of mahogany I had.

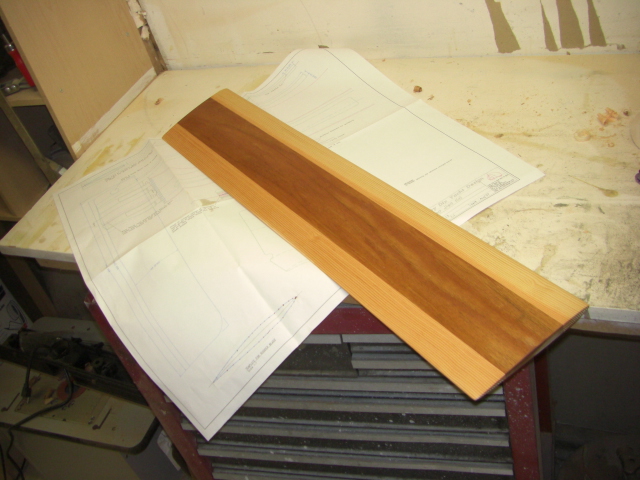
Above - the paint cans hold the rudder blanks flat while Samson keeps an eye on them. Below - I trace the daggerboard profile from the plans so I can start shaping that foil.

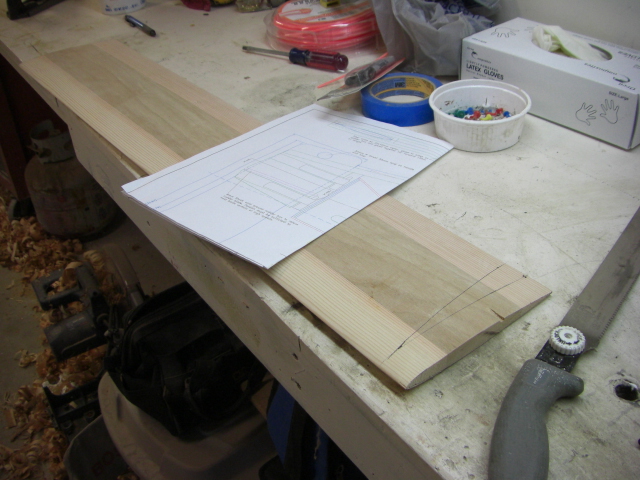
Below - I cut the wax paper pattern out and stick it to the daggerboard glue-up and trace the edges with a felt tip pen. The inside of the black is the cut line. Thankfully, I have some experience with foil profiling.

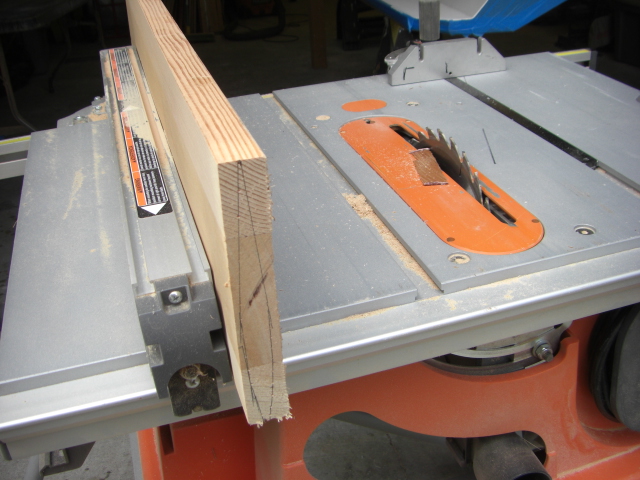
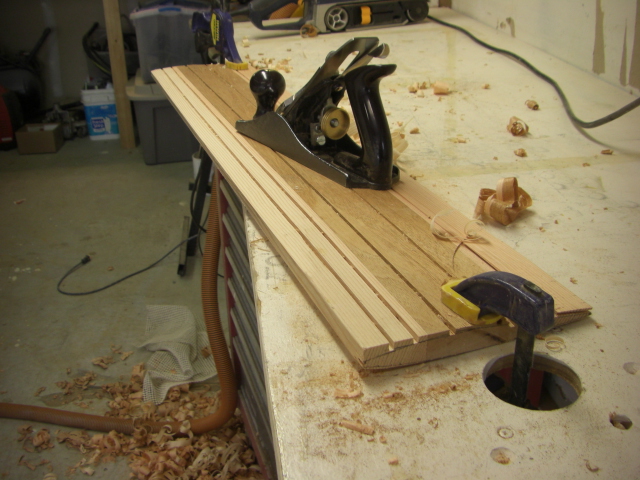
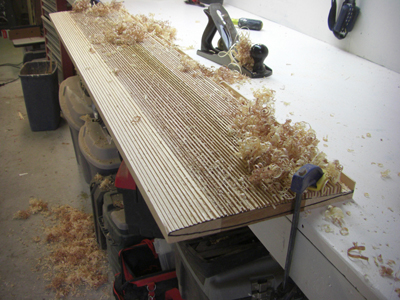
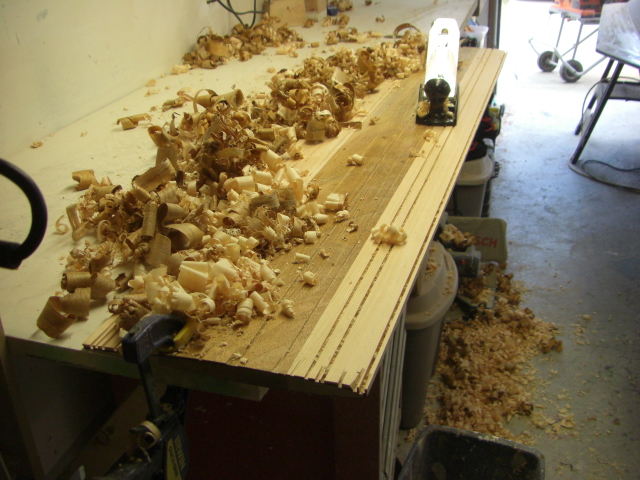
Below, I use the table saw to cut kerfs close to the profile.

...and then plane the ridges down to the bottom of the kerfs.
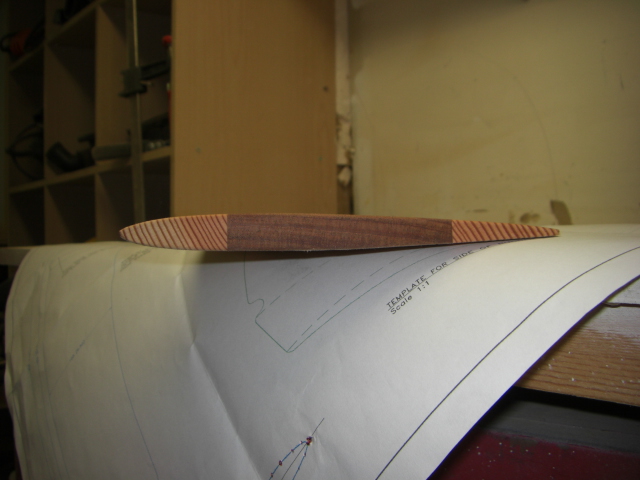
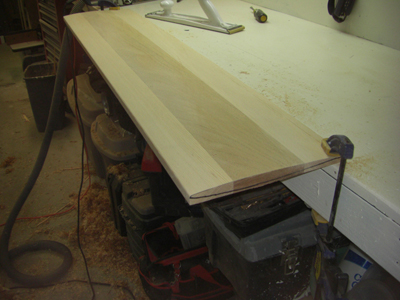
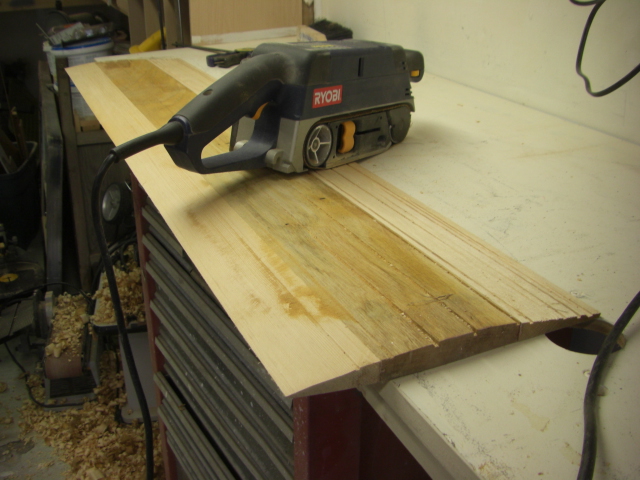
Using the belt sander to get it to the correct profile on one side of the daggerboard and final sand with the longboard.
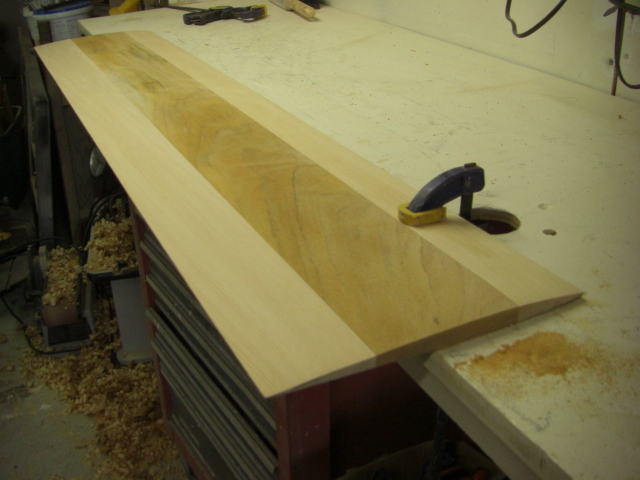
I'll kerf and plane the other side before I finish profiling the leading and trailing edges and cut the final planform shape of the foil.
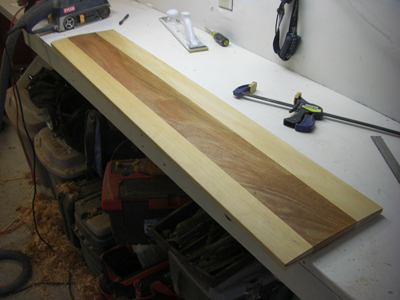
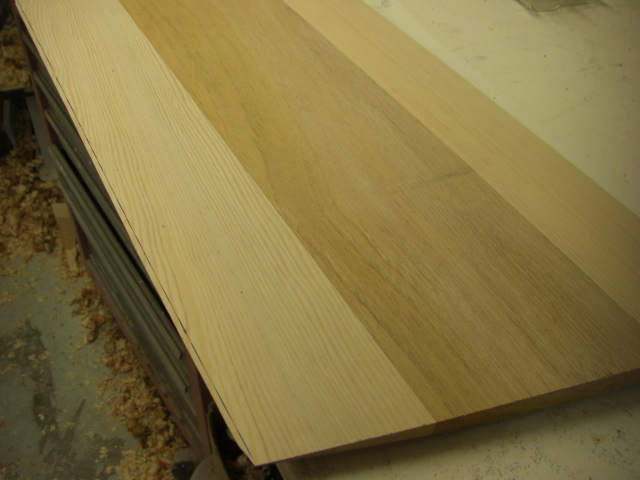
Above - with some turpentine rubbed on to check the colors of the fir and mahogany. This will be nice. The rudder will match.
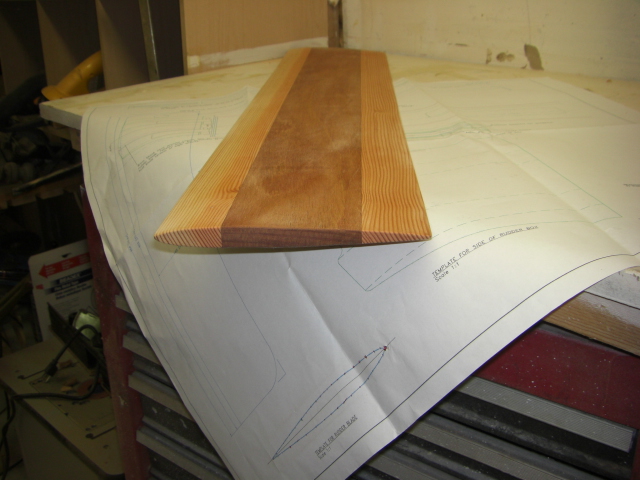
April 24, 2009 - I flip the daggerboard over and finish the other side.
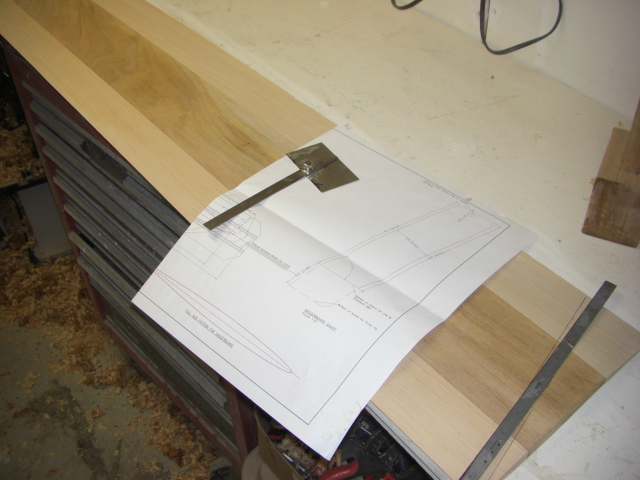
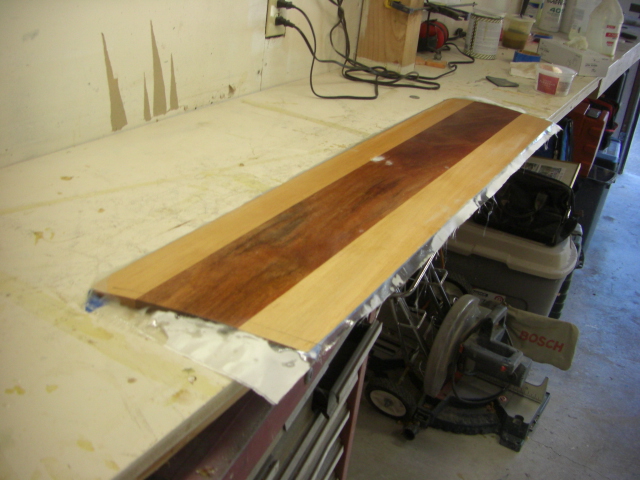
I cut the daggerboard planform out per the drawing.
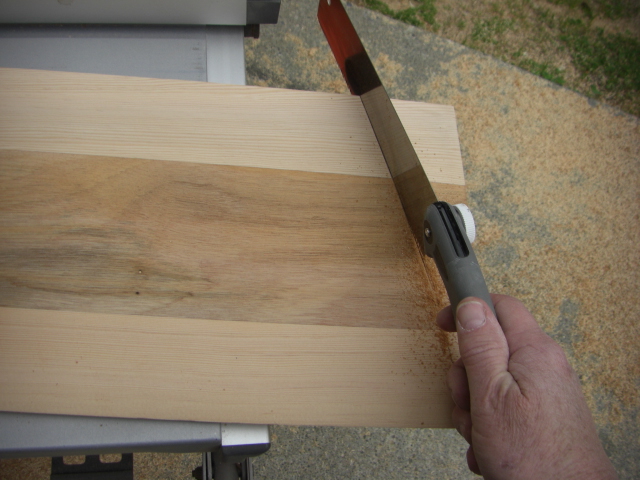
The board is very thin on the edges, so I use the backsaw.
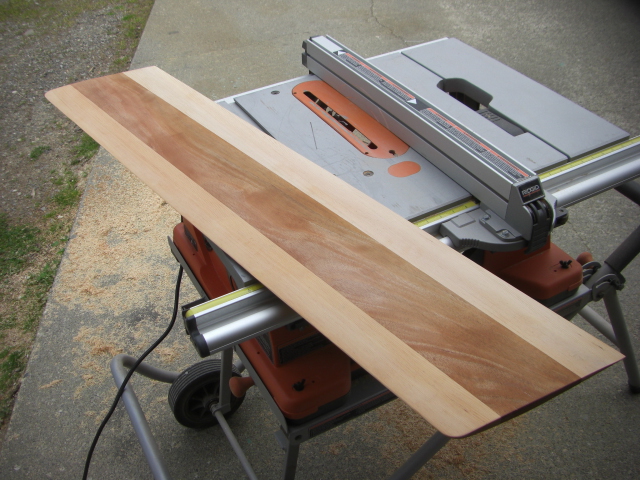
Above - I trim the trailing edge to the proper dimension.
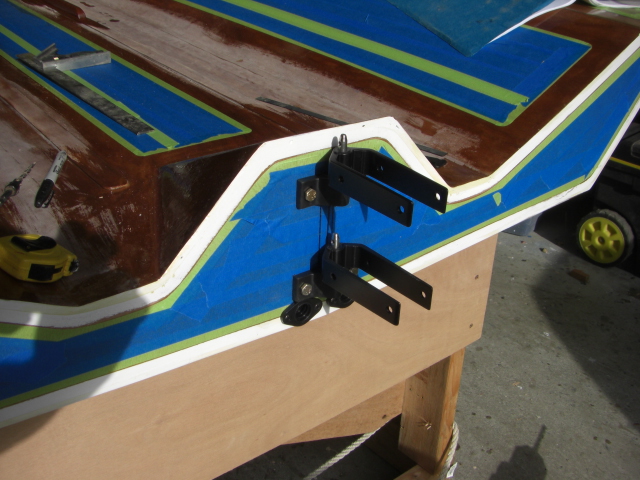
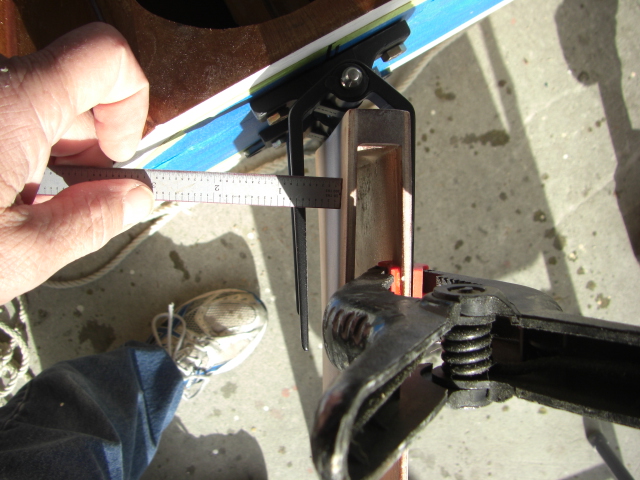
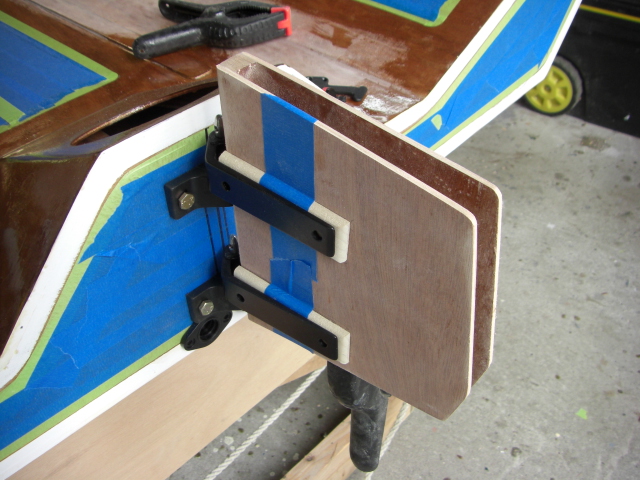
Below - board in centerboard case :-)